The World Cup Gourmet Series – Colombia: Cheese Stuffed Arepas
Hi y’all! Today I chose to feature a recipe in honor of Colombia, who is playing the quarter finals against Brazil on Friday. It took me a lot of research as I’m not that familiar with the Colombian gastronomy, but I’ve finally set my mind on one dish: Arepas!
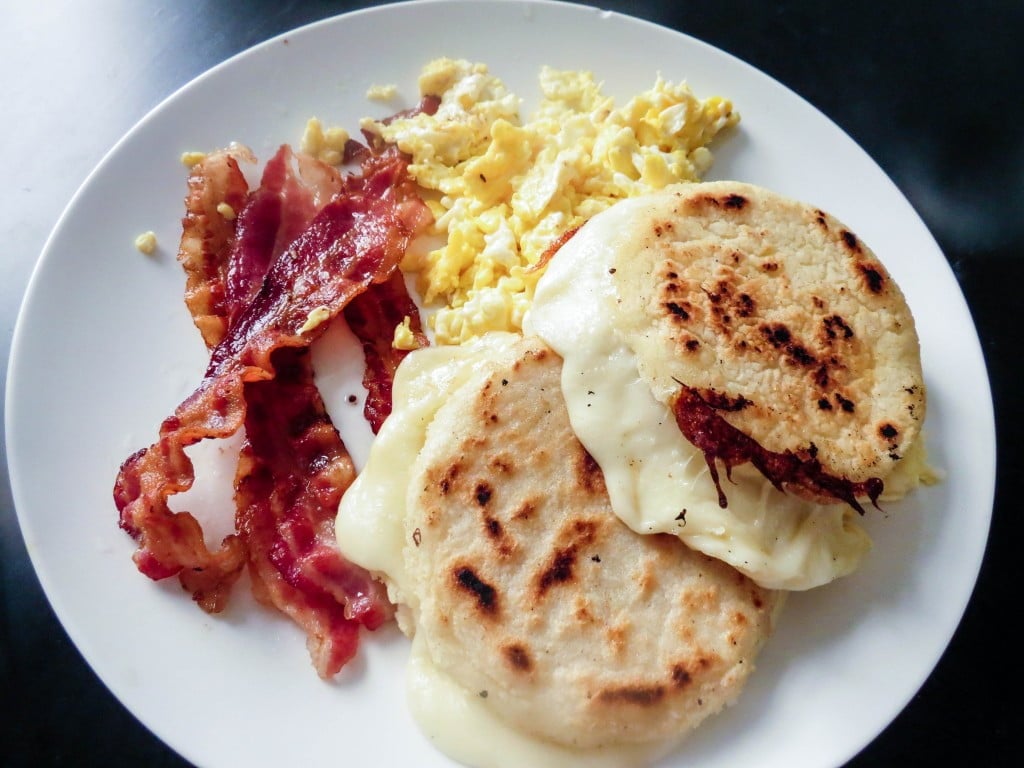
Arepas are very popular in Colombia, usually eaten for breakfast or as an afternoon snack. It can be served with several accompaniments and toppings, such as cheese (the one I’m making today is filled with cheese!), butter, avocado, scrambled eggs, jelly, Colombian chorizo, hogao (which is a Colombian sauce made with onions, green onions, tomatoes, garlic, cumin, salt and pepper) or even split open and used to make sandwiches.
The term arepa comes from the word “erepa” which means corn bread in the indigenous language of Venezuela and Colombia. It is a type of flat, round corn cake patty (I think it looks like an English muffin or a tortilla, depending on how thick they were made!) made of soaked ground maize dough or cooked flour, and salt. It comes in different sizes, thicknesses, maize types and with different ingredients. It can be grilled, fried, baked and even boiled or steamed.
The Arepas have deep roots in the colonial farms and the indigenous cuisine. Back then they used to soak the maize grains and then peel and ground them in a large mortar know as pilón. Nowadays, thank God, you can buy pre cooked arepa flour. This flour is then mixed with water and salt, and occasionally oil, butter, eggs and milk.
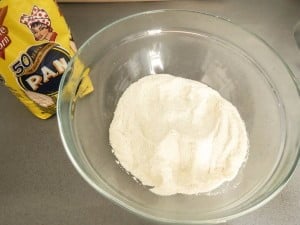
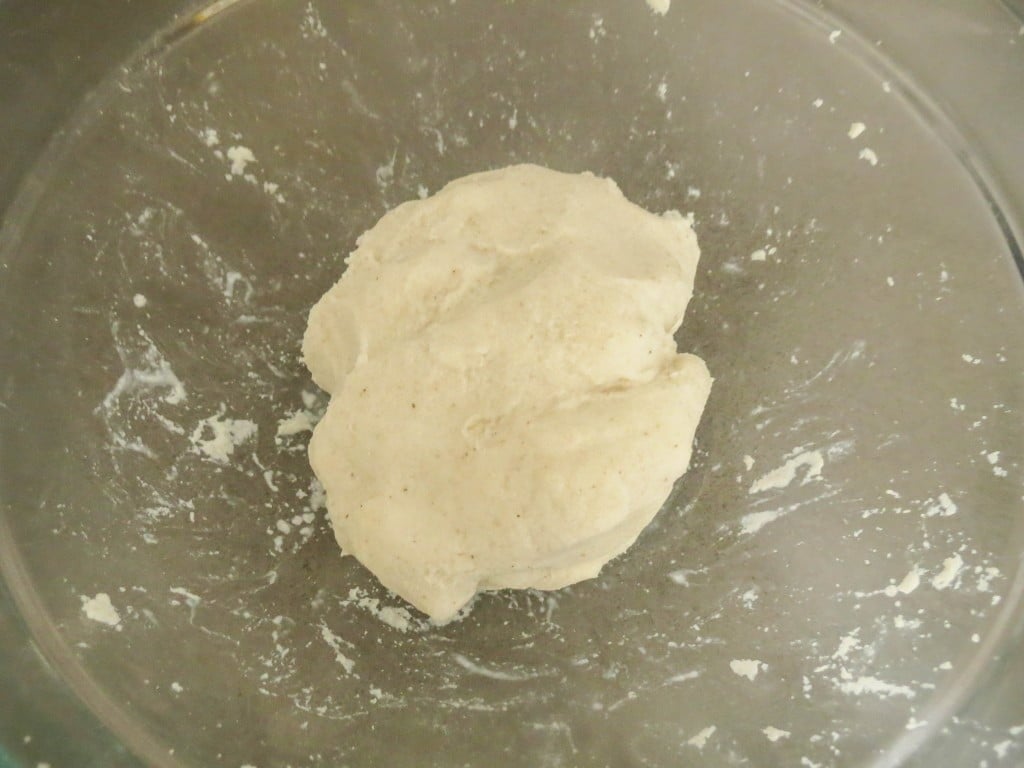
I start by mixing in a bowl the pre cooked white corn meal (masarepa) with the oil, the salt and finally the warm water. I have to stress that it’s important that you use masarepa flour that is specific for arepas if you want them to be authentic! You can find it in the Latin aisle of your supermarket, usually by Goya or PAN. They come in white or yellow varieties, but I like the white better.
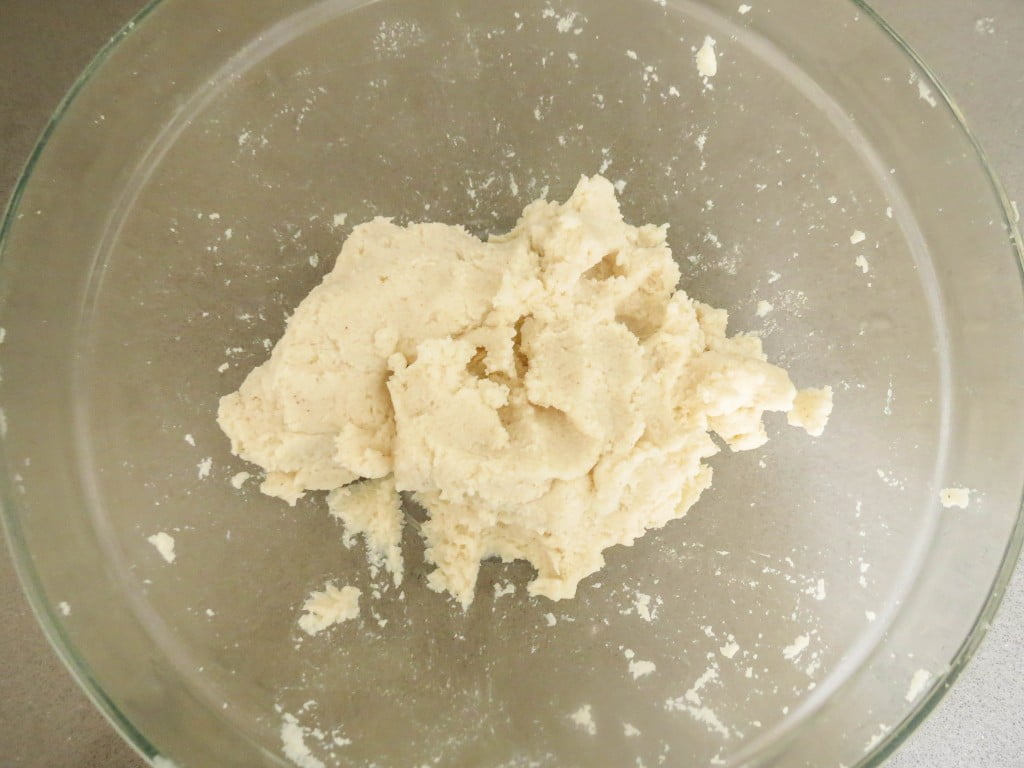
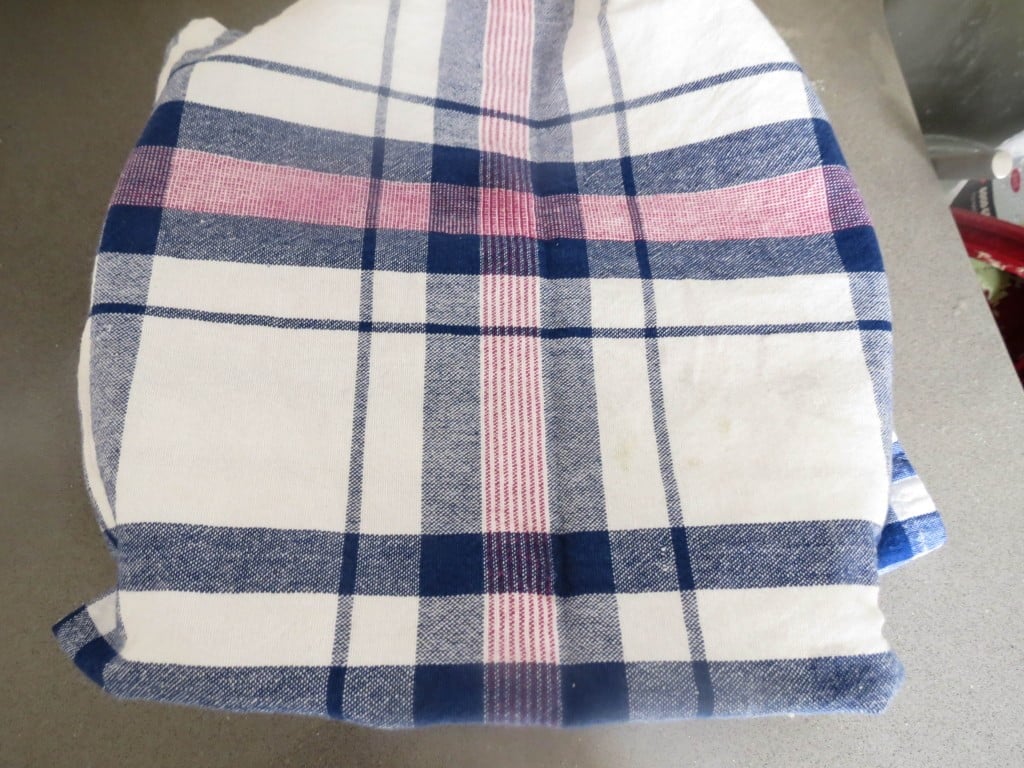
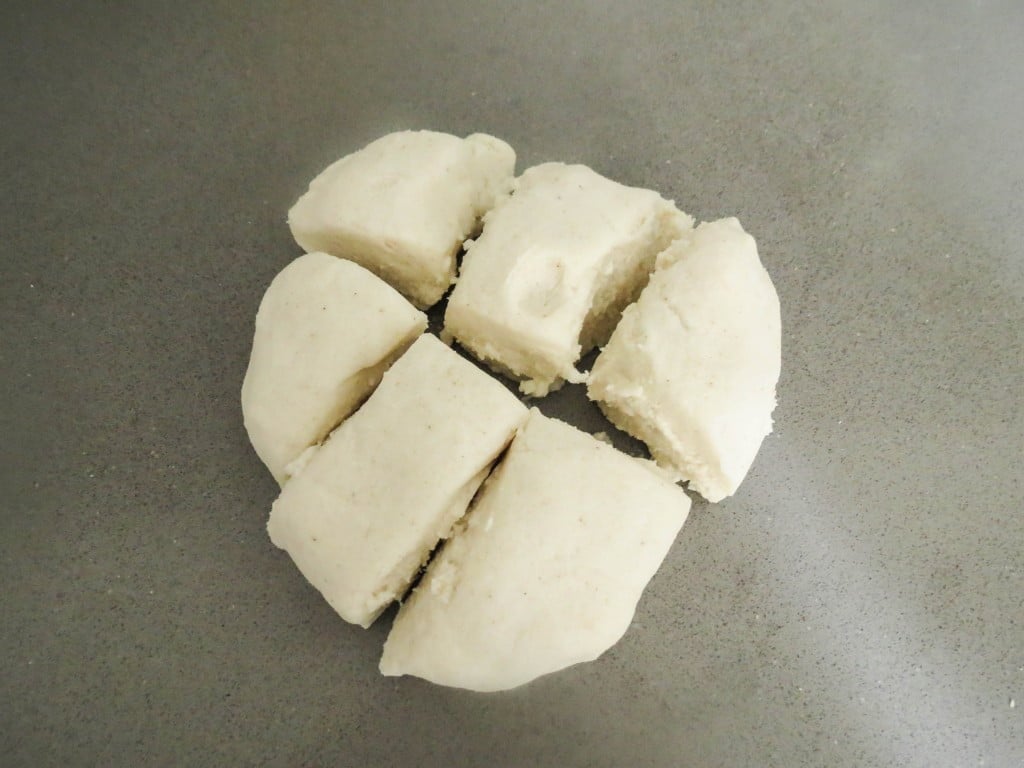
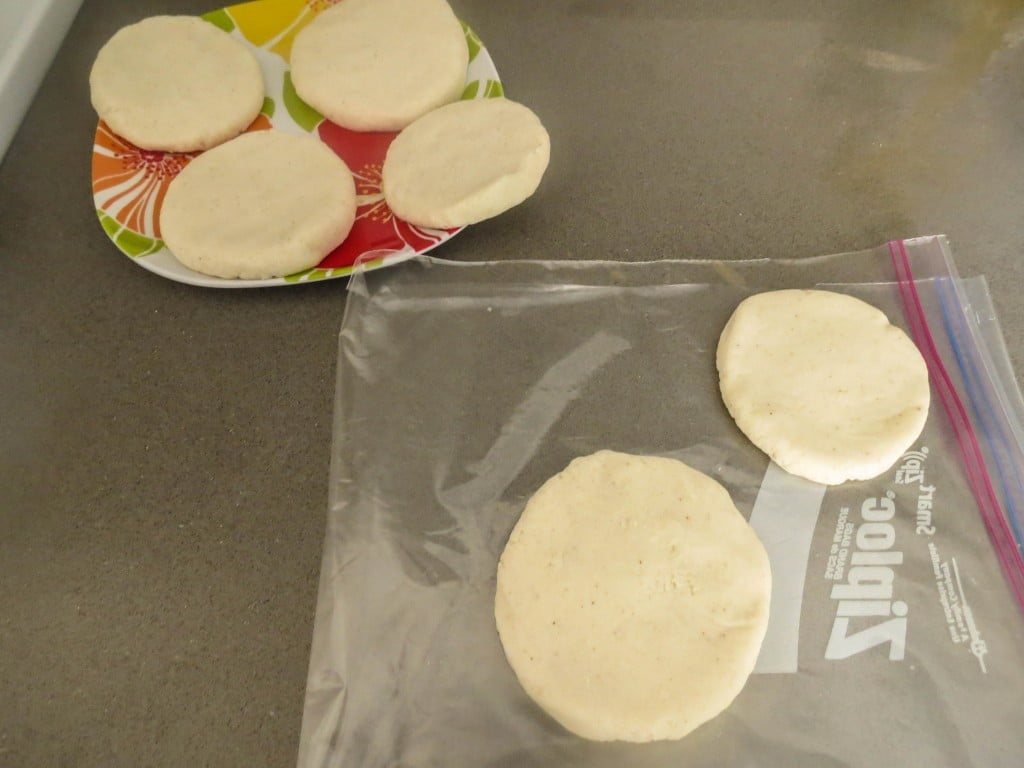
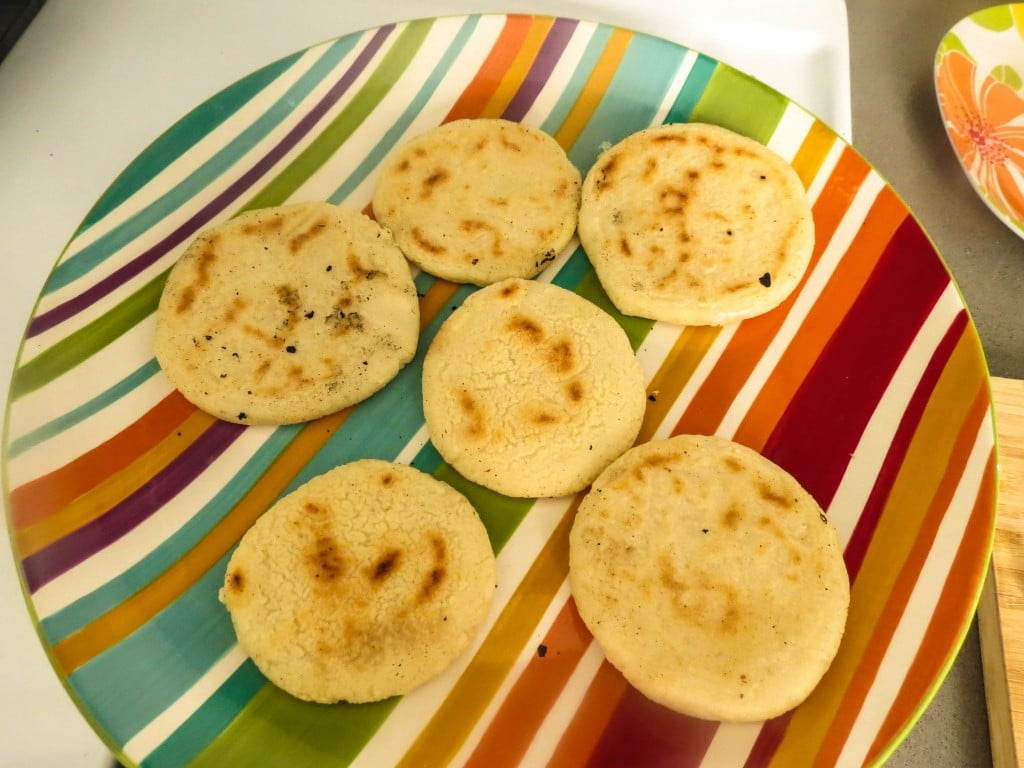
Mix the ingredients til the corn meal absorbs the water and forms a dough. Knead the dough with your hands until it’s smooth and manageable. If the dough is sticking to your hands, moisten your hands with cold water. Cover the dough with a kitchen towel and wait around 5 minutes for it to hydrate. If it feels dry after those 5 minutes, add more water (just a little at a time, cause you don’t want your Arepas to be gummy!) Divide your dough into 6 equal balls (I made two little and 4 medium).
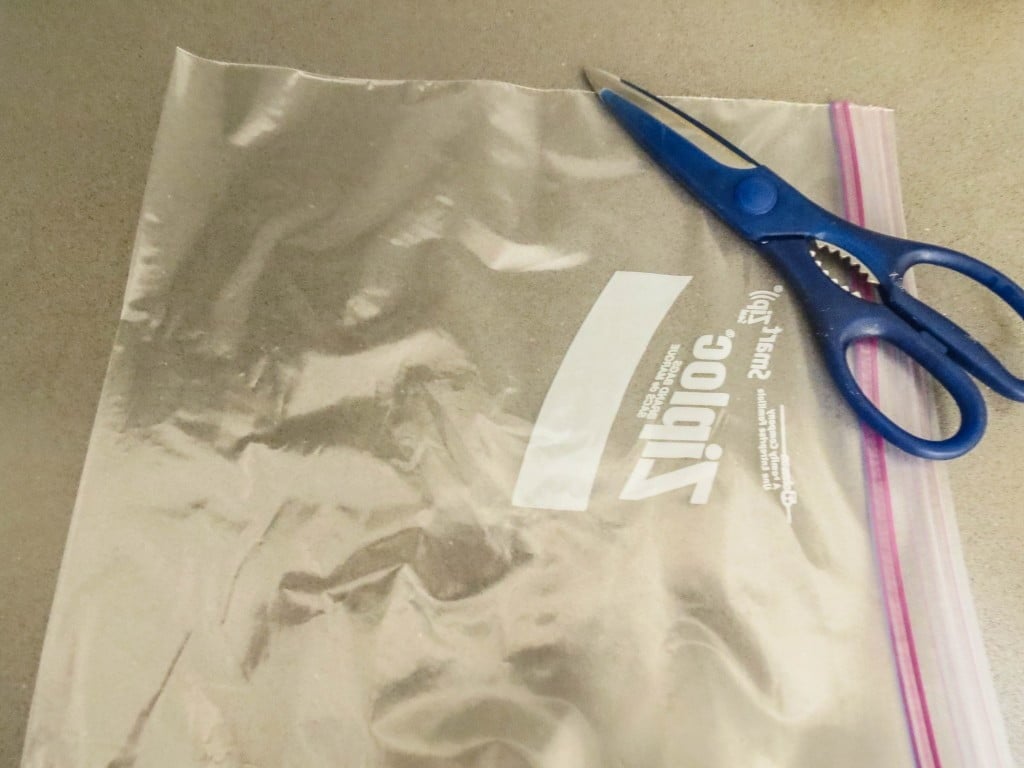
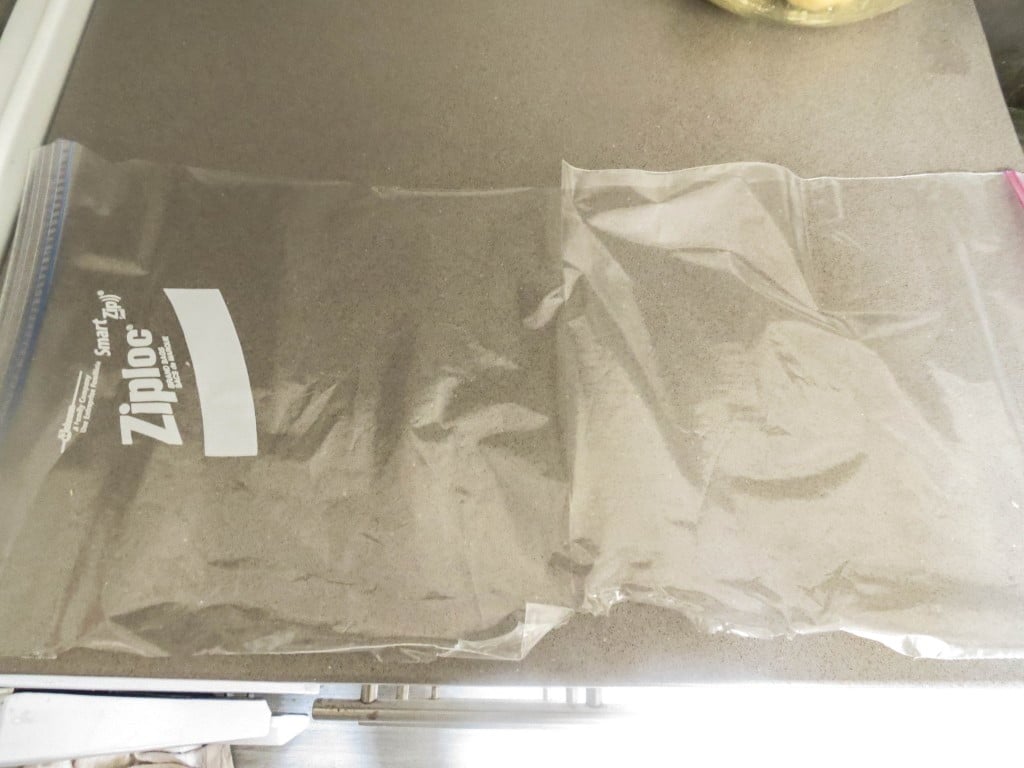
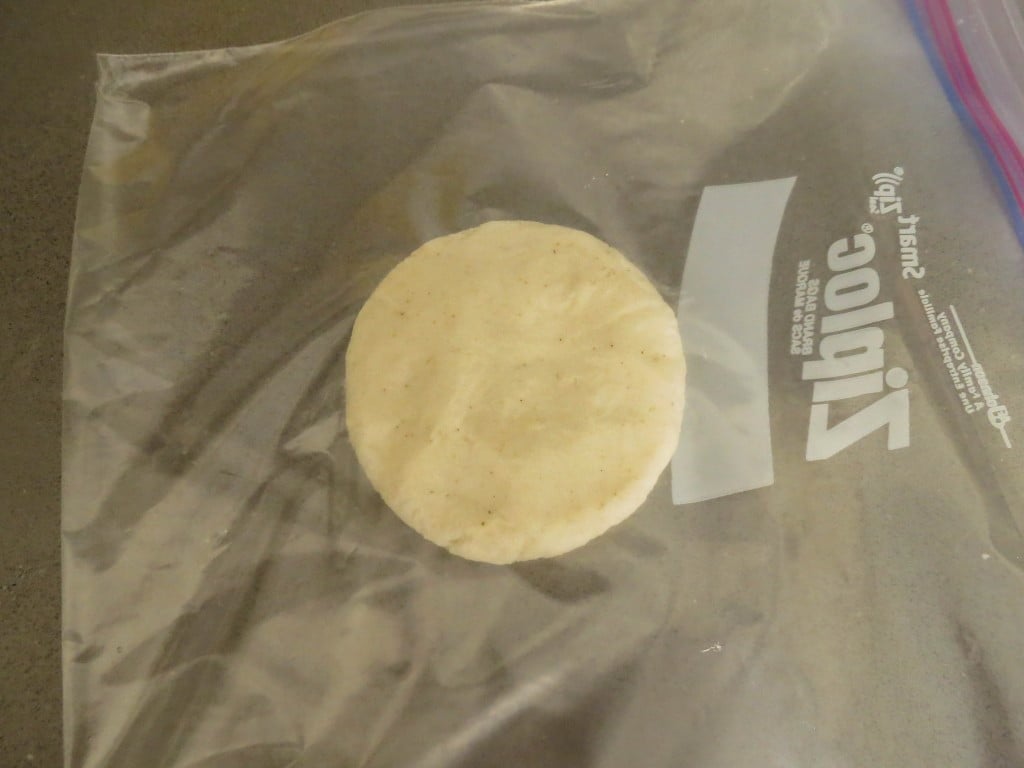
Now it’s time to shape your Arepas. I’m sure there are lots of different techniques for this, but the one I’ve found to be the easiest is to cut a Ziploc bag in two and place the dough in between the two plastics and then shape the ball dough into a patty with my hands. Here you have a world of possibilities in shapes, sizes and thickness. You can use a rolling pin, you can use a cereal bowl or a cookie cutter to cut into the desired shape, etc. I shaped them with my hands because I wasn’t going to do them too thin anyway. I wanted them to be somewhat thick (1/3 inch thick and 4 to 6 inches wide) so I could open them later (after they are cooked) and fill them with cheese. I wanted them more on the English muffin side and less on the tortilla.
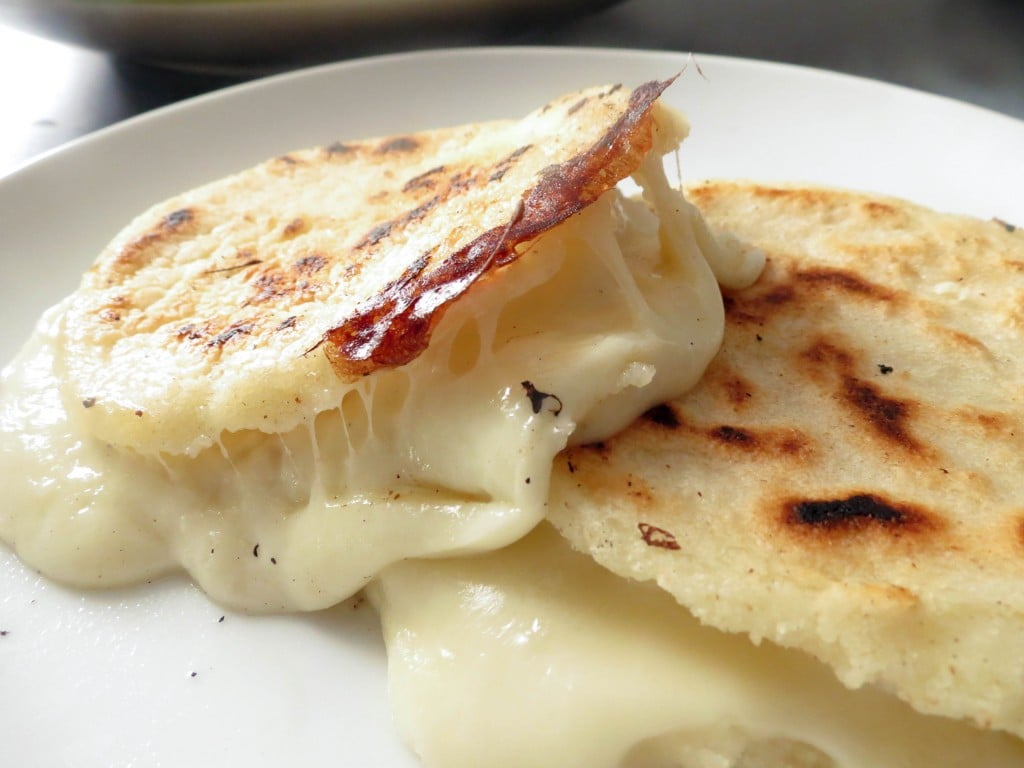
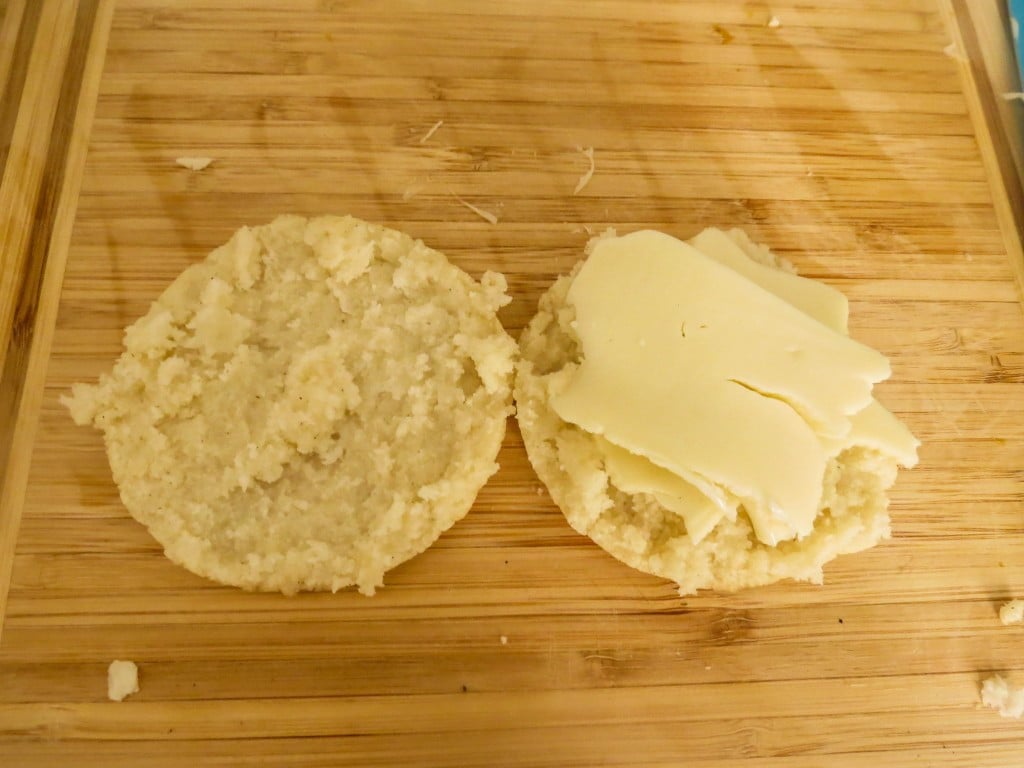
Some people stuff the Arepas with cheese before cooking them – they roll two Arepas, put cheese in the middle and them close them together and then cook. Or they add cheese to the dough. I chose to cook my Arepas first, then open them with a knife (like you do with an English muffin), stuff with cheese and pop back in the griddle, but I’m sure some people can vouch for the other techniques.
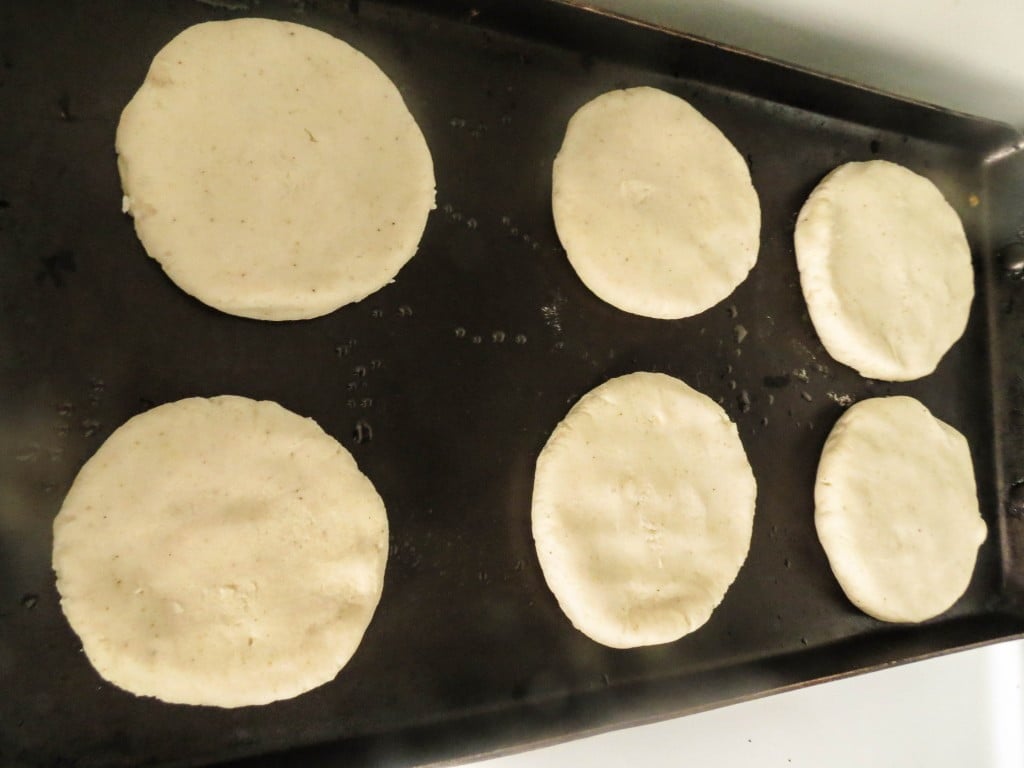
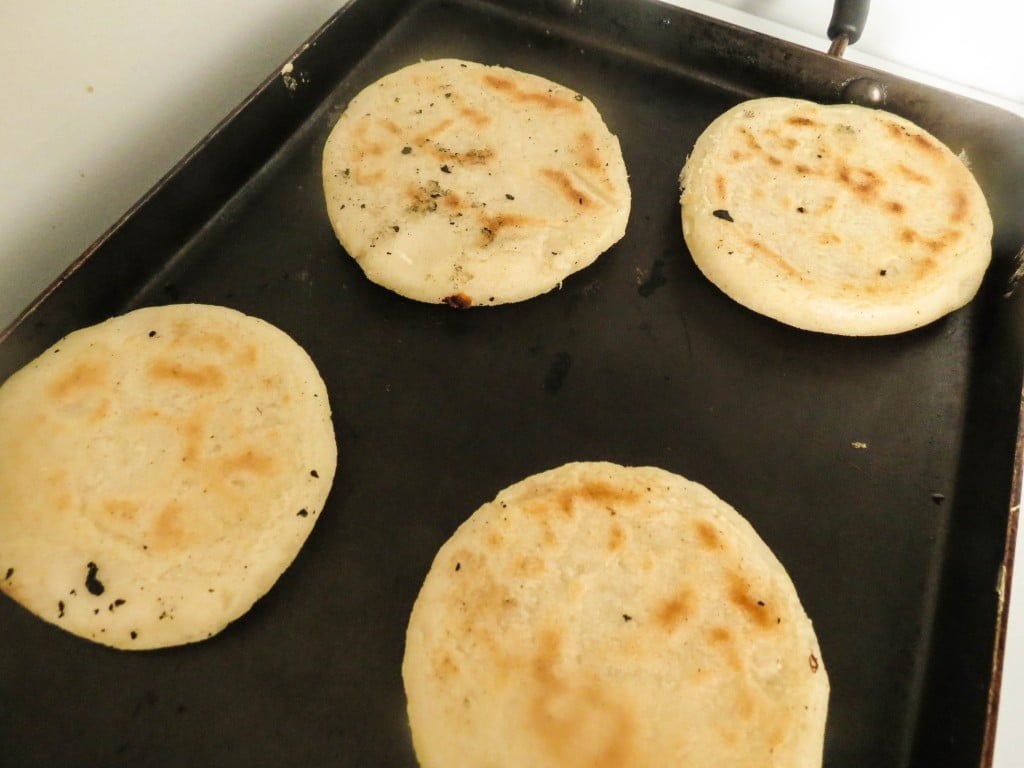
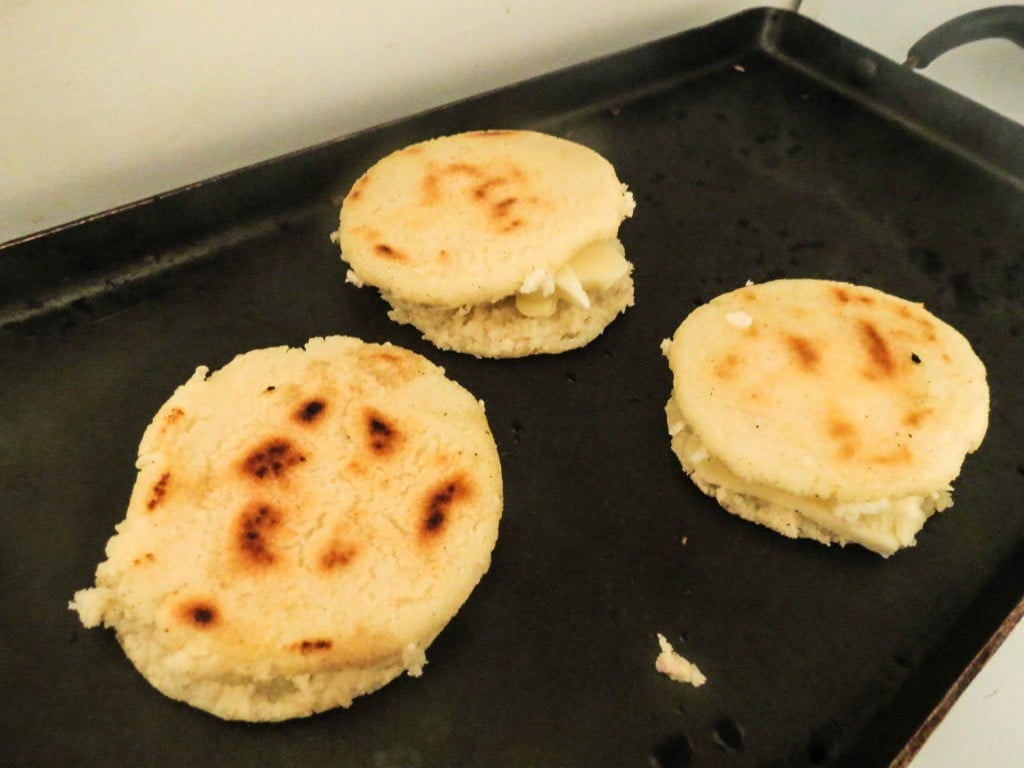
So pre heat your grill or griddle (even a frying pan would do!) to medium low. Once the griddle is hot enough, spray it with cooking spray and add the arepas. Cook them until golden brown, around 7 minutes each side. I prefer cooking them in medium low heat so they don’t burn outside while not yet fully cooking on the inside.
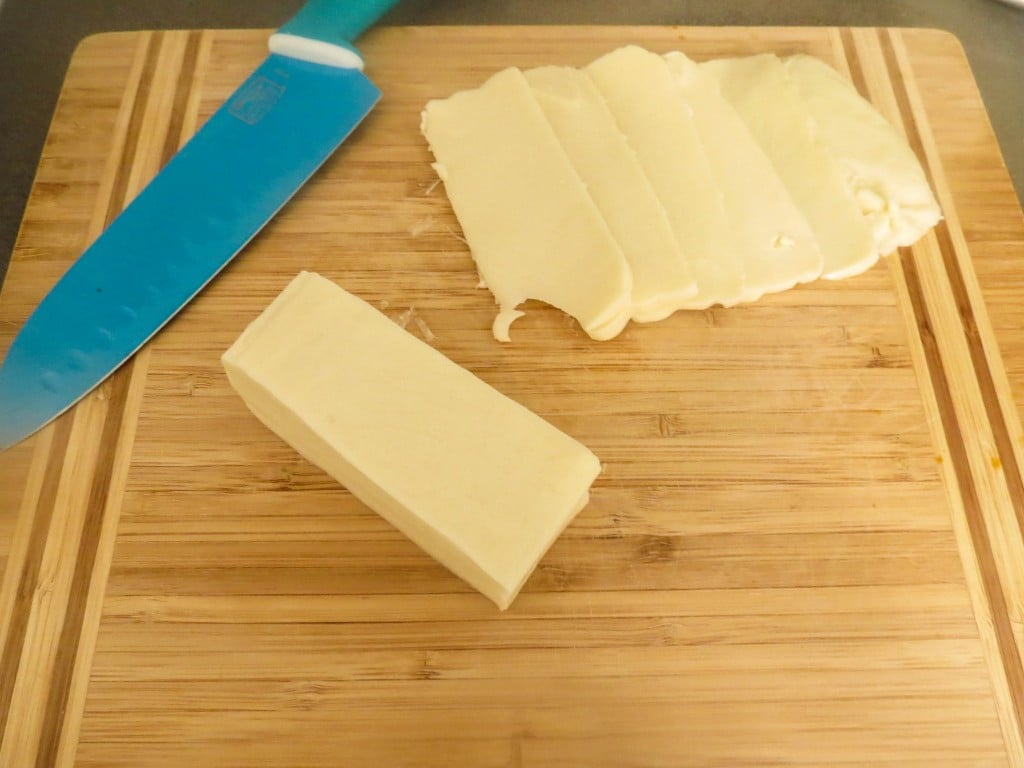
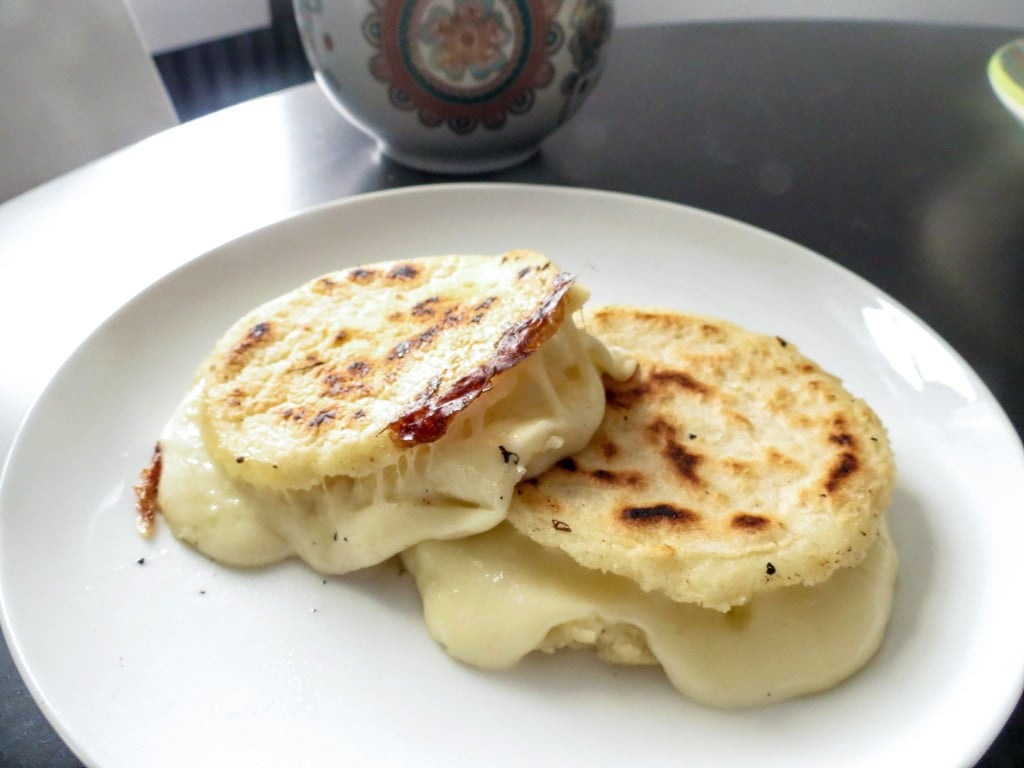
Wait for the arepas to be cool enough to handle and split them open with a knife. Add the cheese and then place them back in the griddle, this time on medium high heat, until the cheese melts.
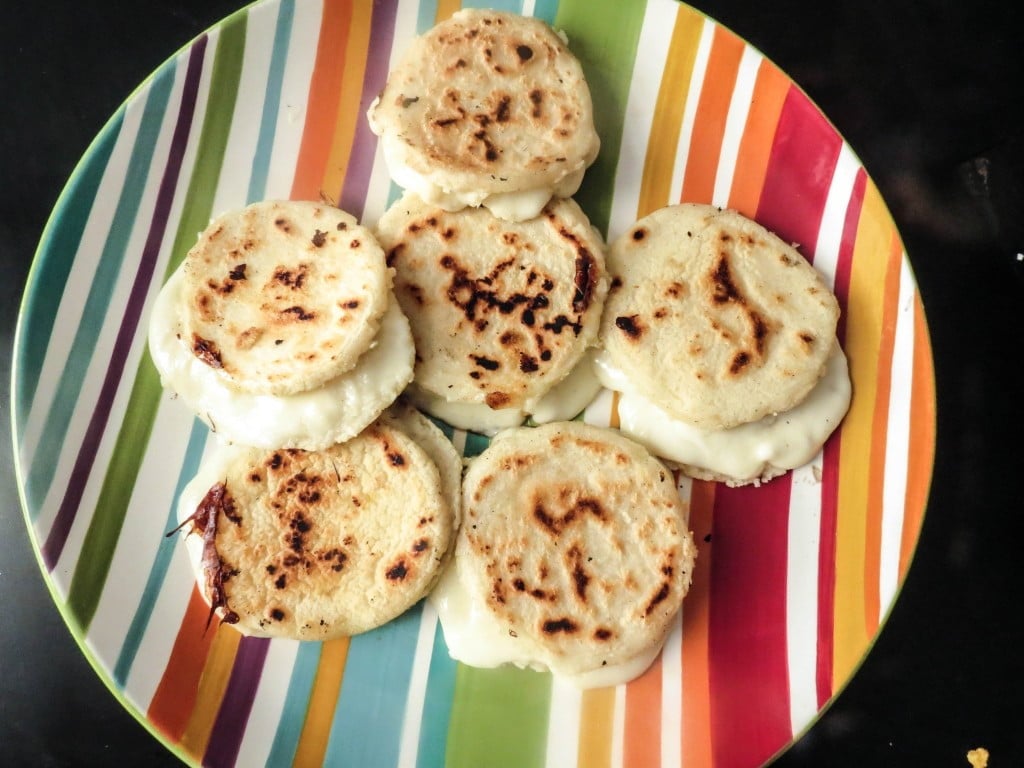
Serve immediately.
P.S. By the way, don’t you think this would be delicious if served with my homemade guacamole? ;-)

Cheese Stuffed Arepas
Ingredients
- 2 cups pre cooked white corn meal, masarepa
- 2 cups warm water
- 1 teaspoon vegetable oil
- 1 teaspoon salt
- 12 slices mozzarella cheese
Instructions
- In a medium bowl, combine the masarepa flour, the oil and the salt. Add the water slowly til the masarepa absorbs it. Mix until dough forms.
- Knead the dough until smooth and manageable.
- Form a big ball of dough and cover with a kitchen towel for around 5 minutes for the dough to hydrate. If you think the dough is too dry after those 5 minutes, add a little bit of water at a time.
- Divide the dough into 6 equal parts and form medium dough balls.
- Cut a Ziploc bag in half and place a single dough ball in the middle.
- Shape the dough into a disc (1/3 inch thick and 4 to 6 inches wide) using your hands. Repeat this step for each arepa.
- Pre heat your griddle to medium low heat.
- Once the griddle is hot enough, add the arepas and grill until golden brown. (Around 7 minutes for each side)
- Once the arepas are cool enough to handle, split them open and stuff with the mozzarella cheese, 2 slices for each arepa.
- Place them back in the griddle and grill until the cheese melts. (2 min for each side)
- Serve immediately!