Authentic Brazilian Cheese Bread (Pão de Queijo)
This post may contain affiliate links. Read our disclosure policy.
Finally!
Guys, you have to promise to love me forever. I’ve been wanting to post a Brazilian Cheese Bread (aka Pão de Queijo) recipe here ever since I started my blog, almost a year ago. I’ve tried and played with recipes a bazillion times, and it was never like the pão de queijo I get back home.
The last recipe I tried before this one was ok. Not “OMG this is the best cheese bread I’ve ever eaten” good, but still delicious in its way. So I almost posted here… I even had this whole speech on my mind about how you can attempt to make Brazilian cheese bread in the U.S., but it will never be as good as the one you find in Brazil, since it’s so hard to find sour manioc starch and almost impossible to find “meia cura” cheese. Boy, was I wrong. Yes, it took me a loooot of attempts, but I finally came up with the perfect recipe that you can make with ingredients you will find at your local grocery store. And I dare say it tastes better than many of the pães de queijo I had back home… You’re welcome! :P
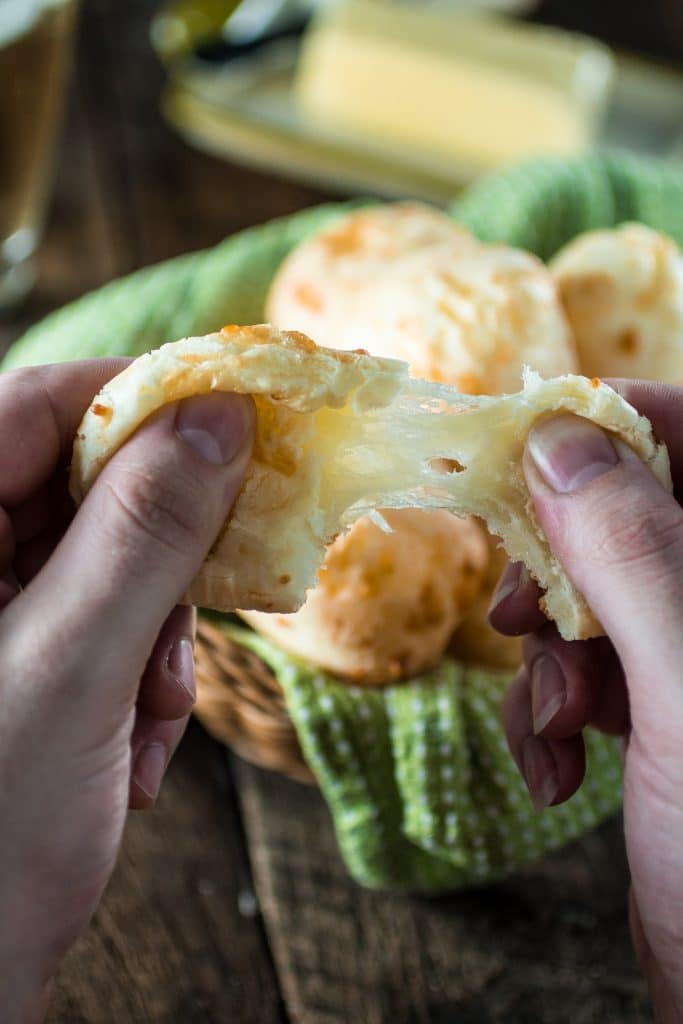
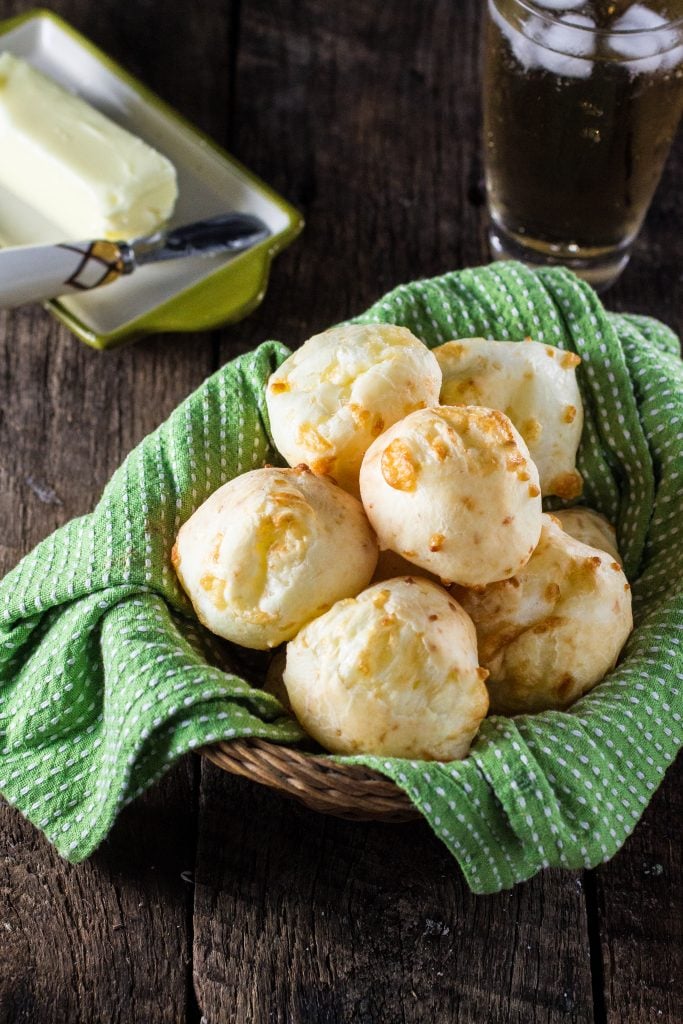
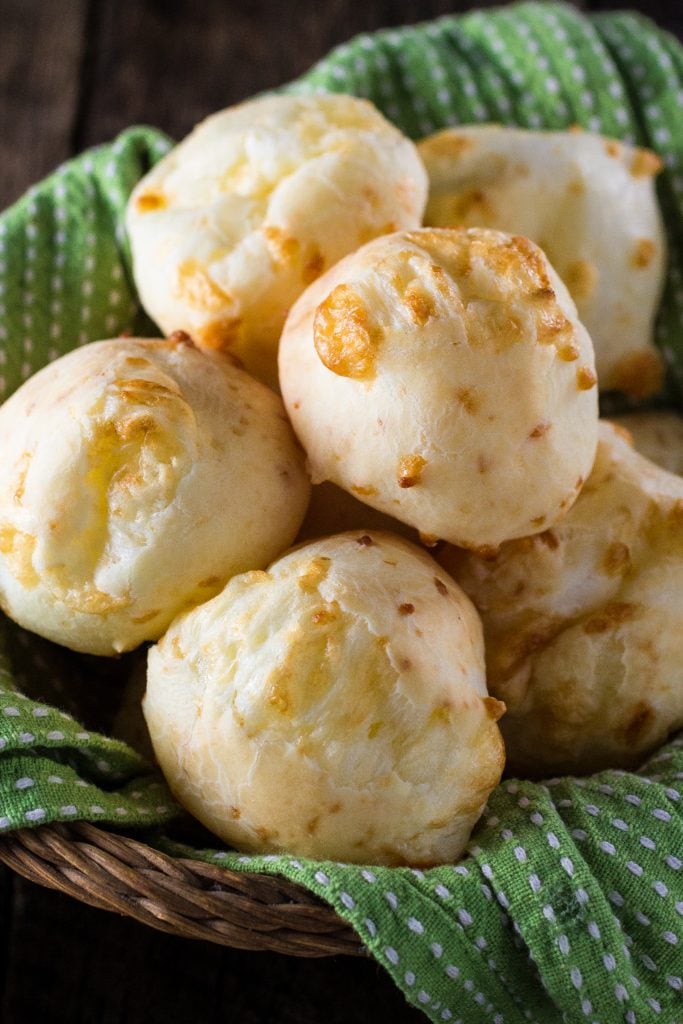
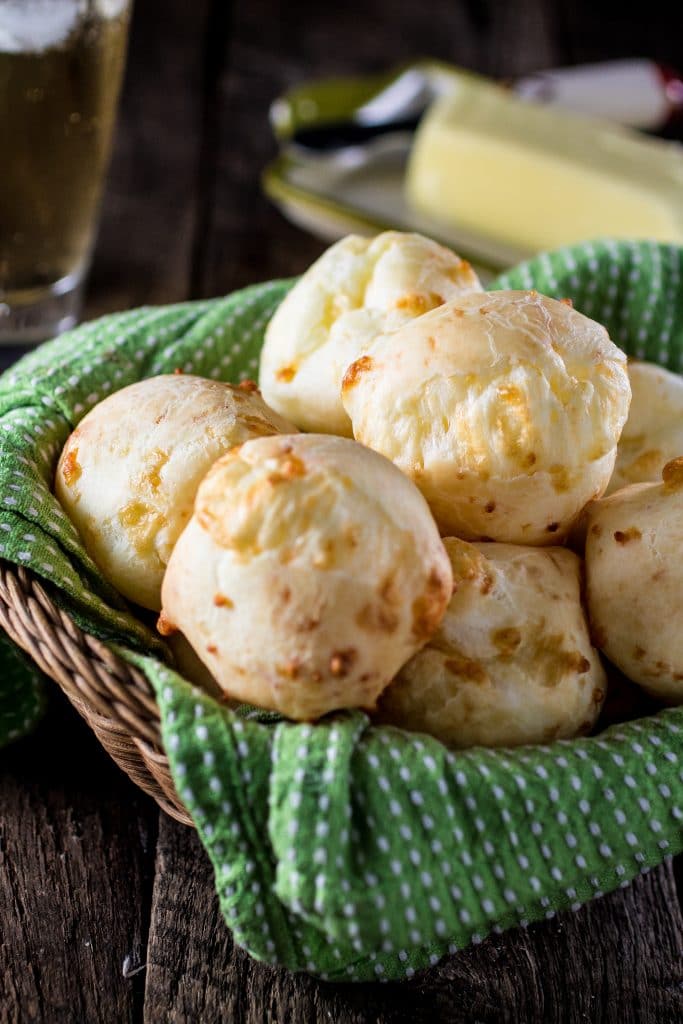
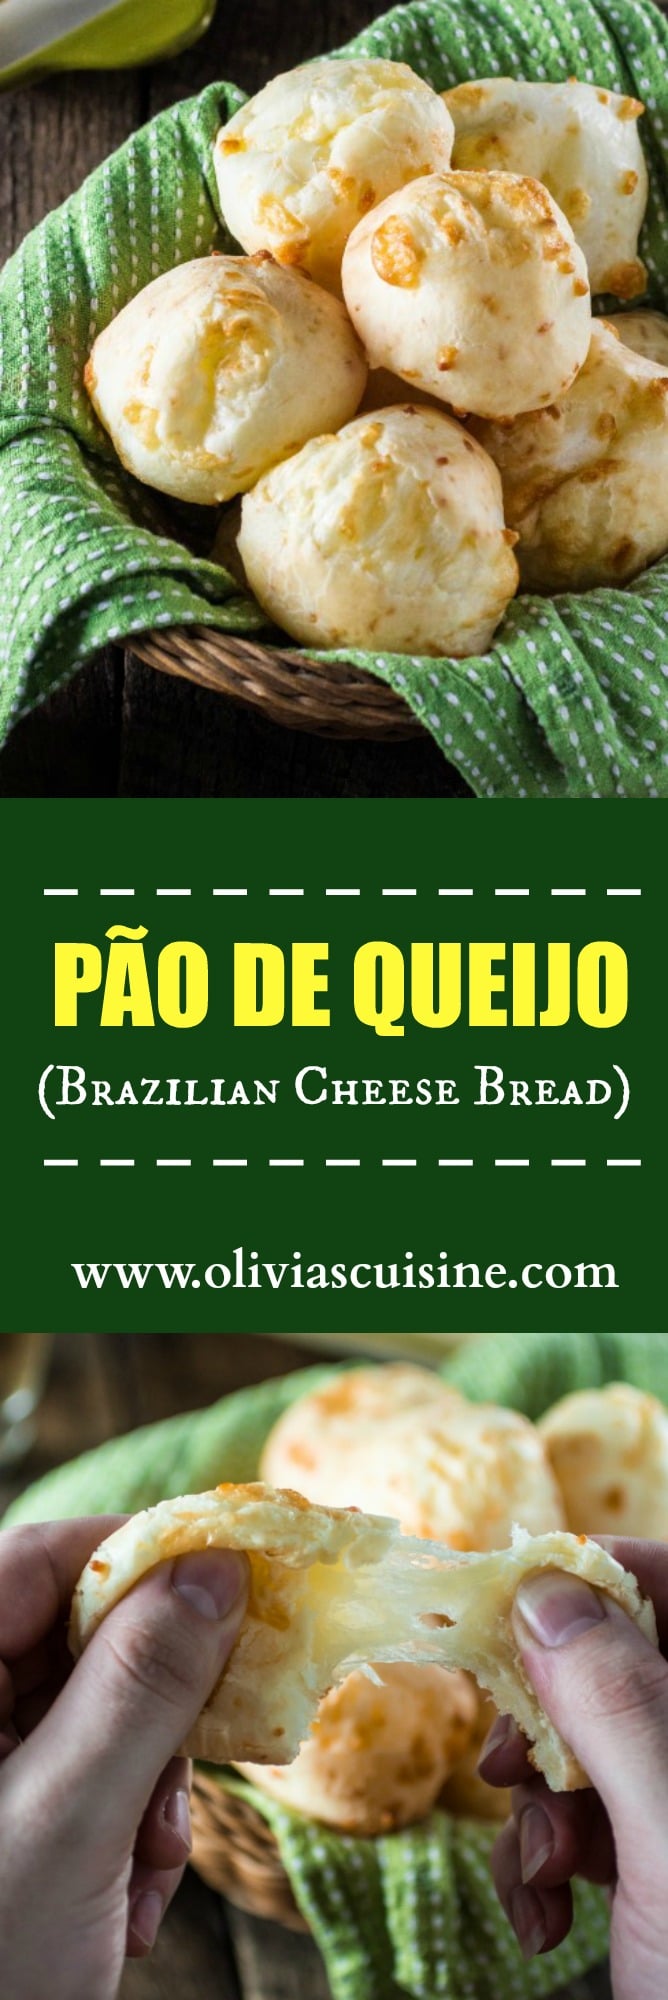
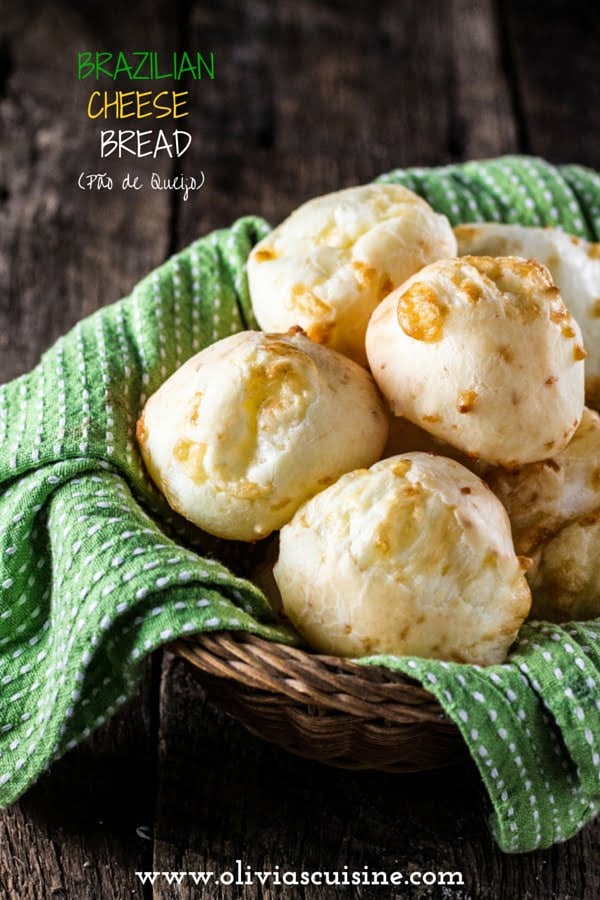
The result? The softest, gooiest, most flavorful cheese bread you will ever taste. The ugly moles you see all over the rolls? That means that they are incredibly cheesy. If you’re a cheeseaholic, like me, you should always want ugly moles on your Brazilian cheese breads!
Pão de queijo is an typical Brazilian snack, originally from the states Minas Gerais and Goiás. We don’t know exactly where and when it originated, but it is suspected that it was around the 18th century, during the slavery period, in the “fazendas mineiras” (farms located in Minas Gerais).
It was customary to serve the masters bread and coffee in the afternoon (hence our “afternoon coffee” instead of “afternoon tea”). However, in Brazil, wheat products just started being largely produced in the 20s, so the cooks had to use manioc products. Those were widely available since they were used long before colonization. So to make the breads, they had to use tapioca flour (or manioc starch), and then, by mixing it with cheese, they created the first pães de queijo from Minas.
The pães de queijo baked in wood burning stoves and were prepared with ingredients produced in their own farms.
Fast forward to the 50’s when the recipe became popular all over the country and then again until nowadays when it’s popular all over the world.
Technically, pão de queijo shouldn’t be considered “bread”. I was debating calling them “rolls” or “puffs”, but SEO likes “cheese bread”, so I went for it! You will find them called either of those terms. You will also find lots of different recipes as every Brazilian has a family recipe that they swear by.
Some people make them crustier (and tougher) and others, like me, prefer them soft and pillowy! Some go light on the cheese and others (ahem! You’re looking at one!) stuff that baby with as much cheese as they can.
The original recipe uses manioc starch (either sour or sweet) and “meia cura” cheese. I guess you could claim my recipe isn’t really authentic since I’m using tapioca flour and parmesan/mozzarella. But let’s not rain on my parade, okay? :P :P :P
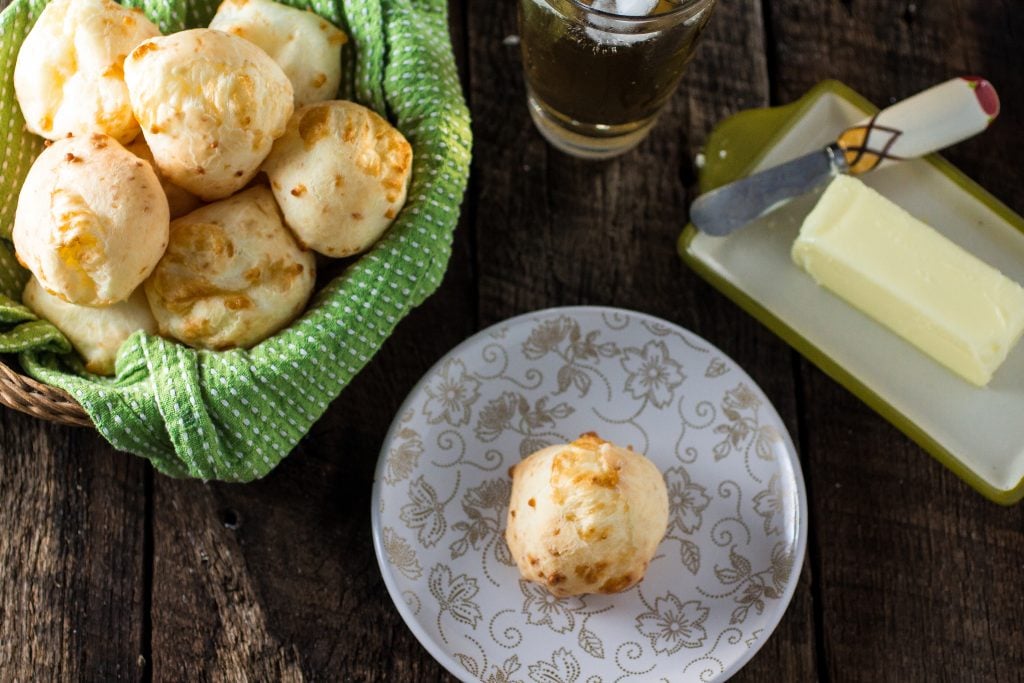
Brazilian cheese bread is tasty as it gets, since they are so flavorful due to the cheese and the tapioca flour. However, feel free to serve them with butter or even some dulce de leche! Yum!
Also, if you’ve seen other pão de queijo recipes out there, they were probably showcased next to a steamy cup of black coffee. Now, yes they go amazing together, but I always like to have my pão de queijo along with a glass of ice cold Guaraná (the national Brazilian soda)!
What? You’ve never had Guaraná? You need to try it right now! It’s delicious!
Make sure you get a few bottles or cans so you can have some friends over for this authentic Brazilian snack: “pão de queijo com Guaraná”. I mean, only if you’re in a sharing mood… Because there would be no judgement on my part of you eat the whole 30 rolls (puffs?) this recipe makes.
Or I you can do it like me and freeze some, that way I’ll always have fresh pão de queijo out of the oven. They taste better out of the oven! The leftovers usually lose the texture… But in case you do have leftovers, they are great for sandwiches! :)
But now you will have to excuse me cause I have a batch coming out of the oven! Oooh the smell…
P.S. Wanna keep in touch? Follow me on Facebook, Twitter, Instagram or Pinterest to stay up to date with my posts! If you end up making one of my recipes, I would love to see it! Just take a photo and post it on your preferred Social Media and tag me or use the hashtag #oliviascuisine!

Authentic Brazilian Cheese Bread (Pão de Queijo)
Ingredients
- 4 cups tapioca flour
- 1 1/4 cups milk
- 1/2 cup water
- 6 tablespoons oil
- 1 1/2 cups grated parmesan cheese
- 1 cups shredded Mozzarella cheese
- 2 large eggs
- 2 teaspoons salt
Instructions
- Preheat oven to 400F degrees with a rack in the middle.
- Combine the milk, water, oil and salt in a saucepan and bring to a boil over medium high heat.
- Add the tapioca flour to the bowl of a stand mixer and, once the milk mixture boils, pour it over the flour. Turn the mixer on and mix it well. The texture will be fondant-like, really white and sticky.
- With the mixer still on, add the eggs, one at a time. You will think they won't mix, since the tapioca flour mixture is so sticky, but hang in there cause they will.
- Once the eggs are incorporated, add the cheese, a little at a time, until fully incorporated.
- The dough is supposed to be soft and sticky. However, if you're worried it's too liquidy, add some more tapioca flour. Just don't over do it or your cheese bread will be tough and not too gooey.
- To shape the balls, wet your hands with cold water and, using a spoon, scoop some of the dough to shape balls that are a little smaller than golf-sized.
- Place the balls on a baking sheet covered with parchment paper and bring it to the preheat oven.
- Bake for 15-20 minutes or until they are golden and puffed.
- Serve them warm! :)
Notes
To freeze them, shape the balls, place them on the baking sheet and bring to the freezer. Once they are frozen, transfer to a ziplock bag and keep them in the freezer up to 3 months.
Once you're ready to use them, preheat the oven to 400 as usual and bake the frozen balls for 25 to 30 minutes or until golden and puffy!
Once you're ready to use them, preheat the oven to 400 as usual and bake the frozen balls for 25 to 30 minutes or until golden and puffy!


