Berry Pavlova
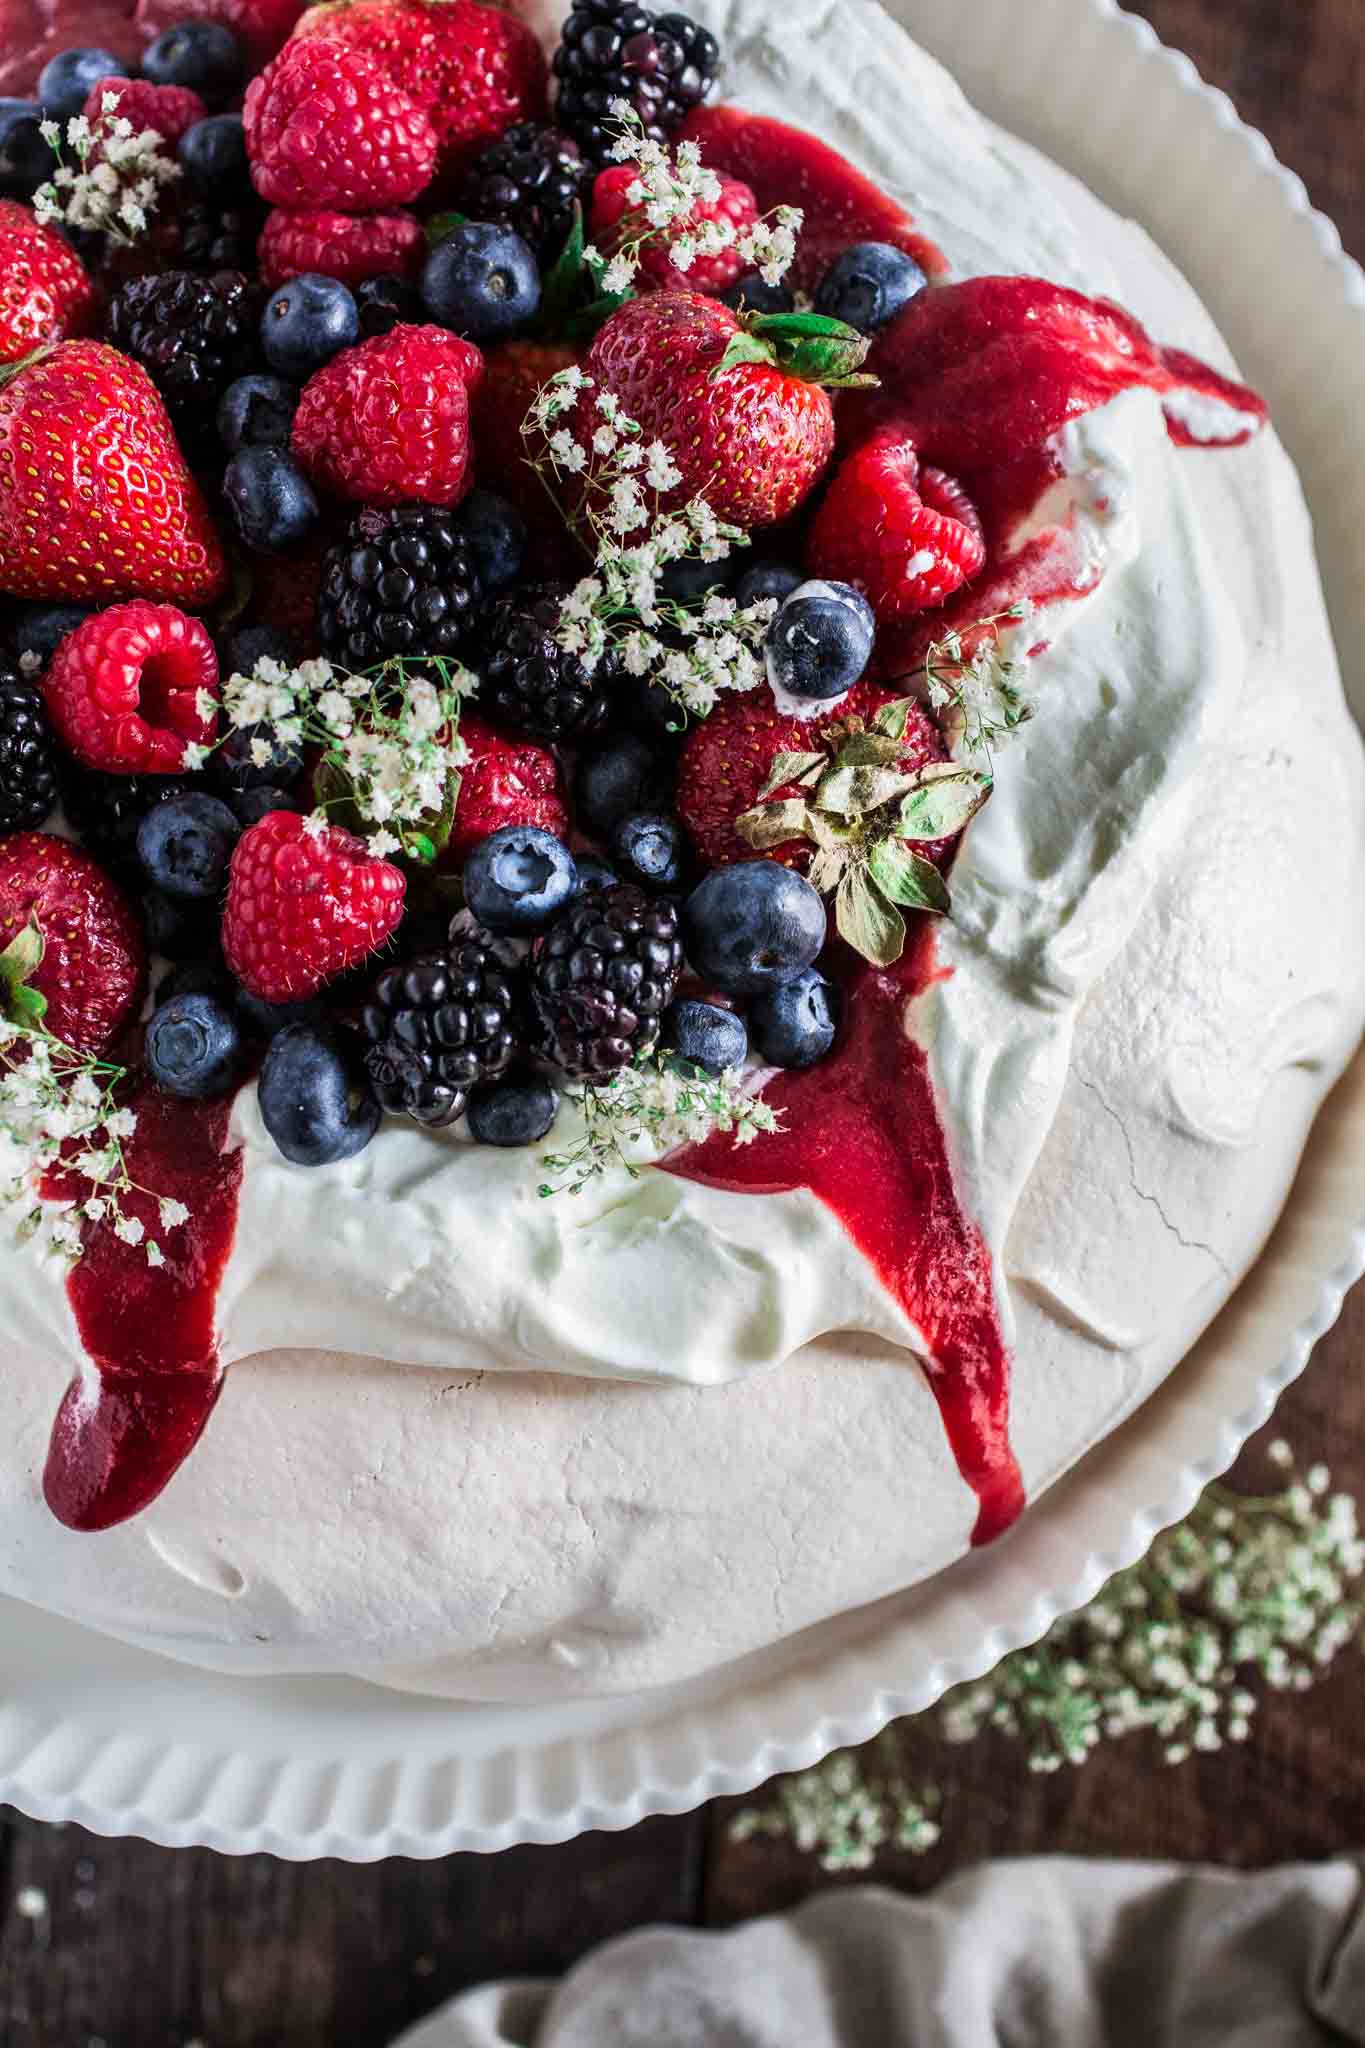
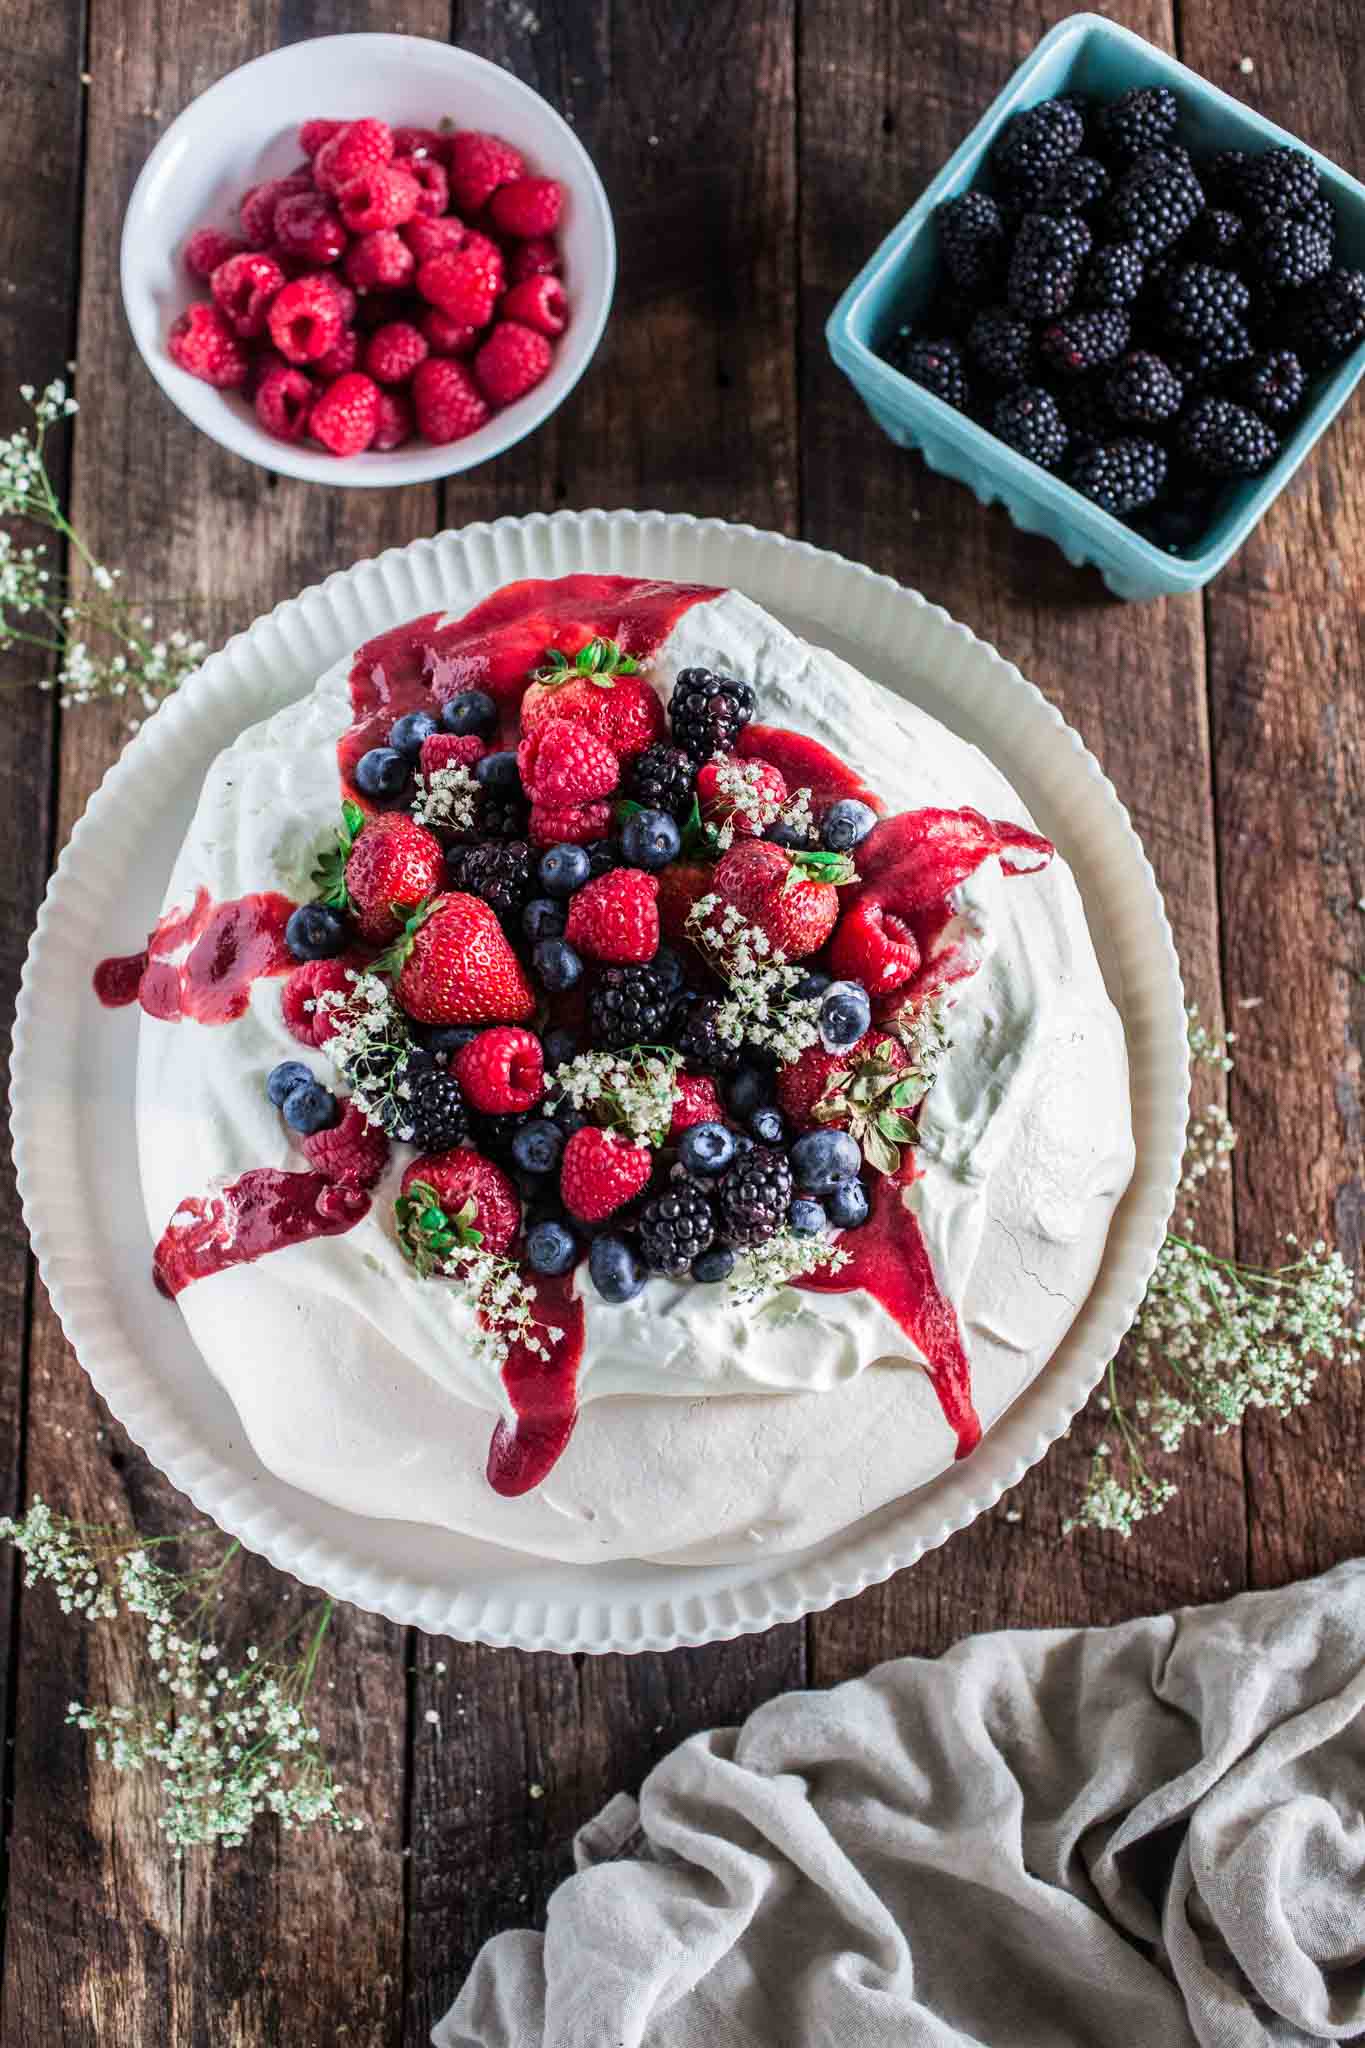
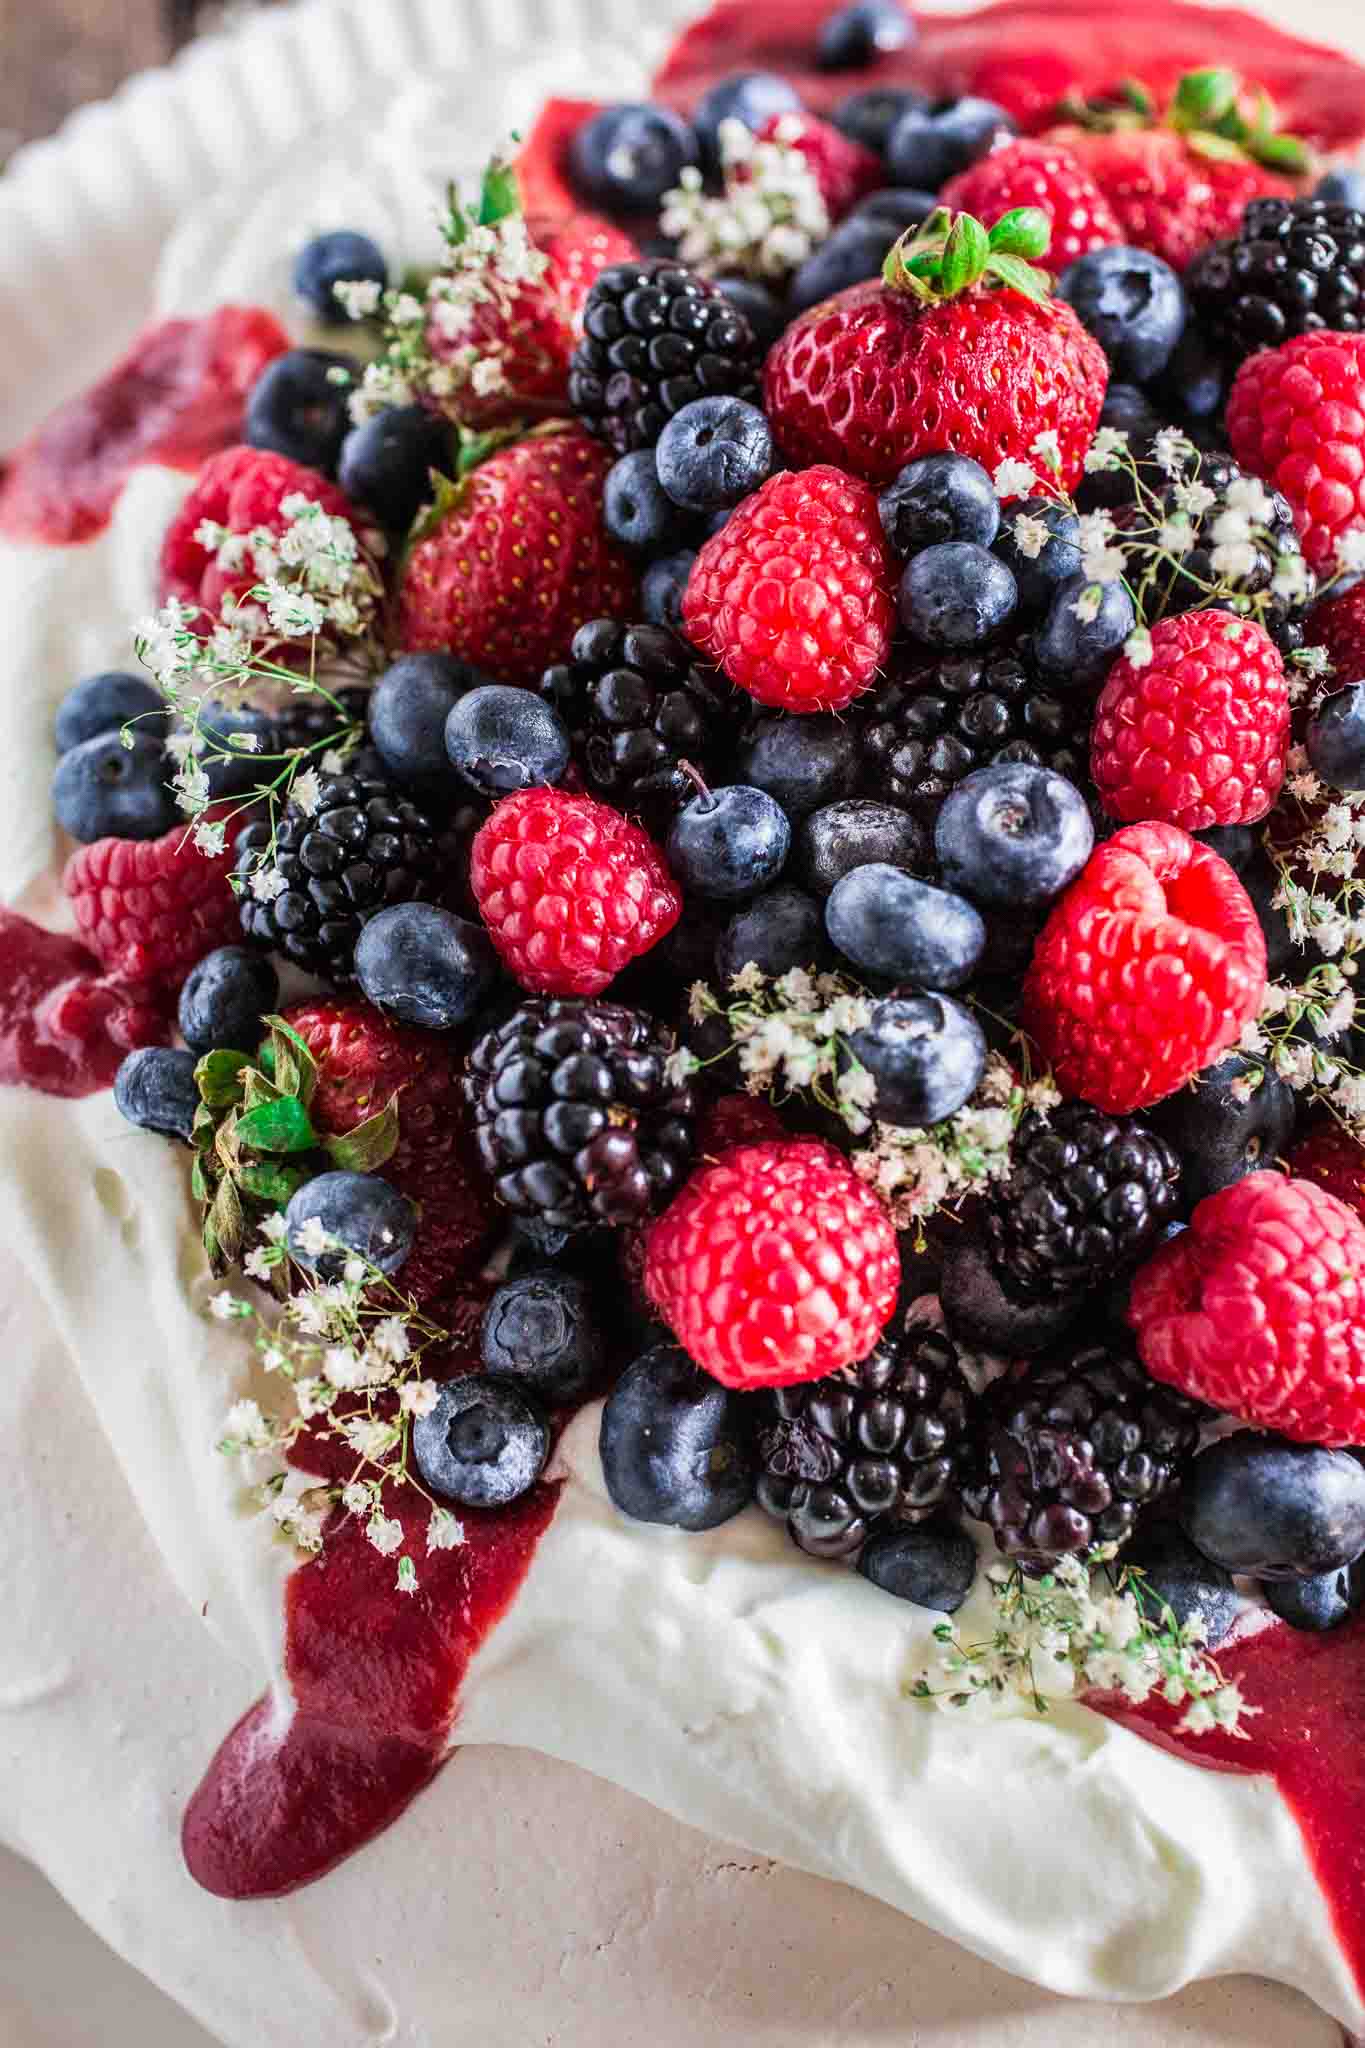
How gorgeous is this Berry Pavlova?
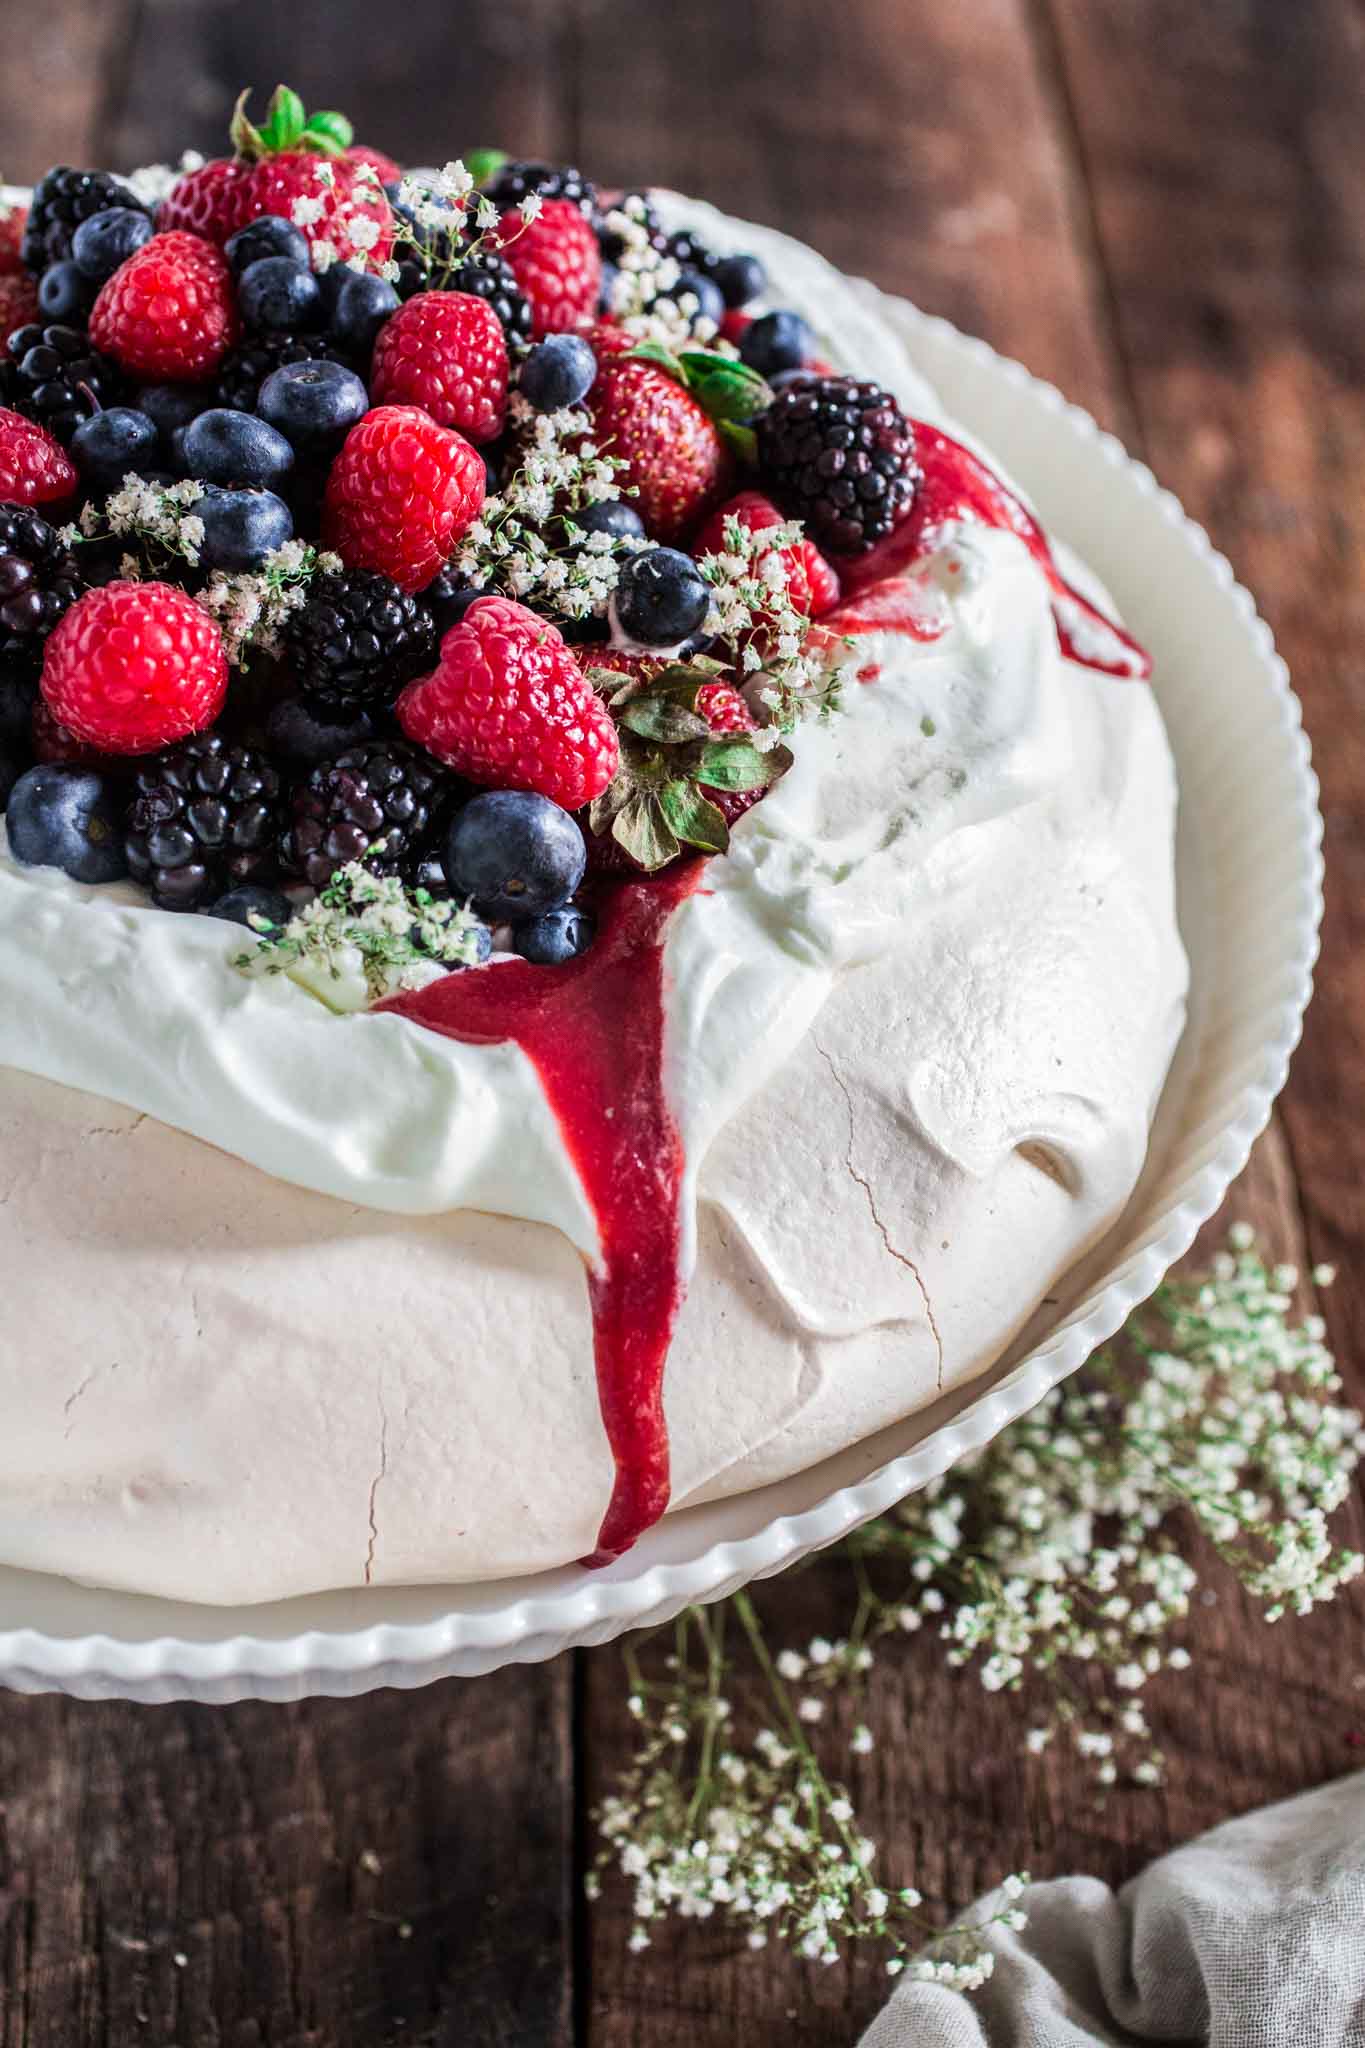
Phew! I made it! In the nick of time, here I am to share one last 4th of July recipe!
Except, the Pavlova is Australian. Or New Zealander, who knows? They’ve been arguing about it for the last century. But, even though it is not an American recipe, I think this Berry Pavlova totally fits the Red, White and Blue theme, don’t you agree?
Plus, it is easy enough that there’s still time for you to put it together for your patriotic cookout. Because if you’re anything like me, you haven’t even gone shopping for your ingredients yet. Oopsie! ?
Procrastinators, rejoice! There is light at the end of the tunnel, I promise. Not to mention, you probably already have most of the ingredients necessary to make this marvelous dessert.
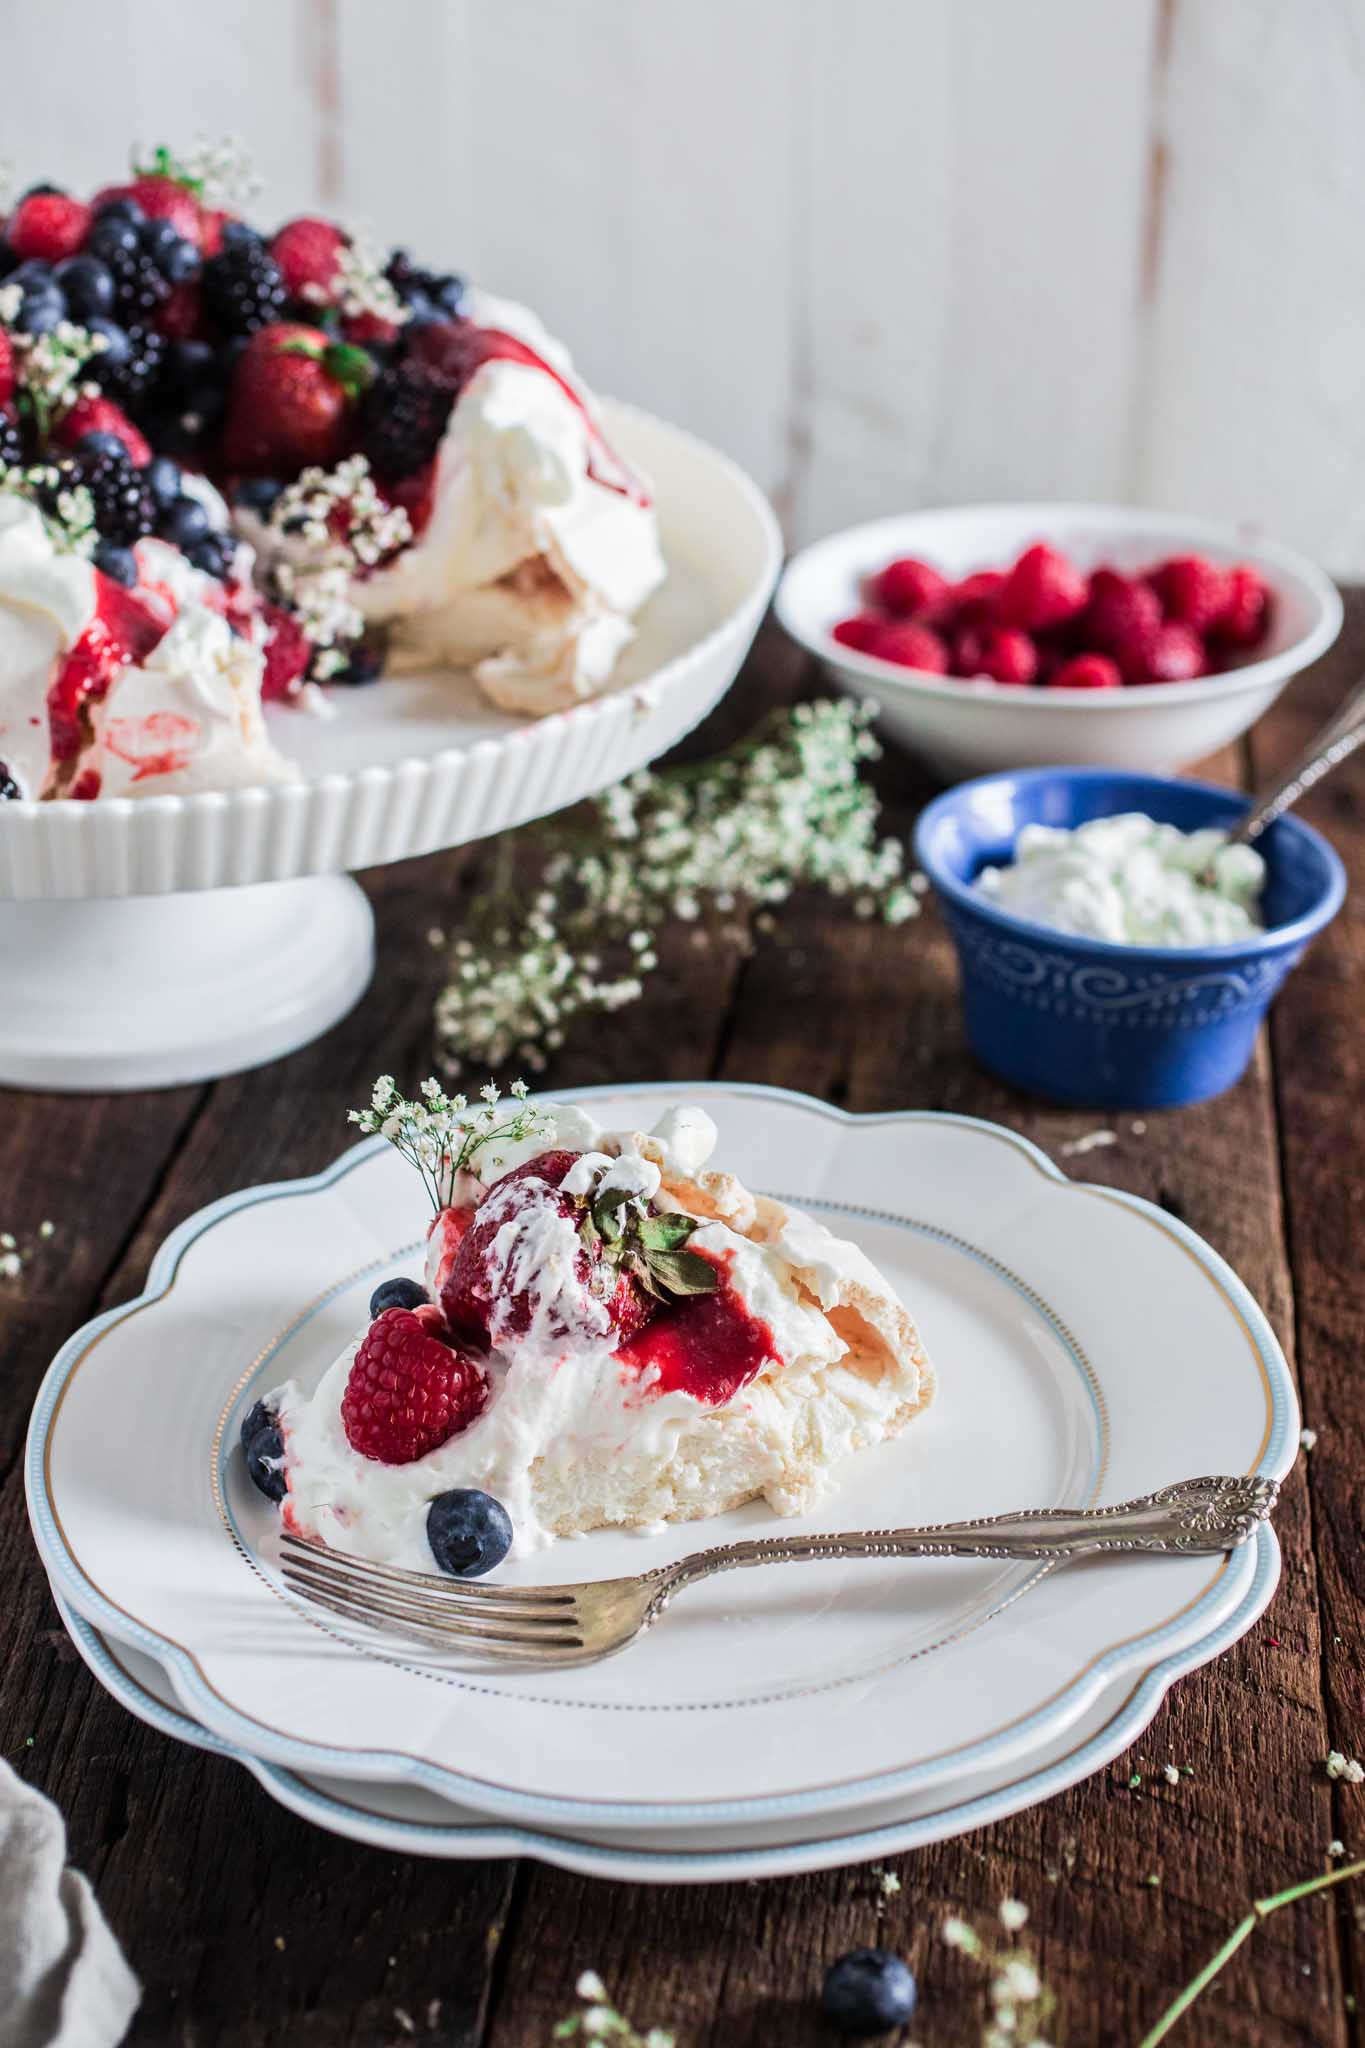
Consisting of a meringue crust that is crisp on the outside and soft and light inside, the Pavlova is usually topped with whipped cream and fresh fruit, making the perfect summertime treat.
The delicate dessert is believed to have been created in honor of the Russian Ballerina Anna Pavlova, during or after one of her tours to Australia and New Zealand in the 1920s.
You will find a hundred million versions on the internet, ranging from mini pavlovas to big layered confections. I seriously wanna eat them all! But today, my heart belongs to this Berry Pavlova. Simple, sweet and light as air.
The secret to a successful pavlova is patience. It is vital that you allow your meringue to cool completely before doing anything else!
Believe me, I’ve had my share of failed pavlovas before I mastered the art of simplicity. Patience is definitely not one of my virtues and is something that I have to work on every day!
But don’t be intimidated by what I’ve just said. Even a “failed pavlova” is a tasty pavlova. It is a very forgiving dessert, because you are gonna top it with fruits and whipped cream, so don’t feel bad if it cracks when you take it out of the oven.
As you can see in my photos, mine has a few cracks as well. It took me a lot to simply let it go and learn to not only accept, but celebrate the imperfections. A toast to cracked pavlovas! Hear, hear! ? (Ok, totally out of context, but when are they going to make an emoji of two wine – or champagne – glasses toasting? Beer is not something I imagine drinking with a Berry Pavlova!)
If you are serving your pavlova for lunch (or brunch), I suggest making the meringue shell one day ahead, let it cool down for a long time (6 hours or overnight) and store in a cool, dry place before assembling your Berry Pavlova.
I definitely do not recommend assembling anything before you are ready to serve. The whipped cream will make the meringue soggy and your pavlova might collapse! So just wait until all your guests are ready to be wowed, and then assemble your magnificent creation!
As you can see, I added a little extra touch to my pavlova: homemade strawberry jam. I would love to say it is optional, but it is not. Make it! It is delicious and it adds another dimension of flavor and an extra pop of color. ❤️
I hope you guys enjoy this beautiful dessert! Happy 4th of July, if you’re celebrating it. If not – Hi, international friends! – happy summer! Or winter, if you’re in another hemisphere. (Pavlovas are good during the winter too!)
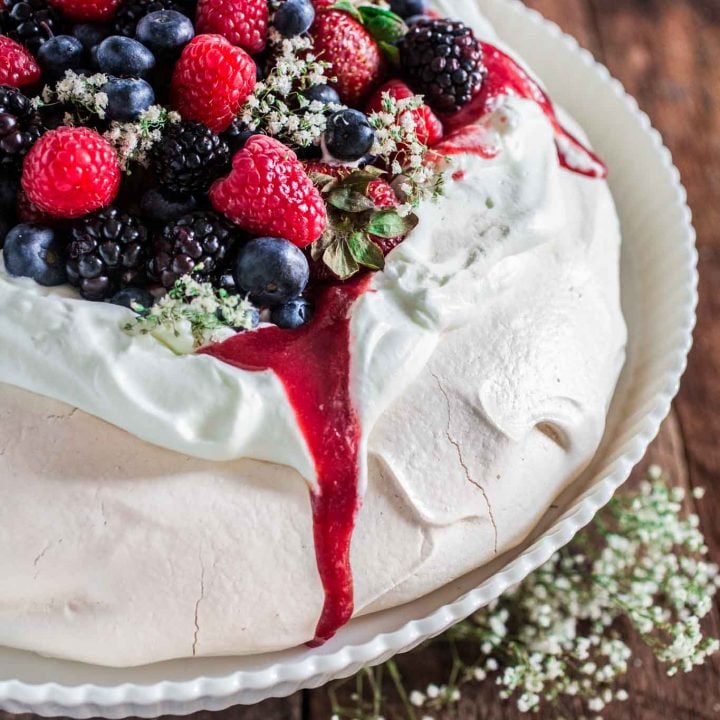
Berry Pavlova
Ingredients
For the meringue shell
- 6 egg whites at room temperature
- Pinch of salt
- 1 1/2 cups fine granulated sugar
- 2 teaspoons lemon juice
- 1 tablespoon vanilla extract
- 2 teaspoons cornstarch
For the strawberry jam:
- 2 cups chopped strawberries
- 1/4 cup sugar
For the whipped cream:
- 2 cups heavy cream, cold
- 1/4 cup sugar
To assemble the pavlova:
- About 4 cups of fresh berries (strawberries, blackberries, blueberries, raspberries, etc)
- Mint leaves (optional)
Instructions
Making the meringue shell:
- Pre heat oven to 250F degrees with a rack in the middle. Line a baking sheet with parchment paper, and using a springform pan removable bottom, trace a 9" circle on the paper as a guide. Flip the parchment paper over and reserve.
- Using the whisk attachment on your stand mixer, beat the egg whites until they start to look foamy. Then, add the pinch of salt and 1/2 cup of sugar and beat, at medium speed, for 3 minutes. Add another 1/2 cup of sugar and beat for 3 more minutes. Finally, add the remaining 1/2 cup of sugar and beat until glossy stiff peaks form and the sugar is completely dissolved. Tip: To test if the sugar is fully dissolved, rub a little of the meringue between your thumb and index finger to see if it feels smooth and not gritty. If it's not smooth, keep beating until it is not gritty anymore and you can't feel any sugar granules.
- Add the lemon juice, cornstarch and vanilla extract and mix until well combined, about 20 more seconds.
- Transfer the meringue to your prepared baking sheet and, using a spatula, spread it inside the circle, into a round ring, making a deep indent in the center that will later fit the whipped cream and berries. Smooth the sides if desired or leave it in billowy lumps.
- Bring it to the preheated oven and bake for 1 1/2 hours.
- Turn the oven off and let your meringue shell sit inside the oven for at least 3 hours, or overnight.
Making the strawberry jam:
- Process the chopped strawberries with the sugar. Bring it to a saucepan and cook, over medium heat, for 10 minutes. Strain and transfer to an airtight container. Refrigerate until ready to use.
Making the whipped cream:
- Beat or whisk the heavy cream with the 1/4 cup sugar until stiff peaks are formed. It is important that the cream is very cold and that your bowl is clean.
Assembling the Berry Pavlova:
- Carefully remove parchment paper from under the pavlova and transfer the pavlova to a serving plate or cake stand.
- Spread the whipped cream over the pavlova and then top with the strawberry jam and the fresh berries.
- Serve immediately or within the next hour. (Do not refrigerate or the pavlova will get soggy!)
Notes
Adapted from the book "Por Uma Vida Mais Doce" (in Portuguese), by Danielle Noce.
- Disclosure: This post might contain affiliate links!


