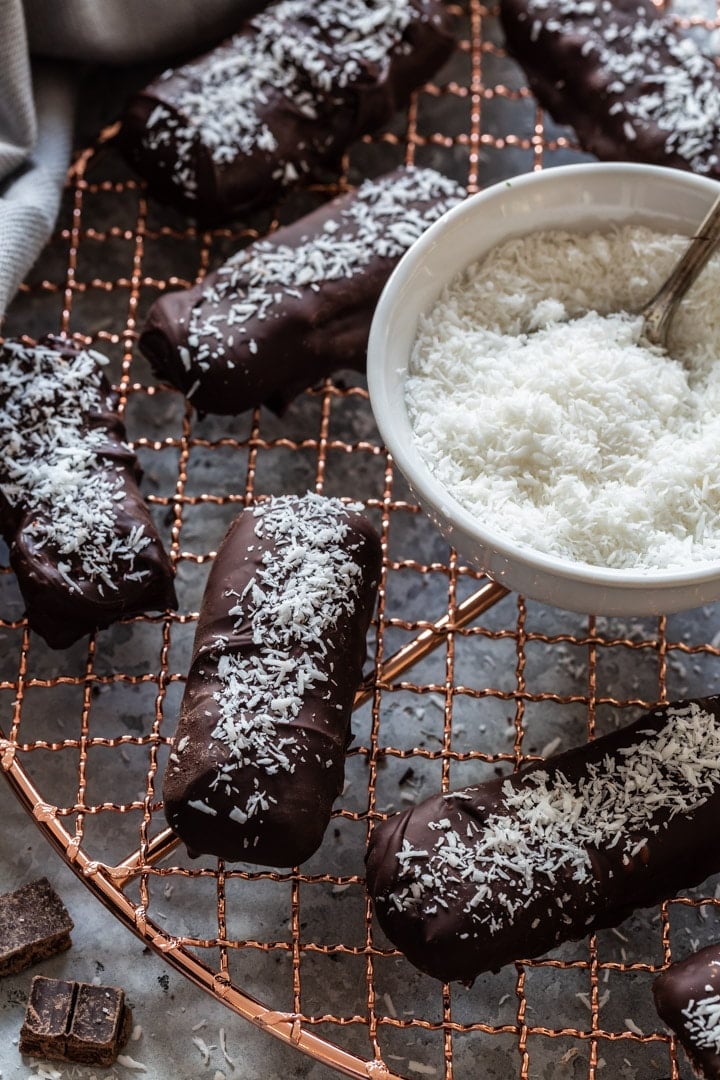
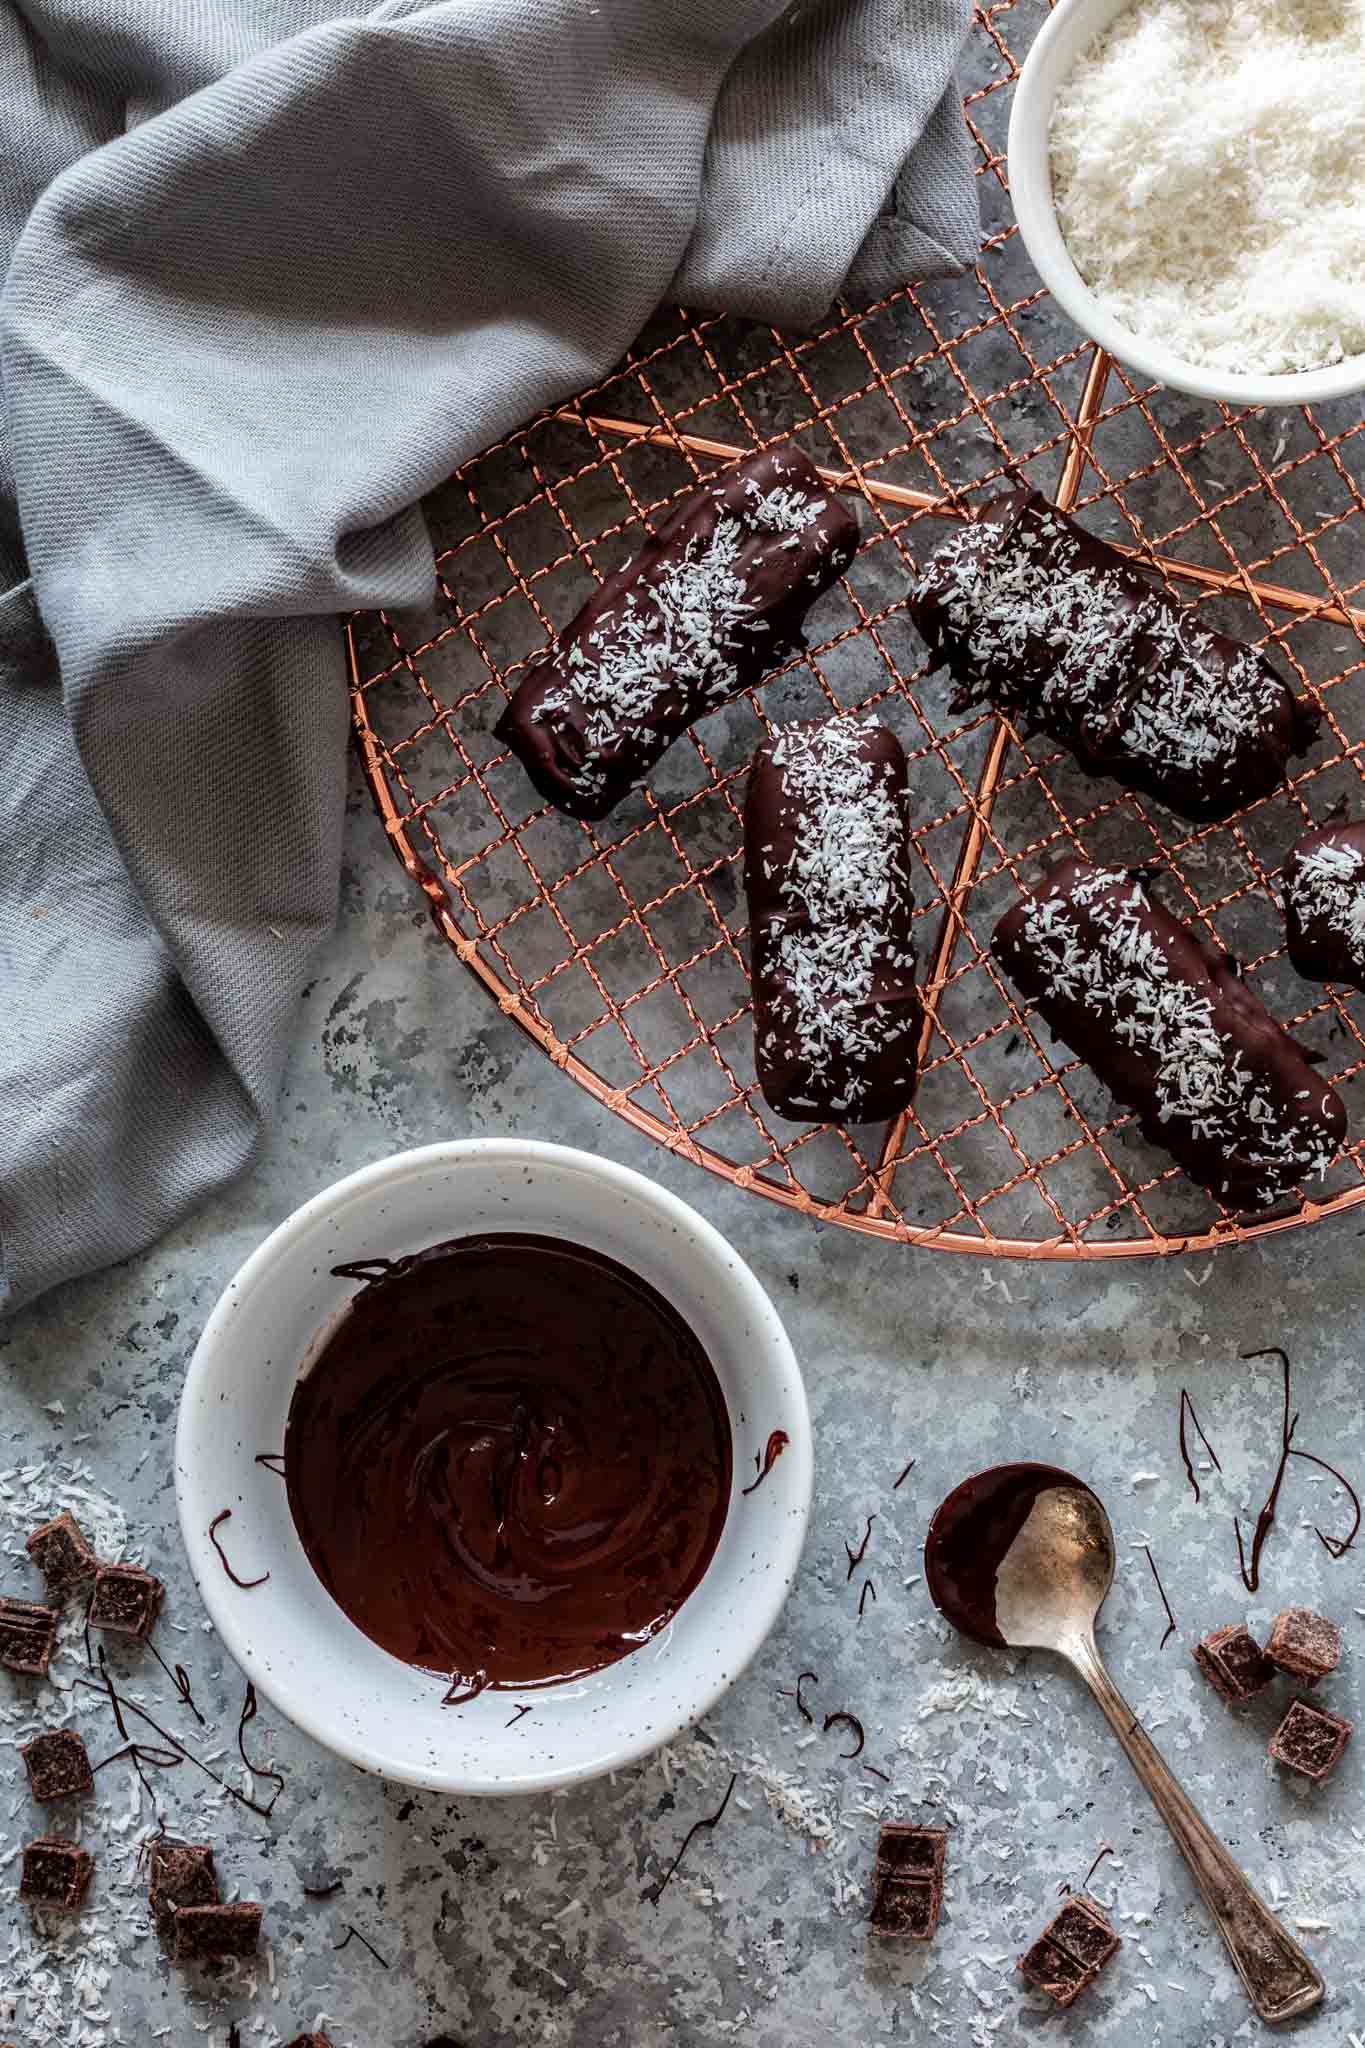
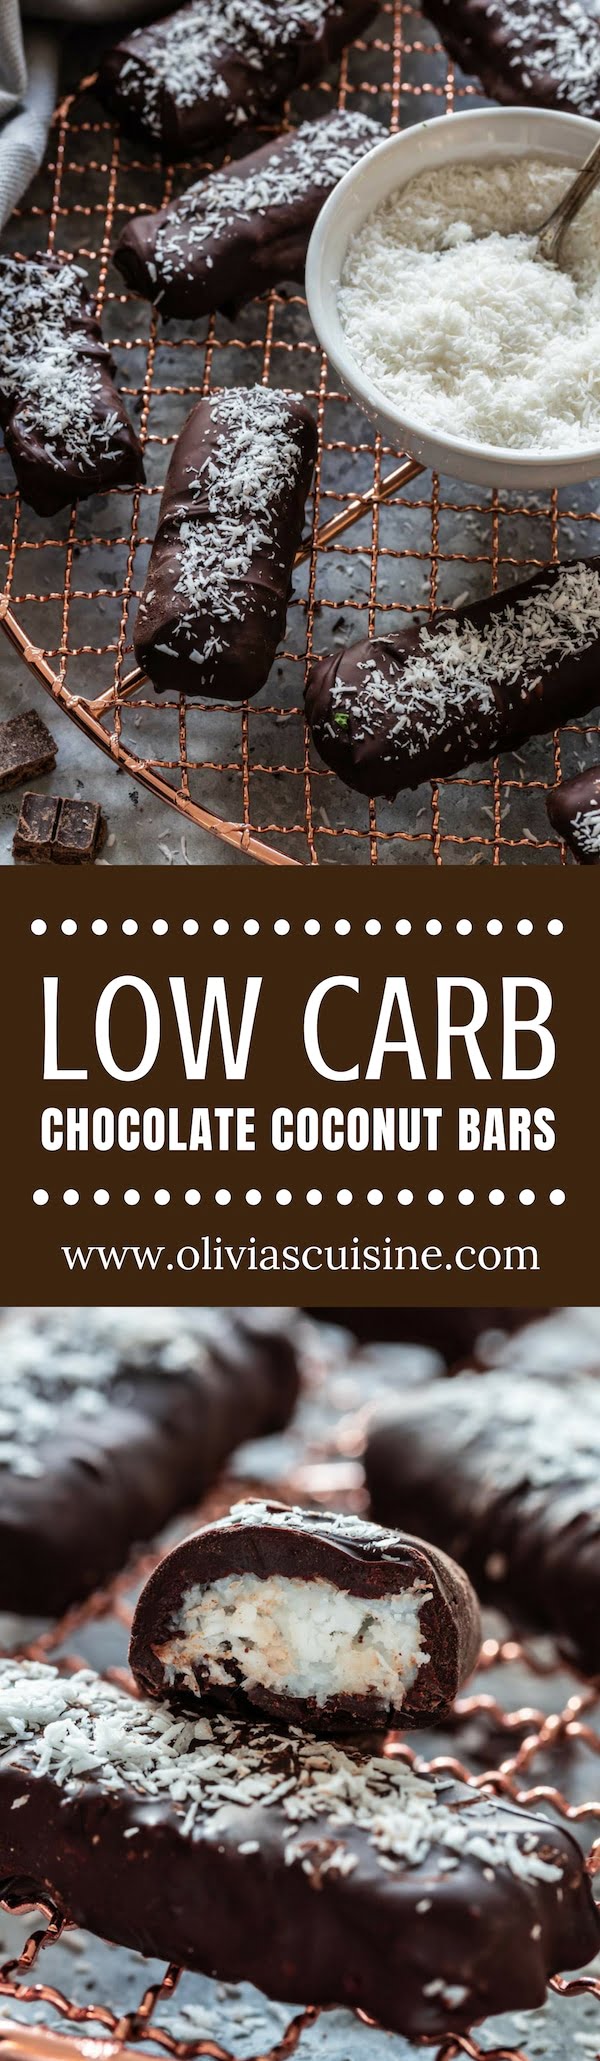
Low Carb Chocolate Coconut Bars
Conquer your cravings by eating these delightful and indulgent Low Carb Chocolate Coconut Bars without an ounce of guilt! Life can be delicious even when it’s sugar free!
Leading a low carb lifestyle is much easier when you have tasty treats available for when your sweet tooth strikes.
Believe me, I’m talking from experience!
The first time I had GD (gestational diabetes), I struggled with finding food that I could eat that wouldn’t raise my blood sugar. Because of that, I ended up falling off the wagon quite a few times and, consequently, feeling guilty and as if I was harming my unborn child.
This time, since it isn’t my first rodeo, I’m navigating this journey very differently! For example, I know my sweet tooth gets a little out of control during pregnancy, so I’m buying and making treats that I can eat without remorse.
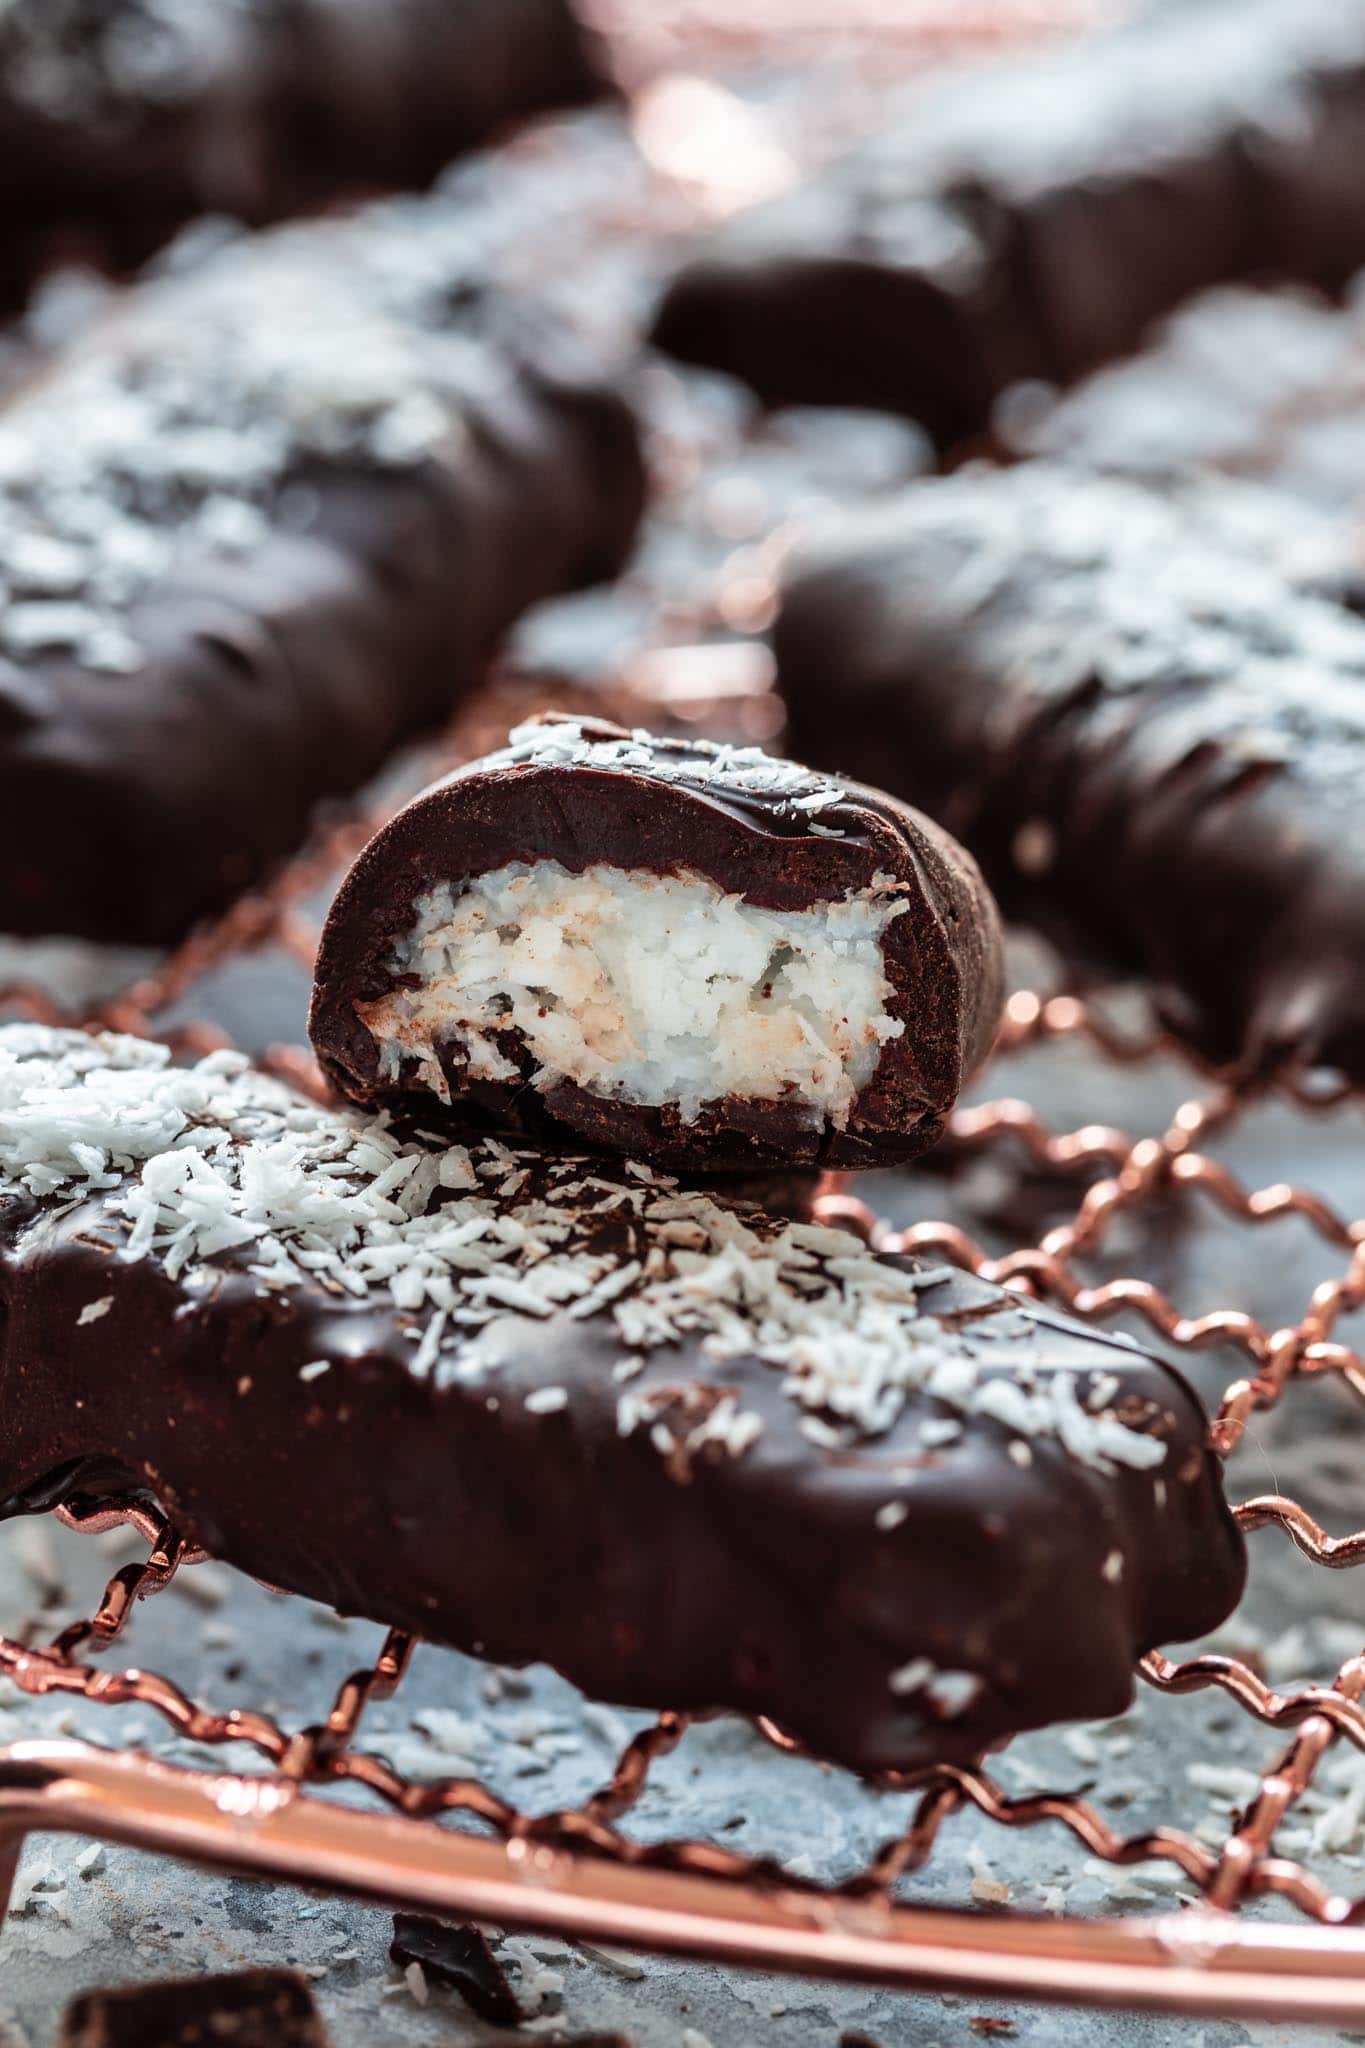
These low carb chocolate covered coconut bars have been my go-to sweet snack this time around! They taste indulgent but are actually sugar free and low in carbs.
They were inspired by these Brazilian coconut treats called “Prestígio“, which are like Almond Joys without the almonds. But you can totally add almonds here if you’d like! Almonds, coconut and chocolate go great together, after all.
Almonds or no almonds, if you’re a coconut lover, these are a must make!
How to Make Low Carb Chocolate Coconut Bars
These bars are easy to make and only require five ingredients:
- Coconut oil
- Coconut milk
- Sweetener
- Unsweetened shredded coconut
- Unsweetened dark chocolate
Tempering chocolate can be intimidating, if you’re not used to it, but we’ll get to that in a minute.
The good news is that is the hardest (and messiest) part. Everything else is a breeze and you won’t need your oven, since these are no bake!
How to Temper Chocolate
There are a few techniques on how to temper chocolate, but – since I haven’t mastered them all – I’ll stick to the one I know and use. Maybe one day I’ll write a post exclusive to that subject.
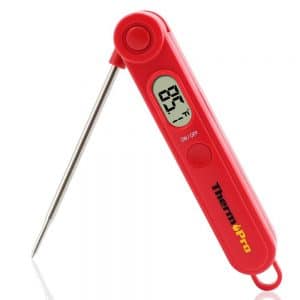
For now, I’ll share with you my biggest tip: invest in a thermometer! It will make your life so much easier.
“But why do I have to temper chocolate?”, you might be asking yourself. Well, if chocolate is not tempered, the cocoa butter crystallization is uncontrolled and will result in dull, unattractive chocolate that is more susceptible to heat and humidity, melting and spoiling more easily.
Tempering chocolate means heating and cooling chocolate to stabilize it. The results are a smooth and glossy finish and chocolate that is firm and doesn’t easily melt on your fingers (only in your mouth! yum!). It is great for chocolate covered treats, like truffles, bonbons, Easter eggs, chocolate strawberries, homemade peanut butter cups and – of course – these low carb chocolate coconut bars!
The method I like using to temper chocolate is the following:
- Place two-thirds of your chopped chocolate in the top pan of a double boiler. Heat, stirring constantly, until it reaches 114 – 118° F for dark chocolate (which is the kind we use in this recipe) or 105 – 113° F for milk chocolate. It should never go higher than 120° F!
- Remove from heat and add the reserved chocolate, stirring until melted. Keep stirring until the temperature drops between 88 – 89° F for dark chocolate or between 84 – 86° F for milk chocolate. This can take up to 15 minutes, but hang in there! It is worth it! If you are in a hurry, place the bowl in an ice bath, being careful not to get any water in the chocolate, or it will seize.
- Bring the chocolate back to the double boiler, stirring until it reaches 87°–90°F. Your chocolate is now ready to be used! High five!
A good trick to know if your chocolate is properly tempered is to dip a metal spatula into it and set it on the counter for 3 to 5 minutes. If the chocolate dries smoothly and without any streaks, it is tempered. If not, keep stirring and checking the temperature and then try again until it does!
Tempered melted chocolate has to be used quickly, before it cools and hardens. That will probably happen a few times while you work! No need to worry, though. All you gotta do, if it cools to about 84°F to 86°F and is still fairly liquid, is to reheat in the double boiler until it reaches 87°–90°F again.
If the temperature drops below that, you will need to re-temper it, so I highly recommend you keep a thermometer in the bowl while you are using the chocolate, so you can quickly pop it into the double boiler to raise the temperature before it drops too low!
Another thing to pay special attention to is making sure that all your tools, bowls and surfaces are absolutely dry before melting the chocolate. Even a drop of liquid can cause the chocolate to seize up, becoming grainy and dull!
Here are a few useful articles on how to temper chocolate:
Tempering Chocolate – Ghirardelli
Lesson – Tempering Chocolate and Why
How to Temper Chocolate – Handle the Heat
How to Temper Chocolate Without a Thermometer – The Kitchn
What kind of chocolate to use?
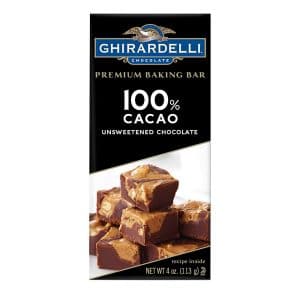
To keep these low carb, I highly recommend unsweetened dark chocolate. The darker the better! 100% cacao would be best, but anything 70% or higher should work!
A few suggestions:
Baker’s Unsweetened Baking Chocolate Bar
How to store and freeze low carb chocolate coconut bars
I find that these bars taste better and last longer when stored in the fridge, sealed in an airtight container. Depending on how warm room temperature is for you, the filling can get too soft if not refrigerated.
Let it come to room temperature before eating for better flavor and melt in your mouth effect!
In our house, these don’t usually last enough for me to consider freezing them. But you can! Frozen chocolate can be less shiny after thawing, but it will still be delicious. Just make sure to thaw them in the refrigerator, as thawing them at room temperature would cause condensation to form and alter the appearance and texture.
Seriously, give these a try! They are so delicious and addicting that you will be shocked that they are sugar free. They also make great gifts!
You can use the same recipe to make bonbons instead. Just use bonbon candy molds to set the filling and then dip them in the tempered melted chocolate as you would the bars.
Learning to make indulgent sugar free treats, like these Low Carb Chocolate Coconut Bars and the Low Carb Hot Chocolate I posted last week, has changed my perspective on “dieting”. I’m even considering keeping this lifestyle after my daughter is born, at least during the week, if it means I get to keep eating tasty treats like these!
Enjoy!
Low Carb Chocolate Coconut Bars
Ingredients
- 2/3 cup coconut oil
- 2/3 cup full fat coconut milk
- 2/3 cup sweetener
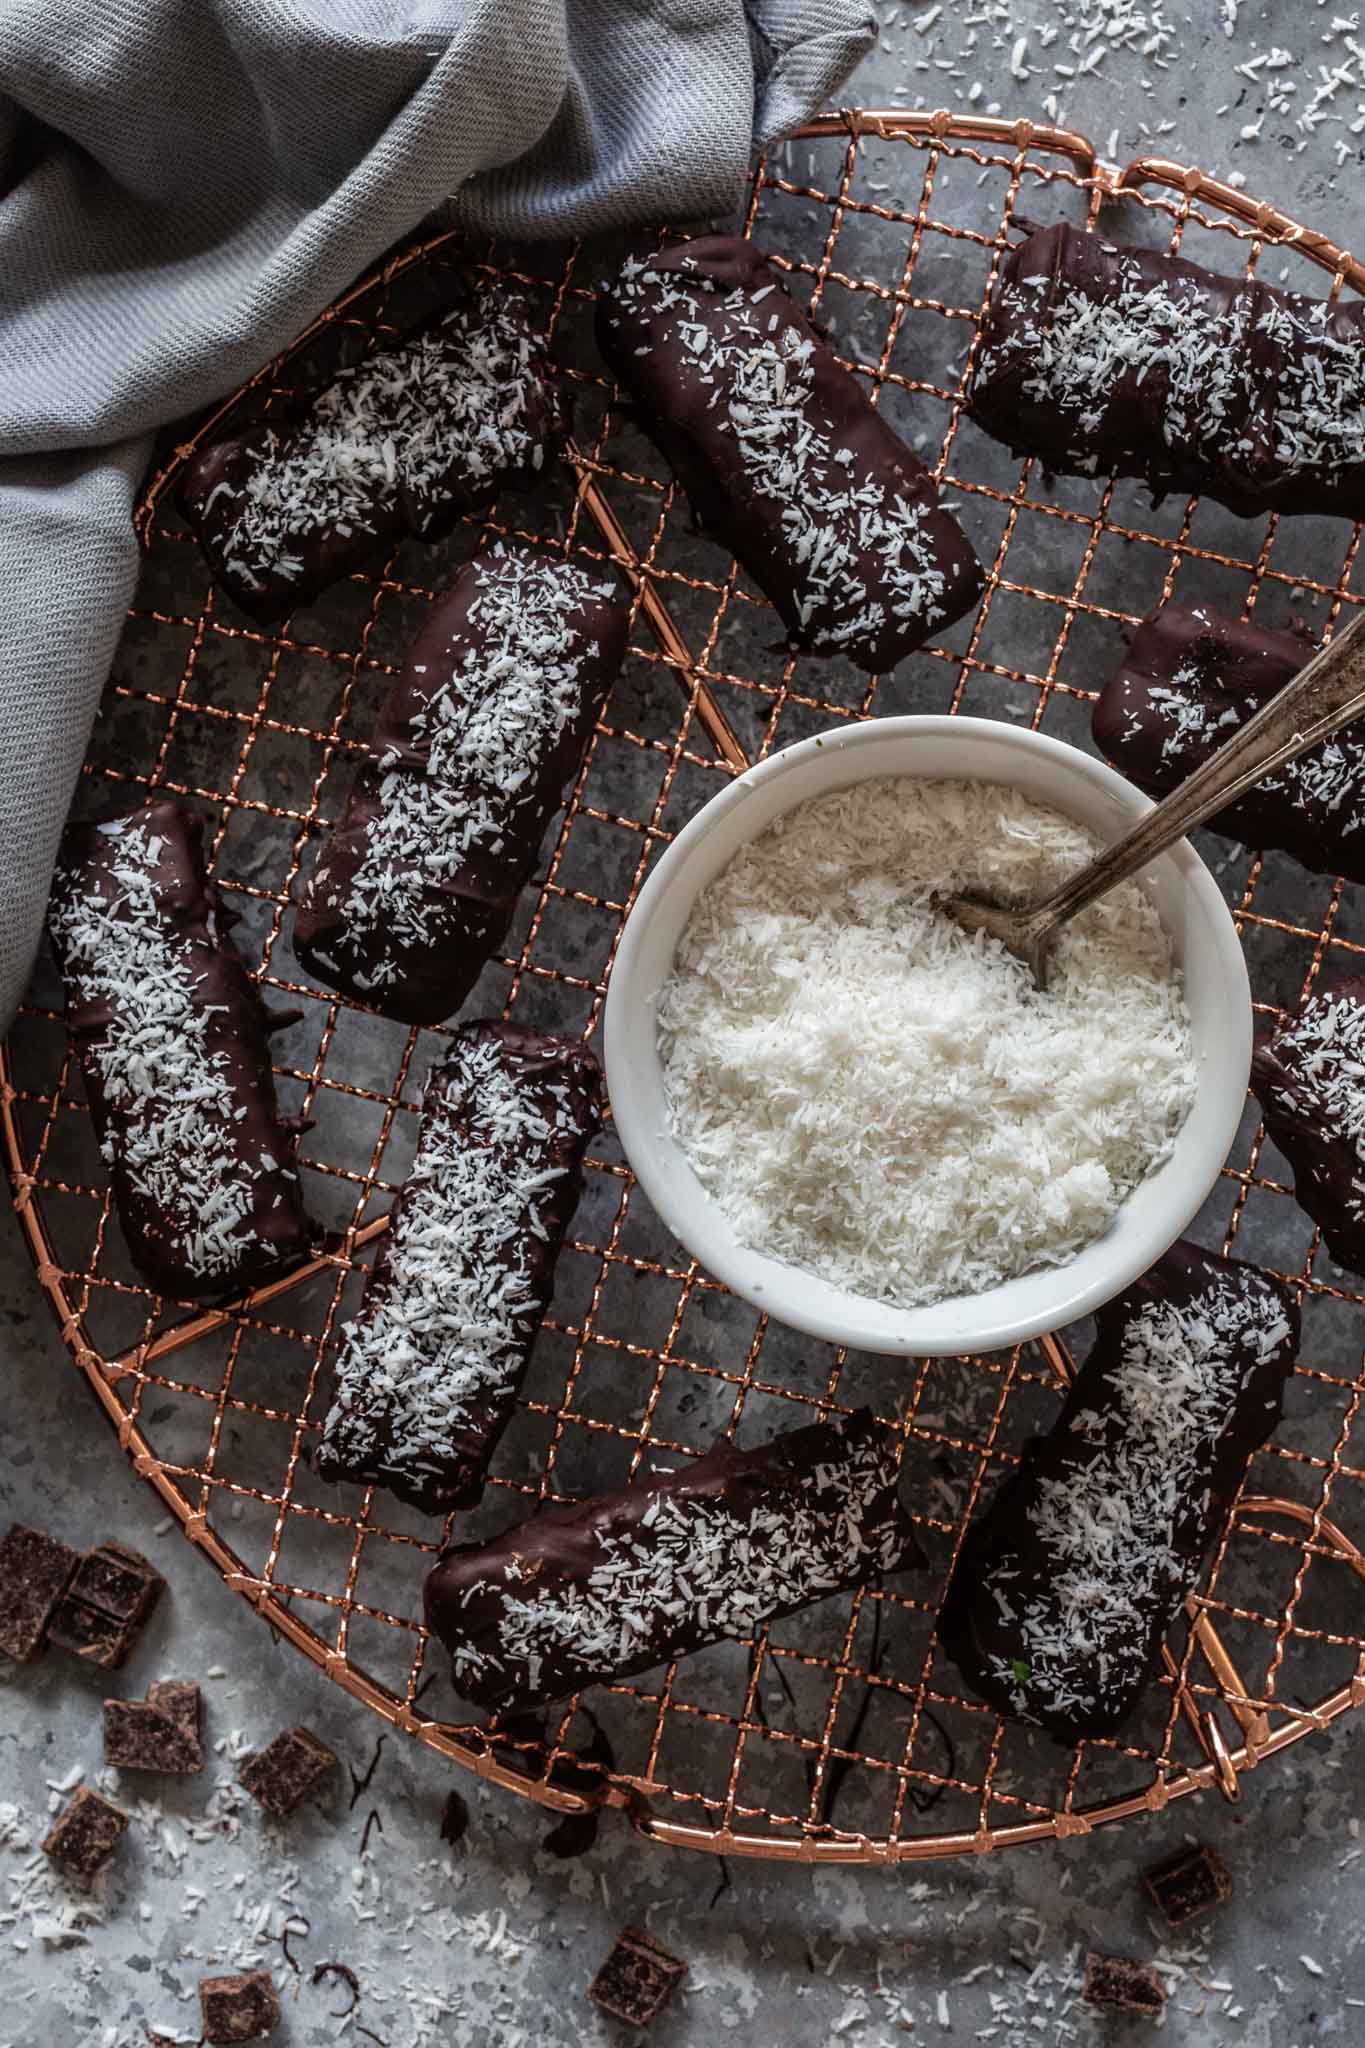
- 2 cups unsweetened shredded coconut, plus more for decorating
- 12 ounces unsweetened dark chocolate, chopped
Instructions
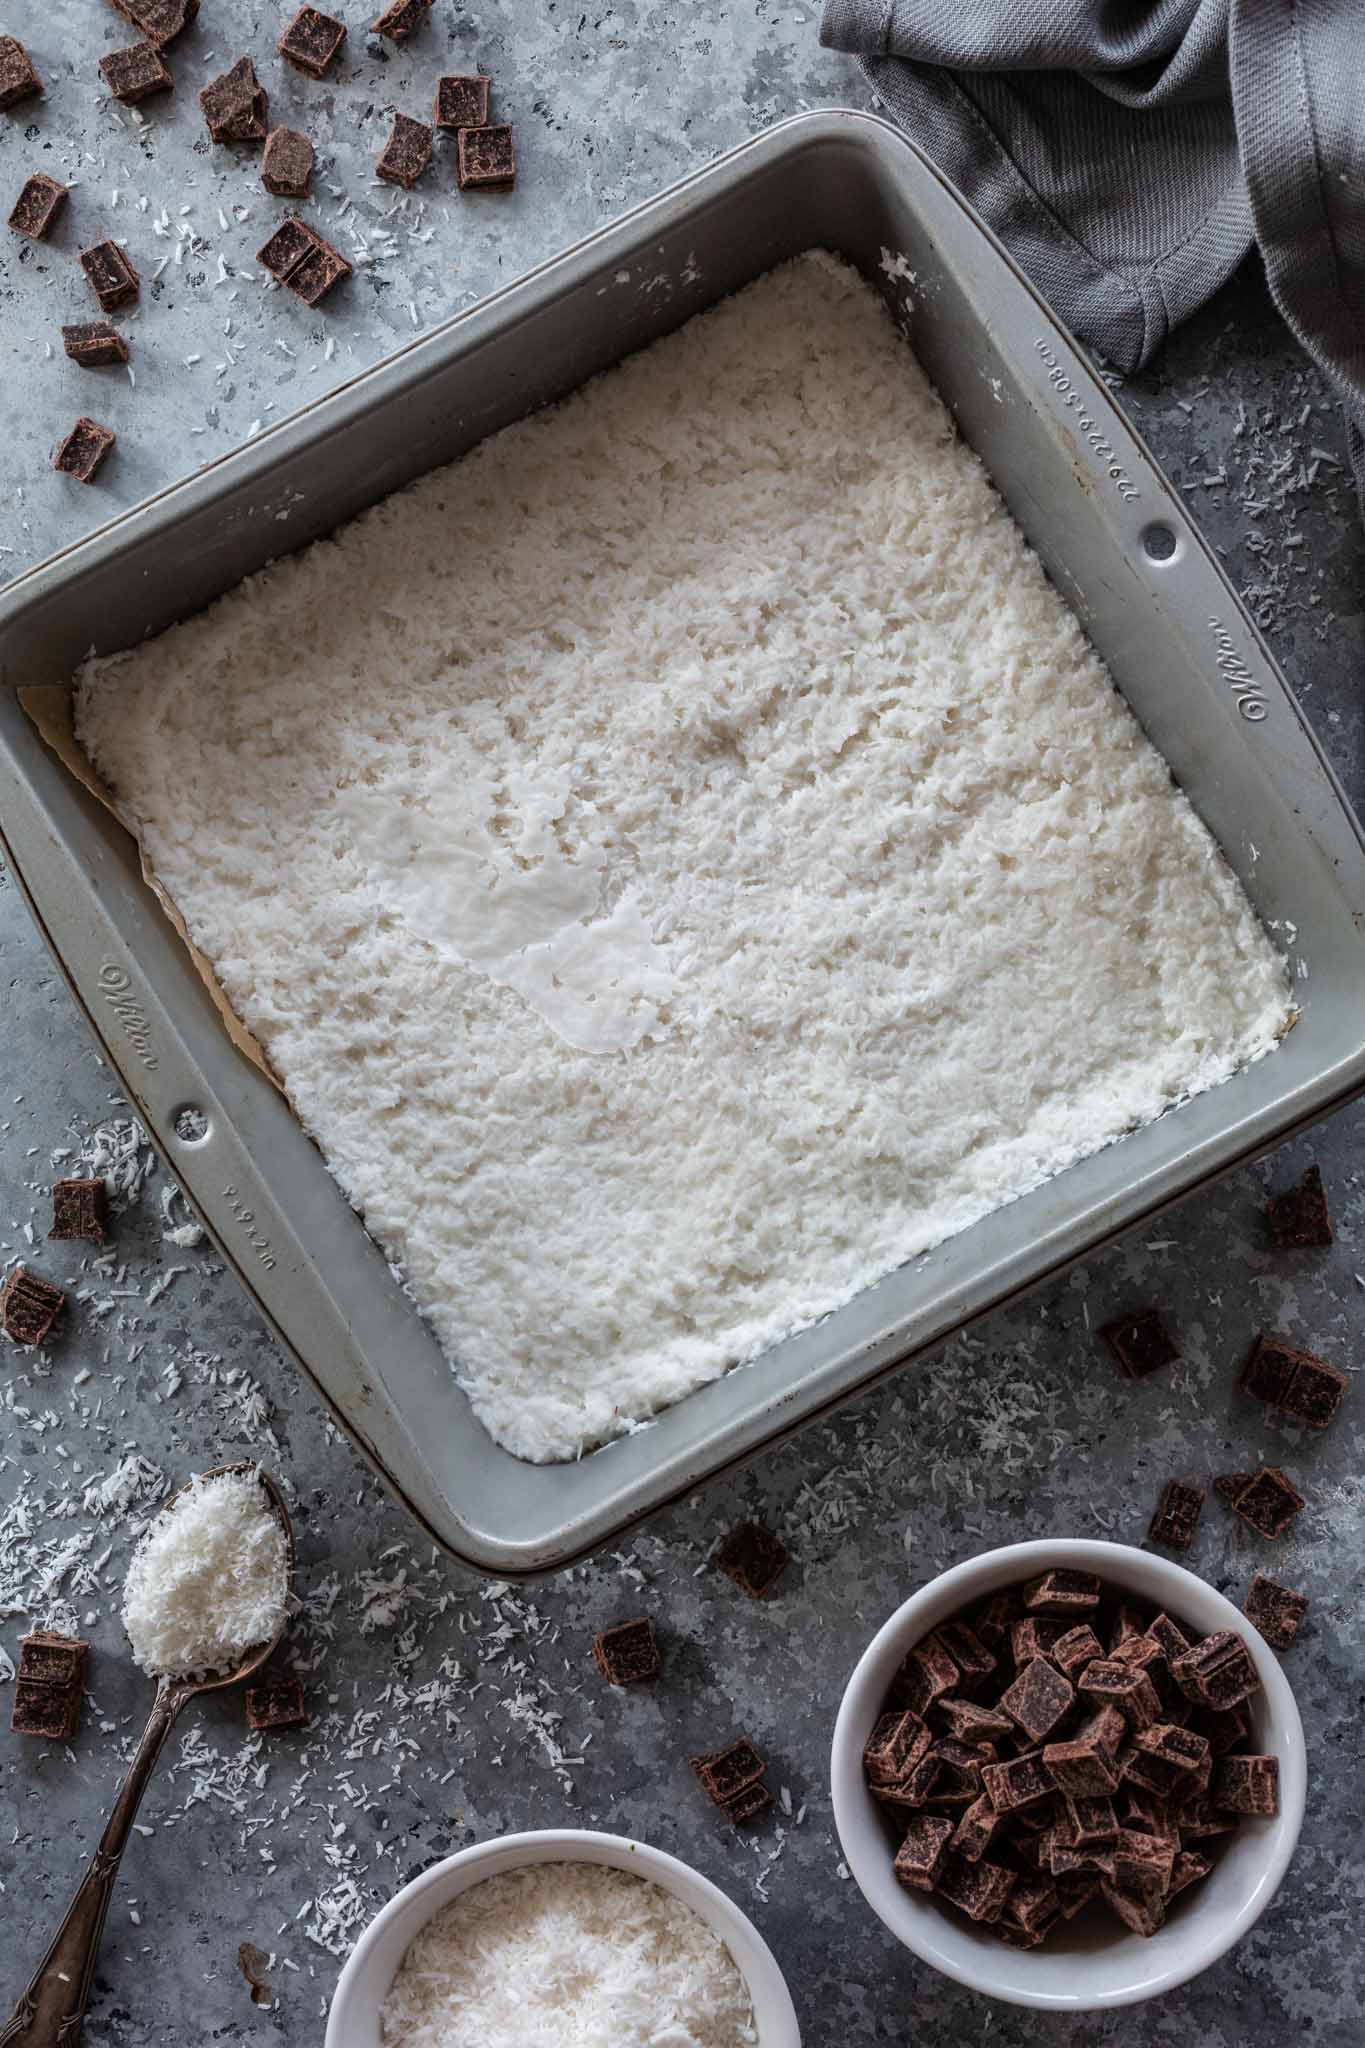
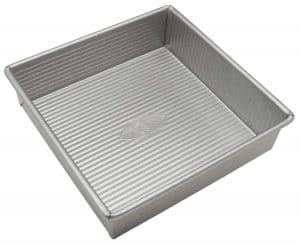
- Prepare a 8-inch square pan by covering it with parchment paper. Reserve.
- In a medium saucepan, combine the coconut oil, coconut milk and sweetener. Cook until the oil is melted and the mixture starts to boil. Remove from heat and stir in the shredded coconut.
- Transfer the coconut filling to the prepared pan and refrigerate until it sets, at least 2 hours. Then, using a knife, cut the filling into about 20 rectangles (I cut mine 1-inch by 3-inches). Arrange the cut bars into a baking sheet lined with parchment paper, cover with plastic and bring it to the freezer to harden for 1 hour.
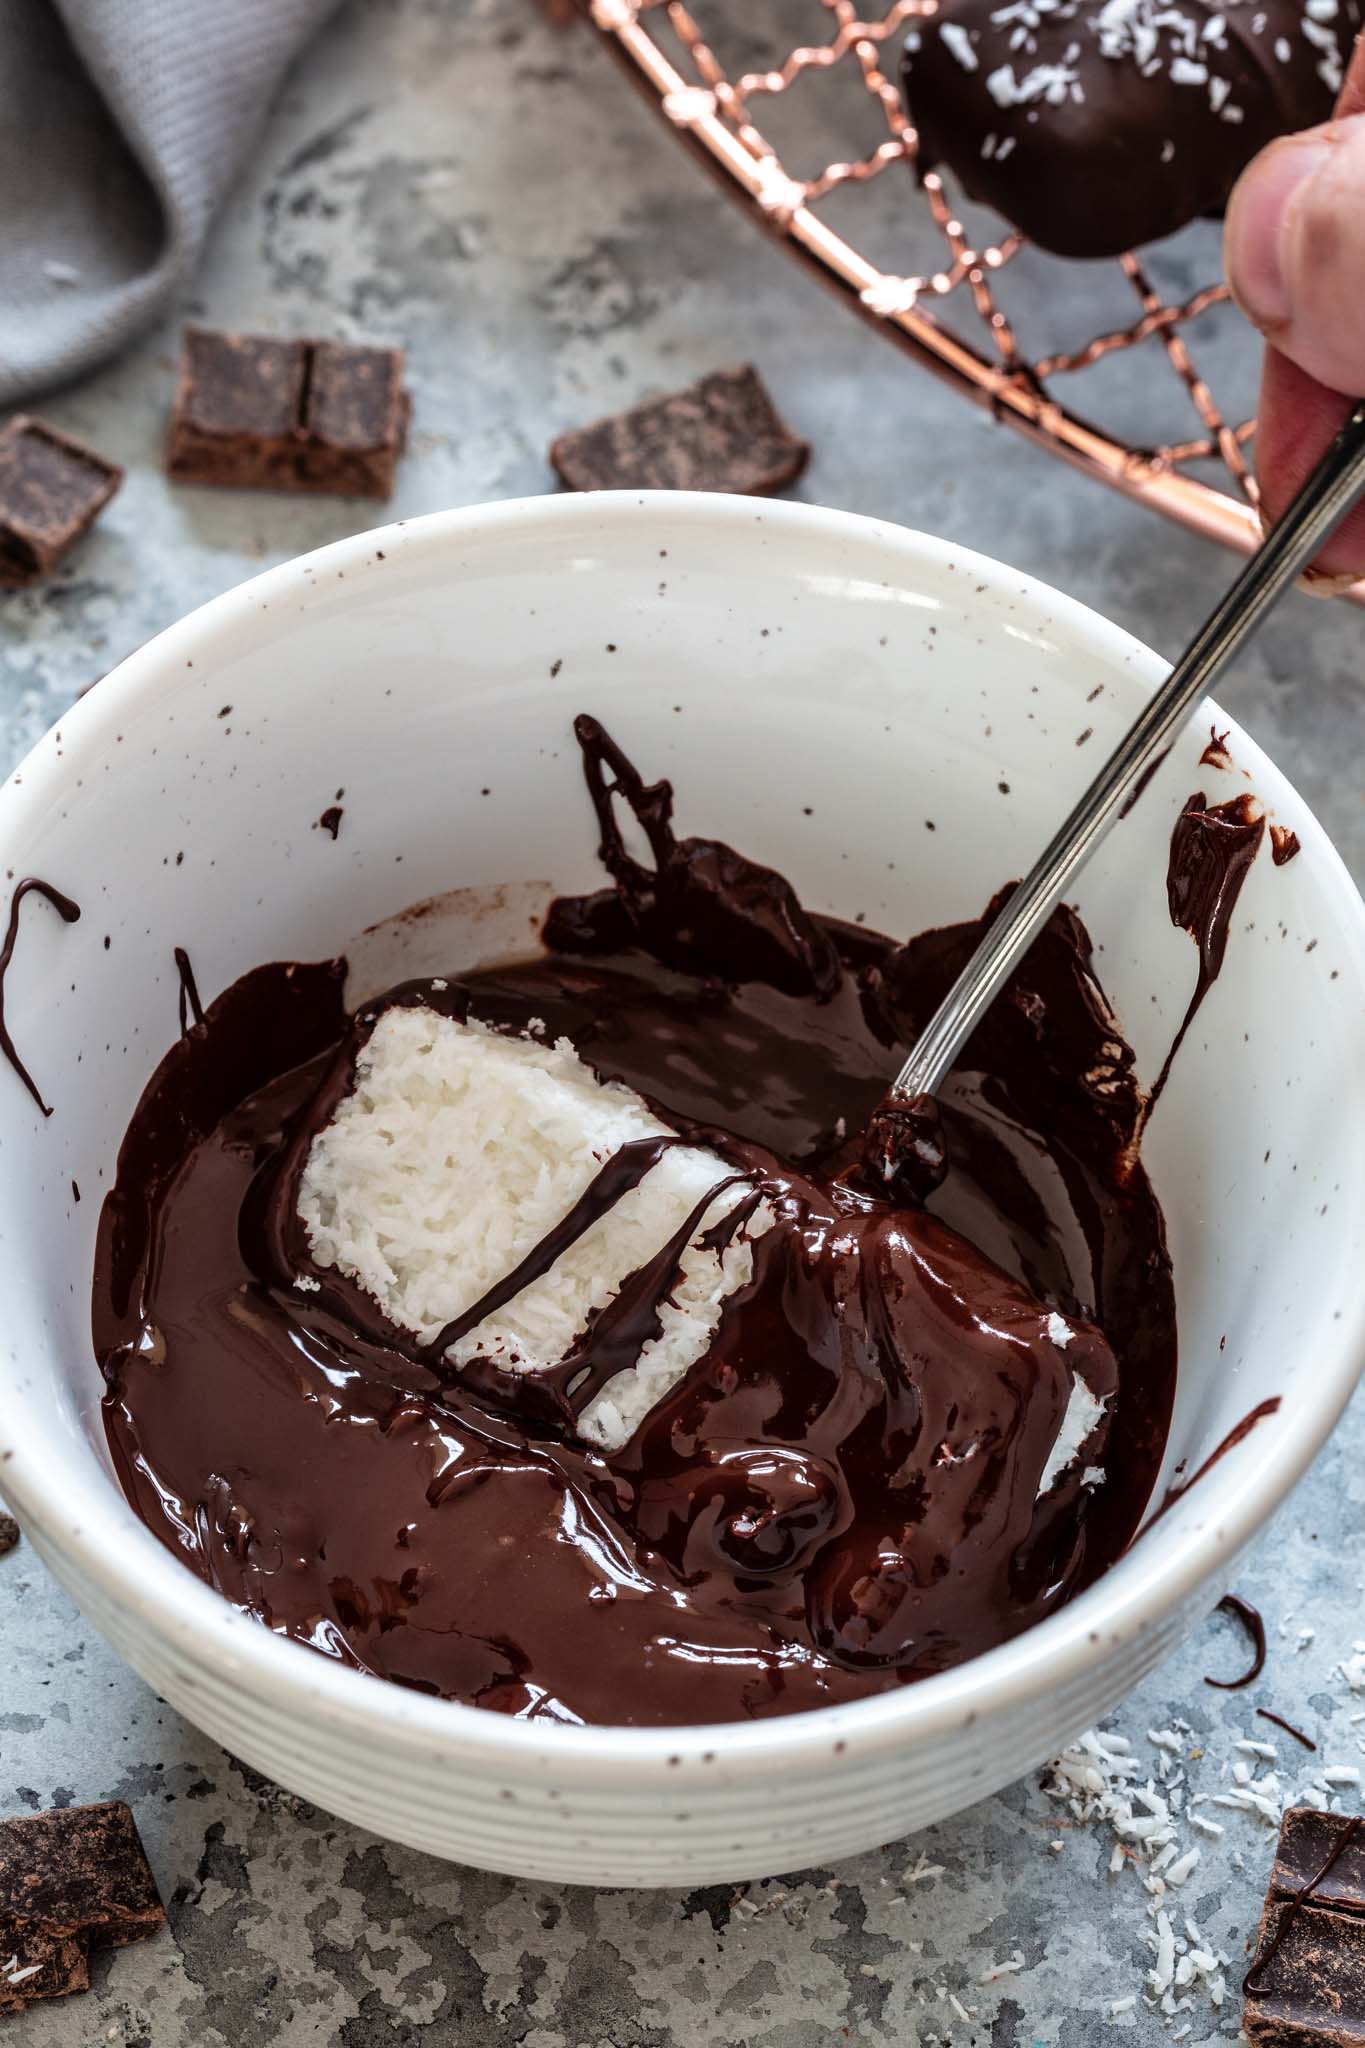
- To dip them in chocolate, start by tempering/melting the chocolate via your prefer method (read the post to learn mine). When tempered, dip each bar into the chocolate and let them dry on parchment paper. You can sprinkle shredded coconut on them to decorate.
- Once they are dry, refrigerate until ready to eat.
To make these Low Carb Chocolate Coconut Bars, I recommend:
*** This post contains affiliate links. ***


3 Comments on “Low Carb Chocolate Coconut Bars”
Do you have a Youtube channel as well with this kind of content on it? I would love to see this post turned into a longer video if possible. Maybe I can share on it on my website.
Not yet! Maybe in the near future… :)
How many servings are there? Does anyone know the nutritional breakdown for these chocolate coconut bars?