How to Make Pâte Sucrée

If you love French desserts, you gotta have a good recipe for Pâte Sucrée up your sleeve! Buttery, sweet and crumbly. Follow my tips and you will get it perfect every time!
Are you intimidated by French cooking? I’m not!
And it’s not because I’m better than you. On the contrary! I crash and burn a lot until I master French dishes. But I decided earlier in my cooking journey that I wouldn’t be afraid of cooking anything.
After all, what’s the worst that could happen? Taste bad? Fall apart? As long as I don’t burn the house down – or destroy something expensive, like my Le Creuset pots – it’s all good. I can always try again!
And that’s exactly what happened when I decided to teach myself how to make Pâte Sucrée. I had to make it a bazillion times – okay, it was actually just three or four – until I got it right!
All that to tell you that it is a-okay if you don’t get this perfect the first time around. The good news is that if you follow my tips, you *probably* won’t make the same mistakes I did and your pâte sucrée will come out great!
But one thing I know for sure is that it will get better every time you make it!
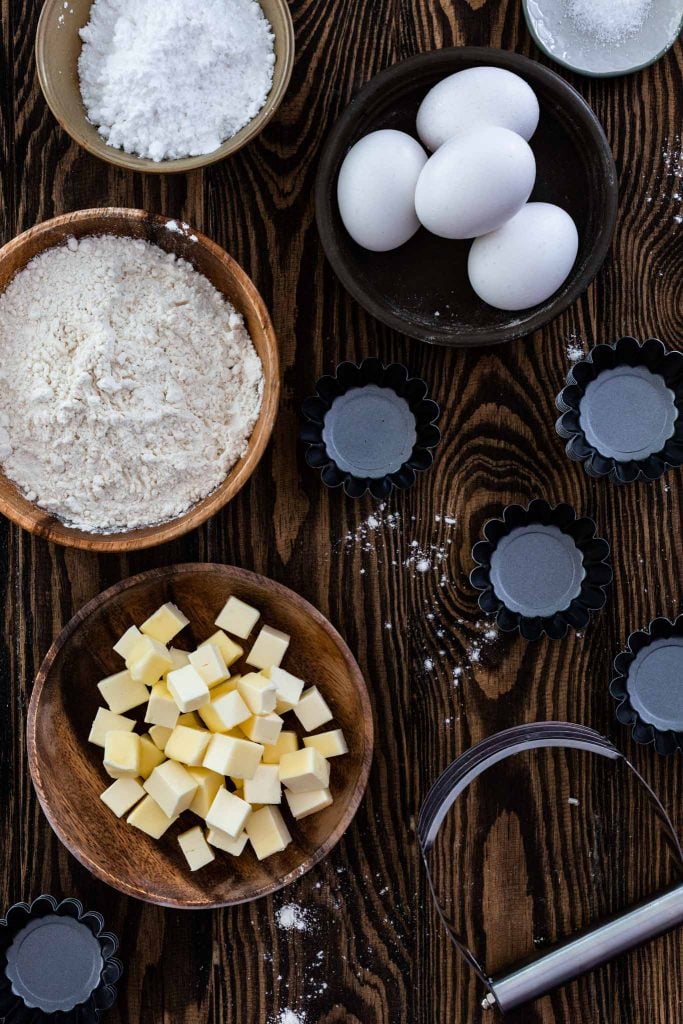
Ingredients for French Pastry Crust
A handful of ingredients is all you’ll need! And, if you like to bake, chances are you already have them on hand.
- Flour
- Butter
- Salt
- Powdered sugar – produces a more tender, melt-in-your-mouth crust than granulated sugar.
- Egg

What is Pâte Sucrée and how to make it?
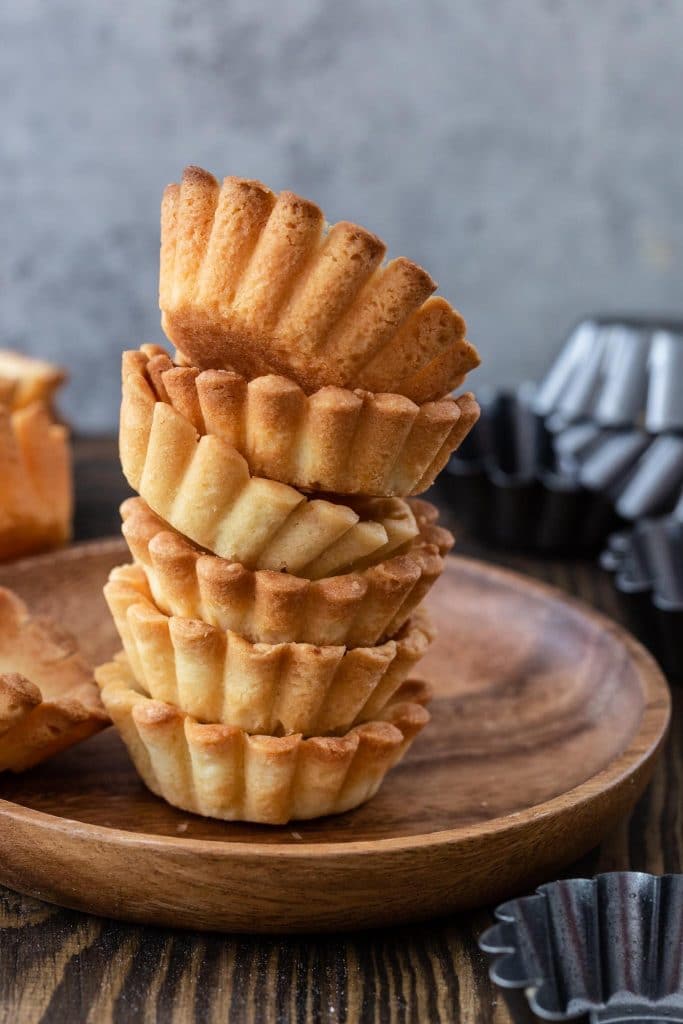
Pâte Sucrée – pronounced “pat-sue-cray” – is the French term for a sweet pastry dough, traditionally used for tarts.
It is sweeter, crumblier and softer than pie doughs. I find that it actually resembles more like a shortbread cookie, which is why it is able to support even the heaviest fillings without falling apart.
This recipe is for the basic version, consisting of just flour, sugar, salt, butter and egg. If you want to spice things up, you can easily add spices or extracts. Cinnamon and ground ginger are great for the holidays. Coconut, cocoa powder and lemon extract are also yummy options, depending on the tart you are making.
As for the method, there are several different techniques for making pâte sucrée. After trying a few, I am sticking to the one that is the easiest. No fraisage, which is the technique of pressing the pastry against the counter with the heel of your hand.
Julia Child describes it as a way to ensure an even blending of fat and flour and claims it produces a crumblier and more tender crust. I honestly didn’t see much difference, so I’m choosing to skip it!
Some methods will have you cream softened butter and sugar together before adding the flour. Other recipes will ask you to use a food processor to save time, claiming that it also blends the flour and butter better.
I like to do mine by hand. Not sure why, but the results are always better that way!
What’s the difference between Pâte Sucrée, Pâte Brisée and Pâte Sablée?
So many fancy terms, right? But don’t be intimidating! They are all variations of shortcrust pastry. They just sound difficult because they are in French.
Pâte Sucrée – Is the one we are learning today and the sweet version of these pastries. It contains egg and more sugar than the standard shortcrust pastry. Light, fine, strong and almost like a shortbread cookie.
Pâte Brisée – Is your standard savory tart crust. Similar to American pie crust but stronger, not as flaky and with a finer crumb.
Pâte Sablée – The “sandy” pastry. It is sweet and similar to Pâte Sucrée, but more delicate, crumblier and richer. It sometimes contains almond flour.
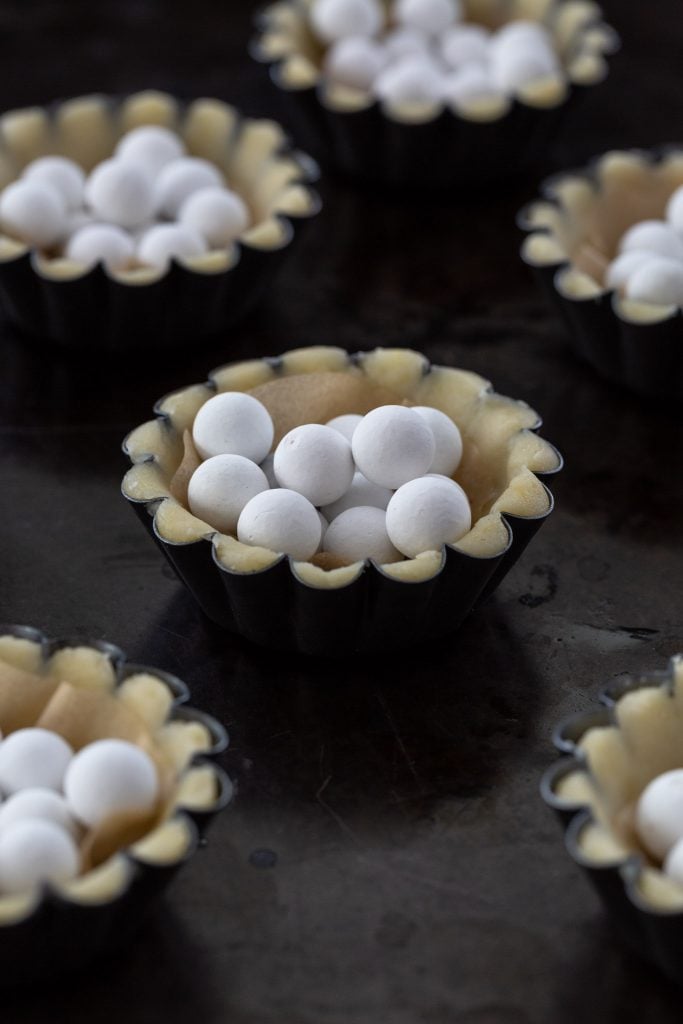
What is blind baking?
Blind baking is the method of partially or completely baking the crust before adding the filling. It prevents your crust from getting soggy when filled.
When a crust bakes, pockets of steam cause the layers of pastry to puff up, which is not ideal when the ultimate goal is to fill the crust with something else.
The solution is to line the unbaked crust with parchment paper (or foil) and fill that with pie weights or dried beans. The weight will prevent the dough from puffing up while it bakes.
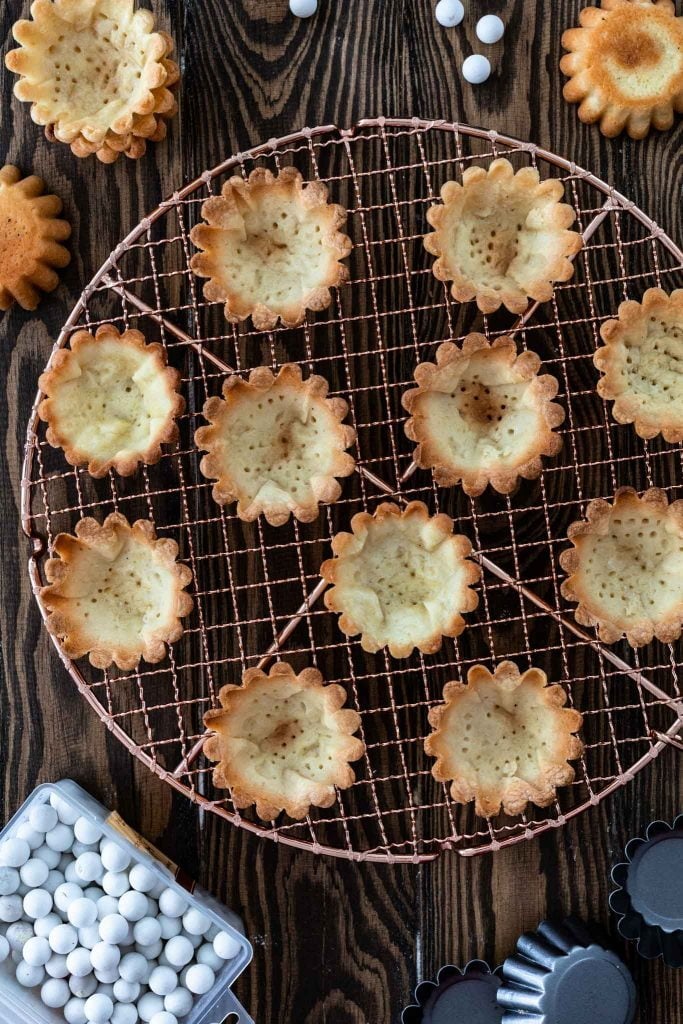
Once the crust is set and the edges are turning golden, the paper and weights are removed and the pastry goes back to the oven to finish browning. If you are partially baking, take it out when the bottom looks dry but still pale. If fully baking, the bottom should turn light golden brown.
Pâte Sucrée tips:
- Plan ahead because the dough will have to chill for at least 2 hours.
- Don’t overmix the dough or your crust will come out hard. Once it comes together when squeezed, it is ready! This crust is supposed to be melt-in-your-mouth tender.
- As mentioned earlier, feel free to customize with spices and extracts, like cinnamon, ground ginger and cocoa powder.
- Pay close attention to your oven when baking. Your pastry crust can go from golden brown perfection to a burnt mess in seconds! Ask me how I know! Sigh…
- Can I make the dough ahead? Yes. The dough can be refrigerated for up to 2 days before using. It can also be frozen for up to 2 months.
- Can I bake the shells ahead? Also, yes. The baked crusts can be stored at room temperature, in an airtight container, for 2-3 days or frozen for a couple of months.
- The tart crusts can be made ahead but assembled shortly before serving. When the tarts are filled, they should be consumed ASAP, as the leftovers will get soggy in the fridge.

Pâte Sucrée
Ingredients
- 1 3/4 cups 240g all purpose flour
- 1 1/4 cups 150g powdered sugar
- 1/2 teaspoon salt
- 9 tablespoons butter, 127g, cubed and chilled
- 1 large egg, lightly beaten
Equipment
Instructions
Mixing the dough:
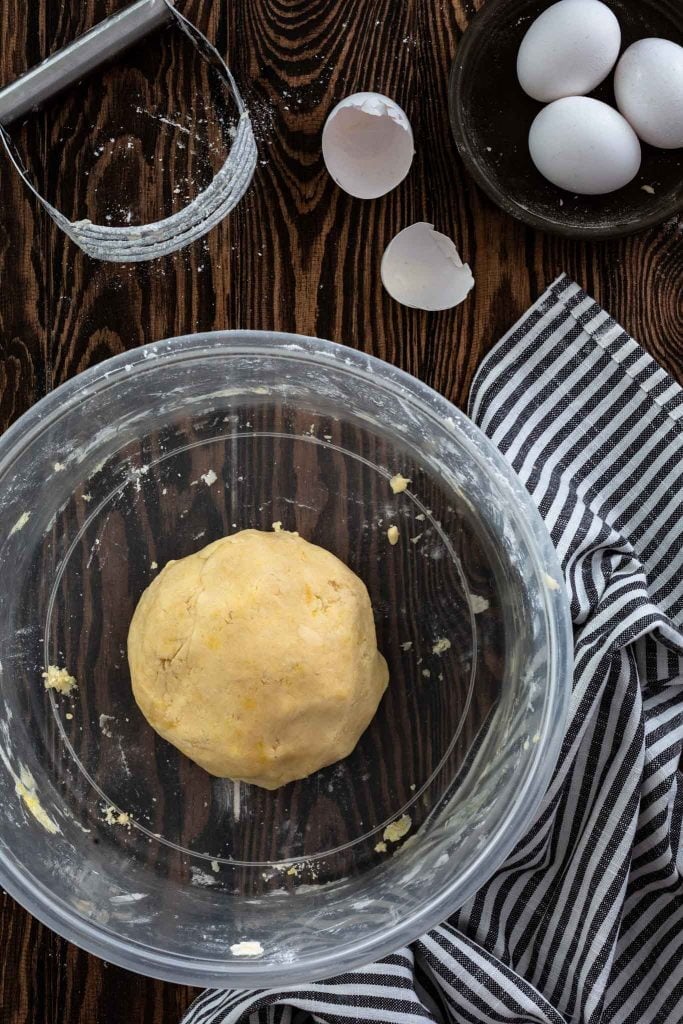
- Combine the flour, sugar and salt in a large bowl. Add the butter and, using a pastry cutter (or your fingertips), cut the butter into the dry ingredients until the mixture resembles coarse sand. Alternatively, you can use a food processor.
- Add the egg and mix with your hands (or pulse in the food processor) just until the dough holds together when squeezed. If the dough doesn’t come together with the egg, you can add ice water, a teaspoon at a time, until it does.
Rolling out the dough:
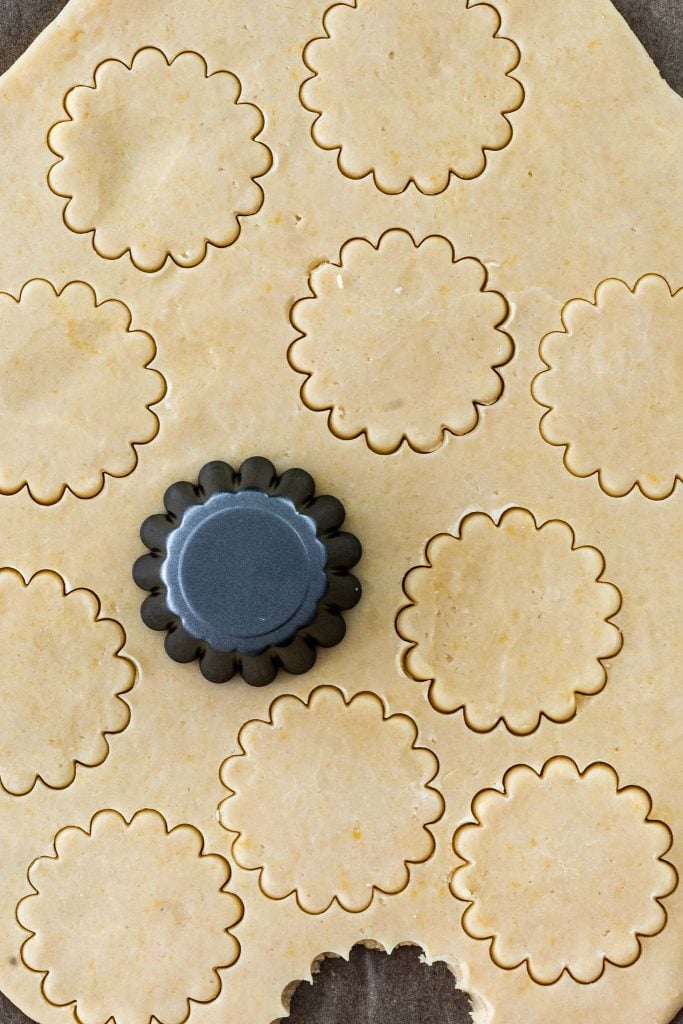
- Transfer the dough to the counter and shape it into a disk. Place it in between two sheets of parchment paper and roll it until it is large enough to cover the base and sides of your tart pan (or large enough to cut enough circles for tartlet molds) and about 1/4 inch thick. Slide the rolled dough with the parchment paper into an upside down baking sheet and refrigerate for at least 2 hours or up to 24 hours.
Transferring the dough to the pan(s):
- Remove the dough from the fridge and let it rest on the counter for 10 minutes to soften slightly. If making a large tart, gently flip the chilled dough over the tart pan, pressing it into the pan to shape it and then cutting off the excess. If making tartlets, use the tartlet molds (or a round cookie cutter) to cut the dough and use your fingers to press it in the mold. In both cases, you can patch any thin parts or cracks with excess dough.
- Freeze the crust for 15 minutes or no longer than 30 minutes.
Blind Baking the pastry crust:
- Preheat oven to 375 degrees F.
- Remove the tart pan from (or tartlet molds) from the freezer and, using a fork, liberally prick the chilled dough all over to allow steam to escape.
- Place the tart or tartlets in a baking sheet, line the shell(s) with parchment paper and fill with pie weights or dried beans. Bake in the preheated oven until the edges just begin to brown, rotating halfway through. Time will vary depending on the size of the tart or tartlets and the material the pans are made of. But generally it can take anywhere from 10 to 20 minutes.
- Remove the parchment paper and weights, then continue baking for a few more minutes until the center of the pastry crust is golden.
- Cool completely before removing from the pan(s).
Notes
- You can easily customize this recipe by adding cinnamon, ground ginger, cocoa powder, coconut, or other extracts.
- The dough can be stored in the fridge for a couple of days before rolling it out. You can also freeze it for up to 2 months.
- The baked pastry crusts can be stored at room temperature, in an airtight container, for 2-3 days. They can also be frozen for a couple of months.


