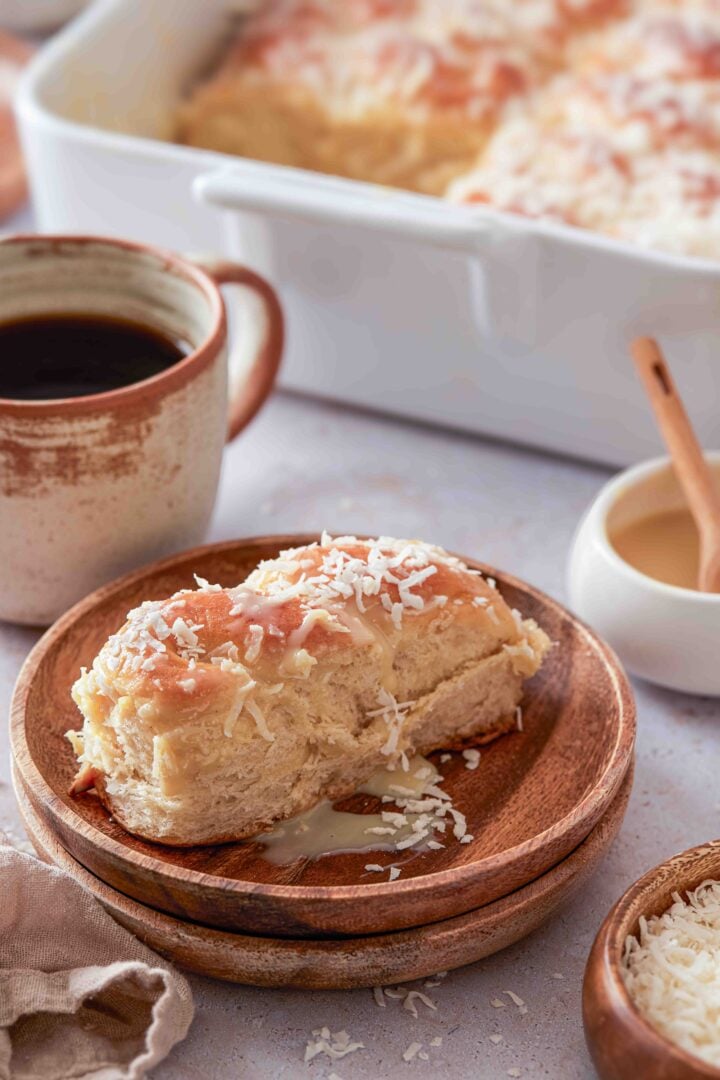
Brazilian Sweet Condensed Milk Buns

Brazilian sweet condensed milk buns – or pãezinhos de leite condensado – are soft, fluffy, lightly sweet, and finished with a generous drizzle of sweetened condensed milk and a shower of coconut. Inspired by the kind of buns you’d find in a Brazilian bakery, this homemade version is unapologetically indulgent and absolutely irresistible, perfect as an afternoon treat with a cup of coffee.
Looking for more Brazilian recipes to enjoy alongside these sweet condensed milk buns? Try my pão francês (Brazilian bread rolls), rabanada (Brazilian French toast), and pão de queijo (Brazilian cheese bread) for even more delicious Brazilian baking inspiration.

At a Glance
- Texture/Flavor: Soft, fluffy, buttery, and lightly sweet
- Difficulty: Easy to intermediate
- Rise Time: About 2 hours
- Yield: 16 buns
- Best For: Breakfast, brunch, or coffee time — preferably while still warm (or slightly reheated)
Why I love this recipe
These sweet condensed milk buns are pure nostalgia for me. They remind me of the kinds of bakery treats that feel extra special and comforting at the same time – soft, lightly sweet, a little sticky from the glaze, and absolutely perfect with a cup of coffee. They have that unmistakable padaria feel that instantly takes me back home.
What I love most, though, is that this version feels like the best of both worlds: true to the classic, but just a little improved. Using the tangzhong method gives the buns an even softer, fluffier, more pillowy texture, and I truly think it helps perfect an already beloved recipe. They still have all the charm and flavor of the traditional version, just with a little extra insurance that they’ll turn out beautifully soft.
I also love that these buns are the kind of thing you can keep in the freezer and pull out whenever you need something cozy and a little special. Warm a few up, set out a pot of coffee, and suddenly you have something wonderful to serve guests without much effort at all. To me, that’s the kind of recipe worth keeping around! ❤️
Ingredients
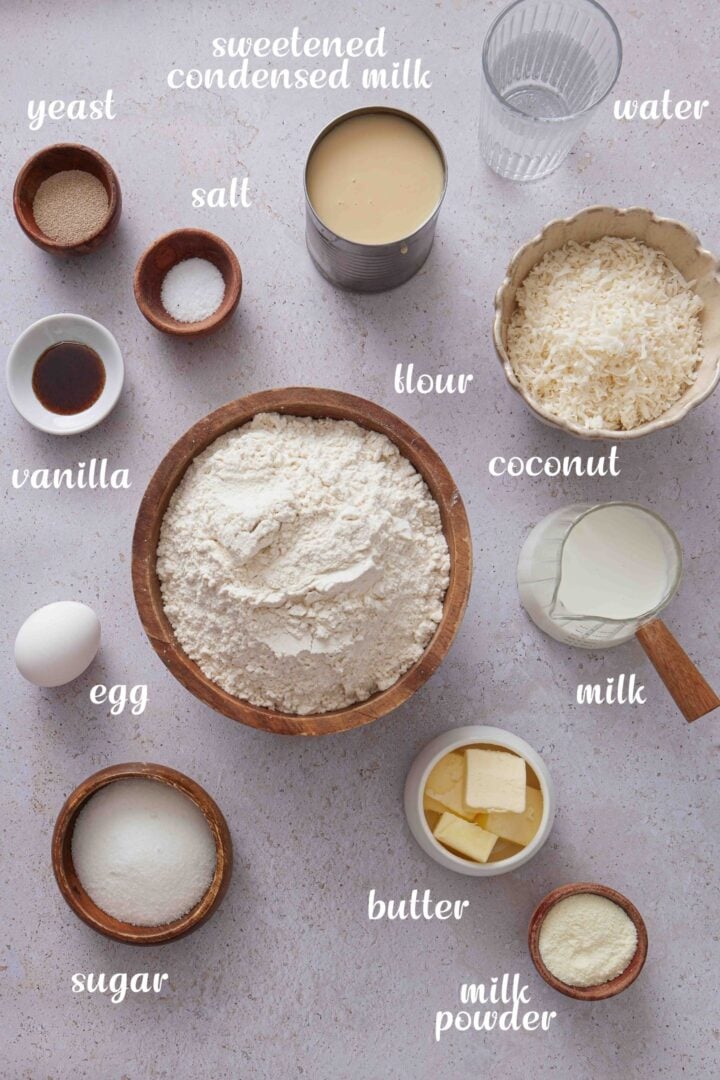
To make these sweet condensed milk buns, you will need:
- All-purpose flour – Gives these buns a soft, tender crumb. Bread flour can be used, but it will result in a slightly chewier texture. All-purpose flour works best here for pillowy, bakery-style buns.
- Sweetened condensed milk – The star ingredient! It adds sweetness, richness, and that signature Brazilian bakery flavor. It will be used both in the dough and to drizzle/brush on the buns after baking.
- Milk + Butter + Egg – These enrich the dough, making the buns soft, tender, and slightly decadent.
- Yeast and water – The yeast is activated with lukewarm water and a little sugar, helping the dough rise and become light and fluffy. I like to use active dry yeast here so I can proof it first and make sure it’s alive and ready to go. If it doesn’t get foamy, you know something’s off before committing to the dough. You can also use instant yeast, just skip the proofing step and mix it directly with the dry ingredients. The rise time may be slightly faster, but otherwise the results will be very similar.
- Sugar – Adds a little extra sweetness and helps feed the yeast, encouraging a good rise and keeping the buns soft.
- Salt – balances the sweetness and enhances all the flavors.
- Vanilla – adds a subtle warmth and depth of flavor. Can be omitted if needed.
- Milk Powder (optional) – Adds extra richness and helps create an even softer, more tender crumb. You can usually find it in the baking aisle or near powdered milk at most grocery stores, or easily online. Nido is the equivalent brand of the “leite Ninho” that is sold in Brazil!
- Shredded coconut – Sprinkled on top for that classic finish and a little texture. Can be omitted if needed.
How to make Brazilian Sweet Condensed Milk Buns
These Brazilian sweet condensed milk buns look impressive, but don’t let that fool you cause they’re totally doable at home! The dough is soft and forgiving, and most of the time is hands-off while it rises. In the end, you’ll have golden, fluffy buns that taste like they came straight from a Brazilian bakery (and your kitchen will smell amazing as a bonus).
This recipe also uses the tangzhong method, which is a simple cooked mixture of flour and milk that helps create extra soft, fluffy buns that stay fresh longer. It’s not traditional in Brazilian baking, but it’s absolutely worth the extra step.
Recommended tools and equipment: stand mixer (optional, to do the kneading for you), large mixing bowl, measuring cups and spoons, rolling pin, baking dish or sheet pan, plastic wrap or kitchen towel.

Here’s how I make these Brazilian sweet condensed milk buns. As always, you will find the printable (and more complete) version of the recipe at the end of this post!
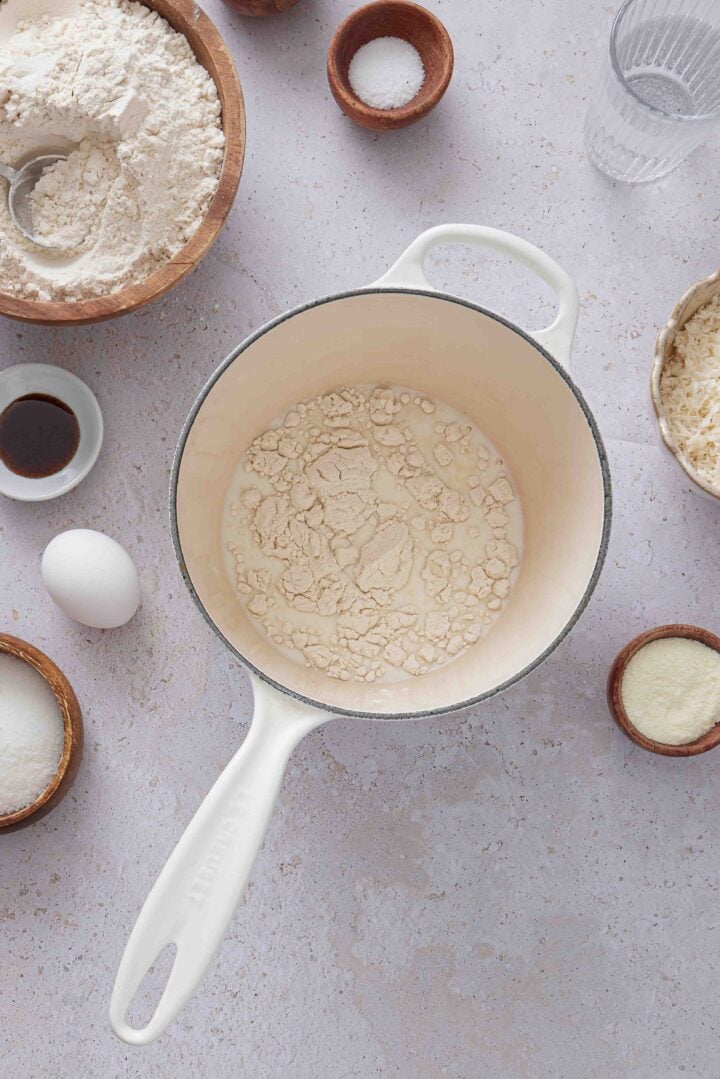
STEP 1: MAKE THE TANGZHONG
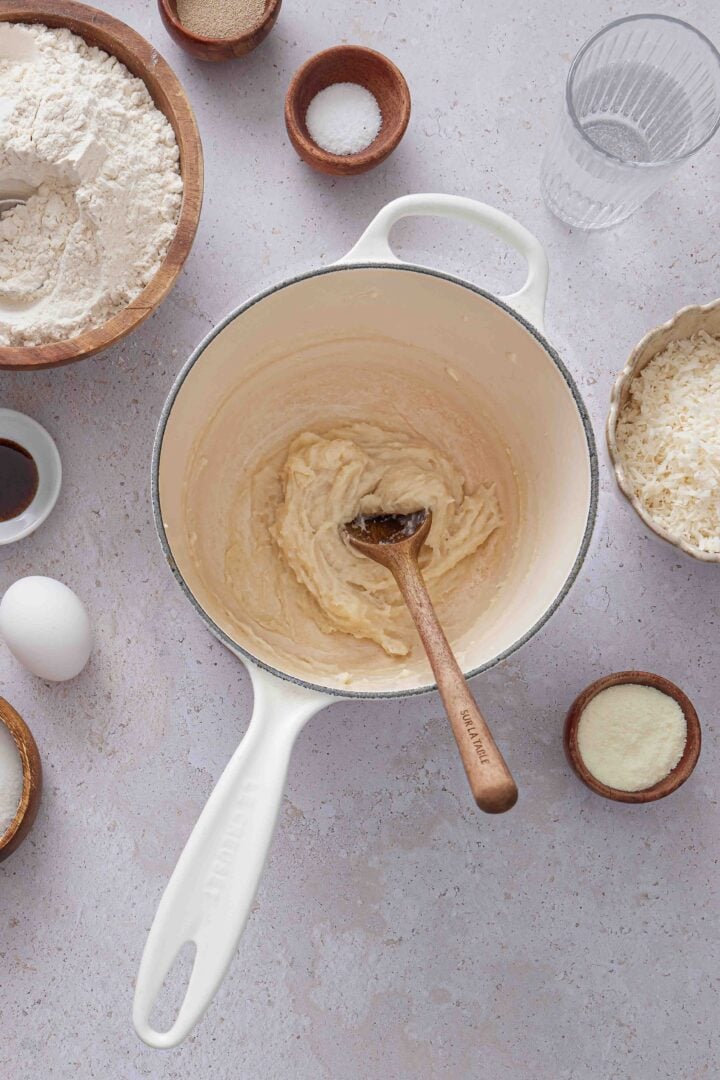
- In a small saucepan, whisk together a portion of the flour and the milk until smooth. Cook over medium heat, stirring constantly, until it thickens into a paste.
- Let it cool slightly before using. This step helps with the fluffiness and ensure that the buns stay fresh longer.
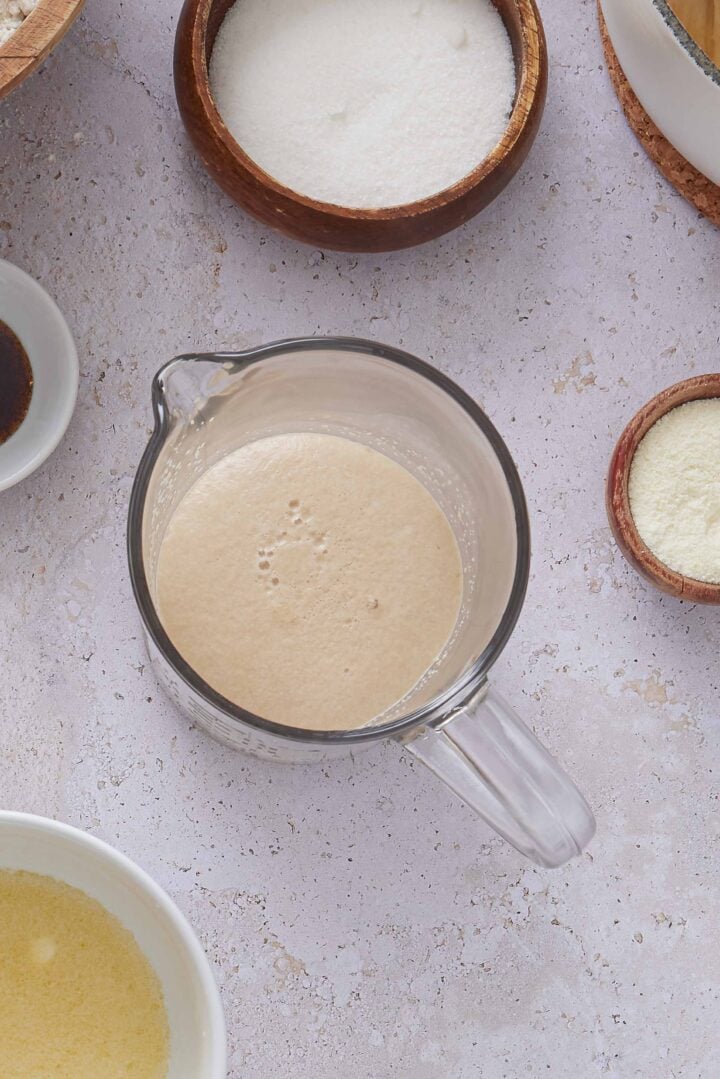
STEP 2: ACTIVATE THE YEAST
- In a small bowl, combine the lukewarm water, yeast, and a little sugar. Let it sit for 5–10 minutes, until foamy.
- If it doesn’t foam, the yeast may not be active and it’s best to start over with new yeast before continuing.
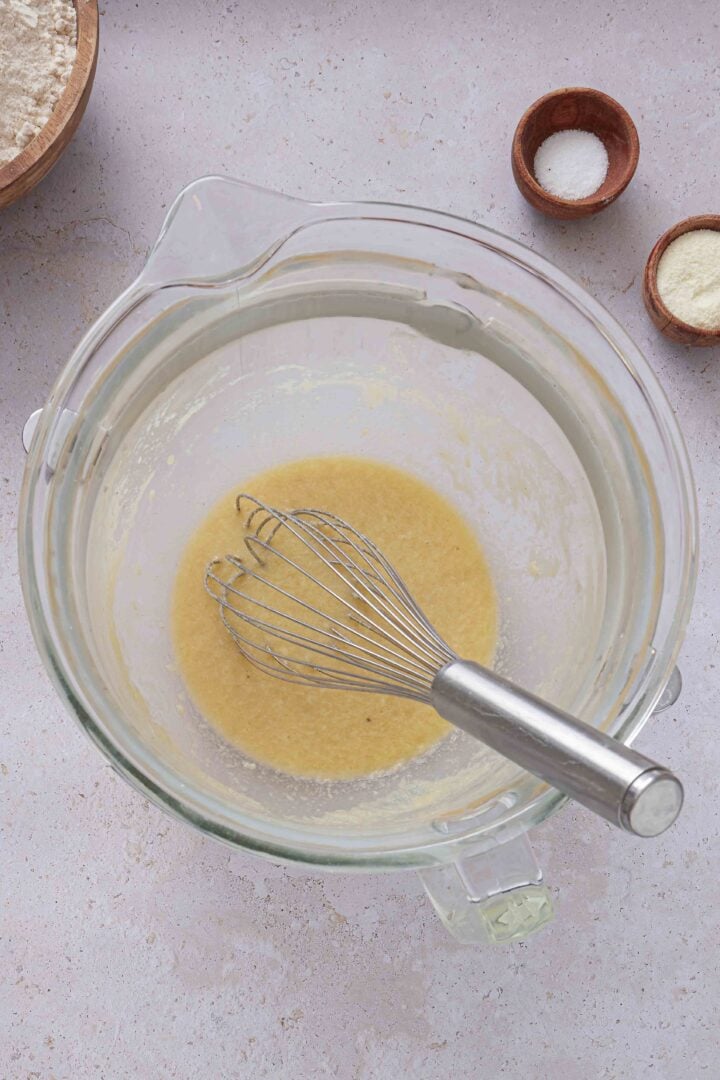
STEP 3: MAKE THE DOUGH
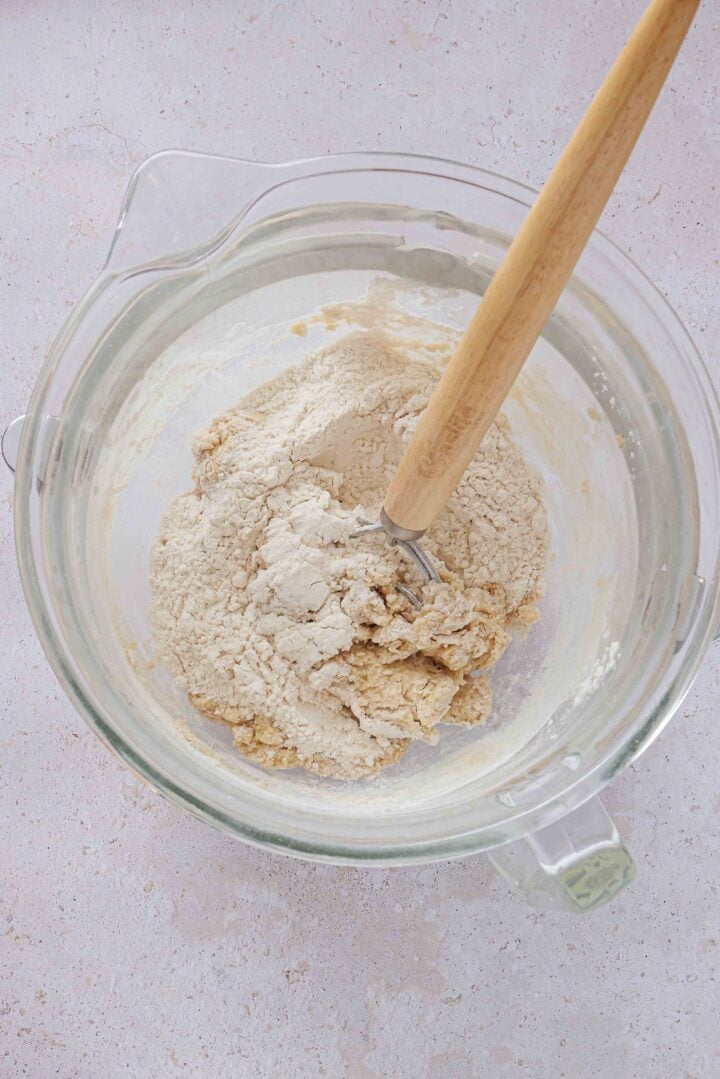
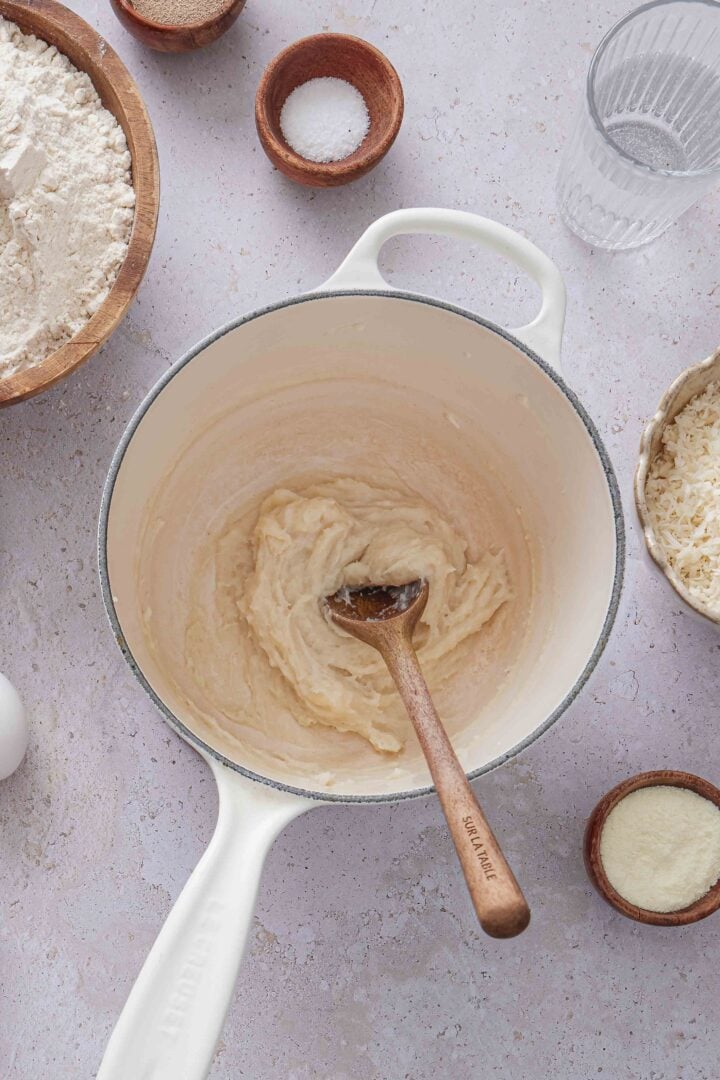
- In a large bowl or the bowl of a stand mixer, combine the tangzhong, yeast mixture, sugar, egg, sweetened condensed milk, melted butter, and vanilla. Once that is well combined, add the flour, milk powder and salt. Mix until a soft dough forms. (I like using a Danish dough whisk for this step, but you can use a regular whisk or mix with the stand mixer.)
- Knead the dough (by hand or with a mixer) until smooth, elastic, and slightly tacky but not sticky. This will take about 8–10 minutes. If the dough is still too soft, let it rest a couple of minutes and knead again before attempting to add more flour. Often, the dough will become easier to handle as the flour fully hydrates.
- If needed, add a little flour, but be careful not to overdo it as a softer dough will give you softer buns.
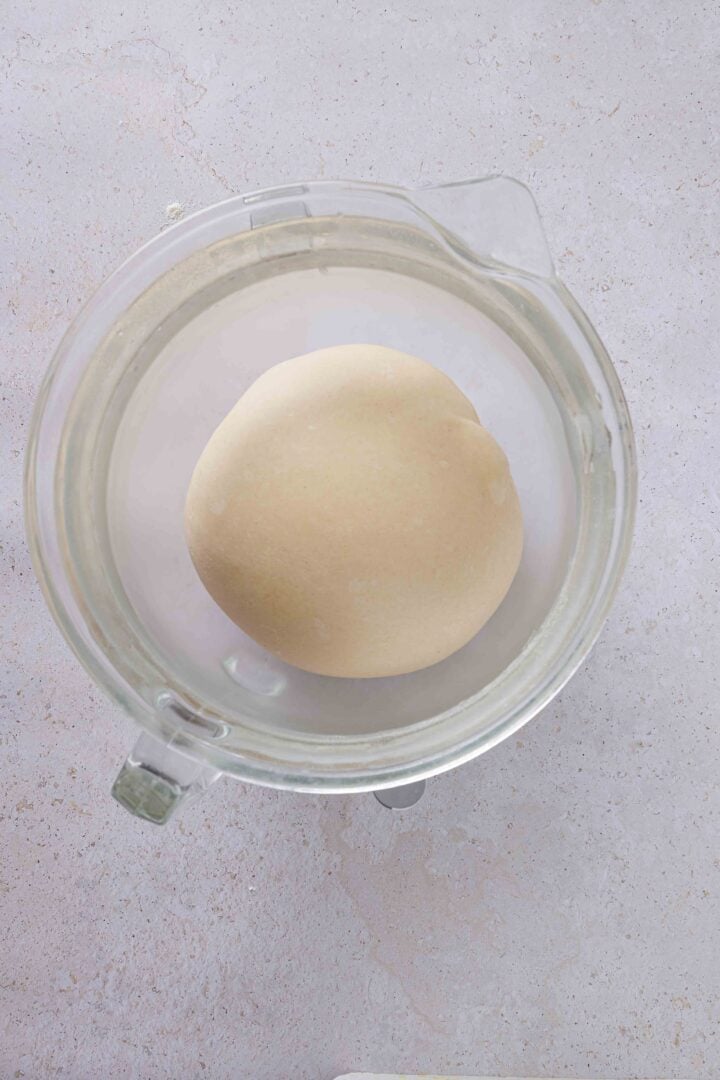
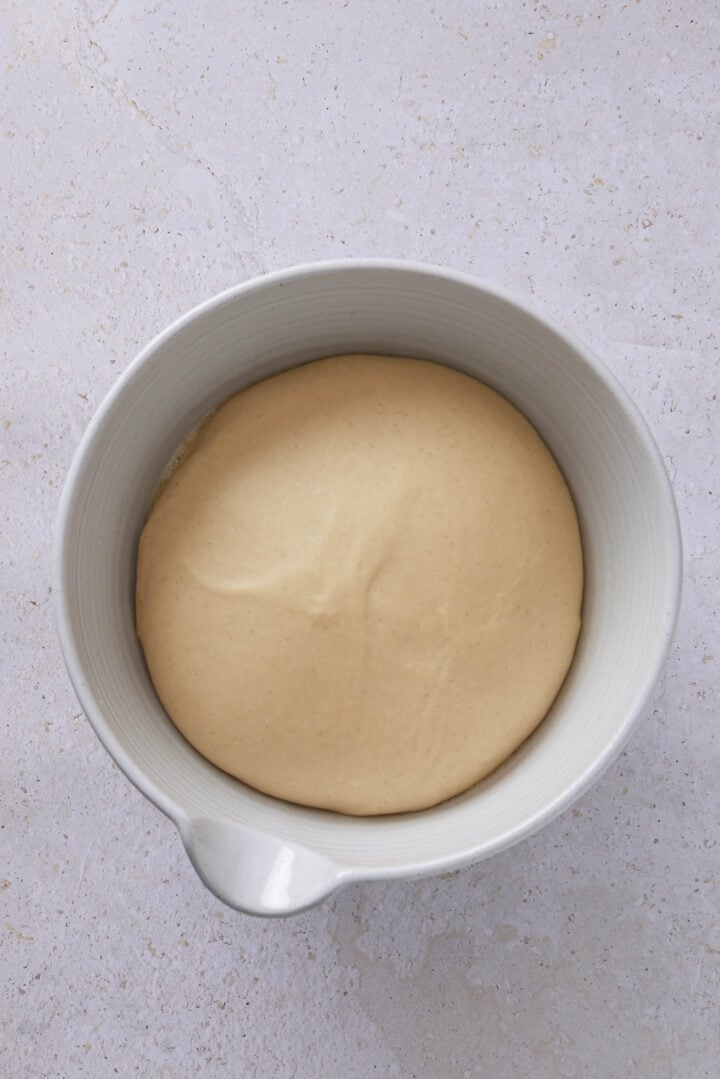
STEP 5: FIRST RISE
- Place the dough in a lightly greased bowl, cover with plastic wrap or a towel, and let it rise in a warm spot until doubled in size, about 1 to 1½ hours.
STEP 6: SHAPE THE BUNS
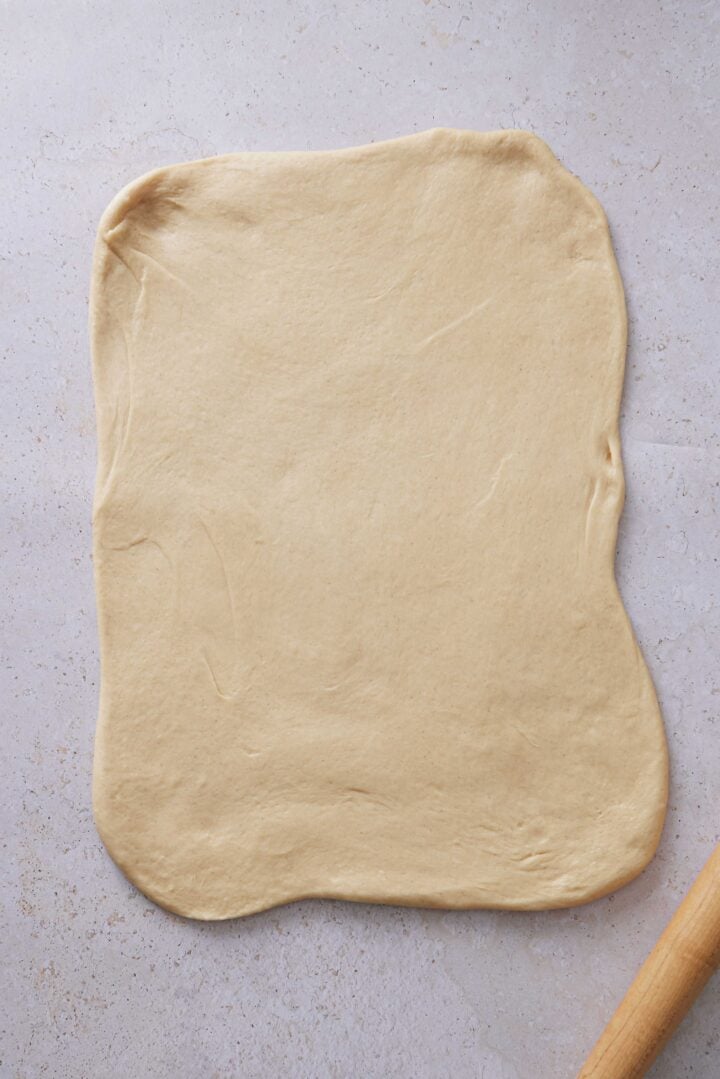
- Transfer the dough to a lightly floured surface and gently roll it into a rectangle.
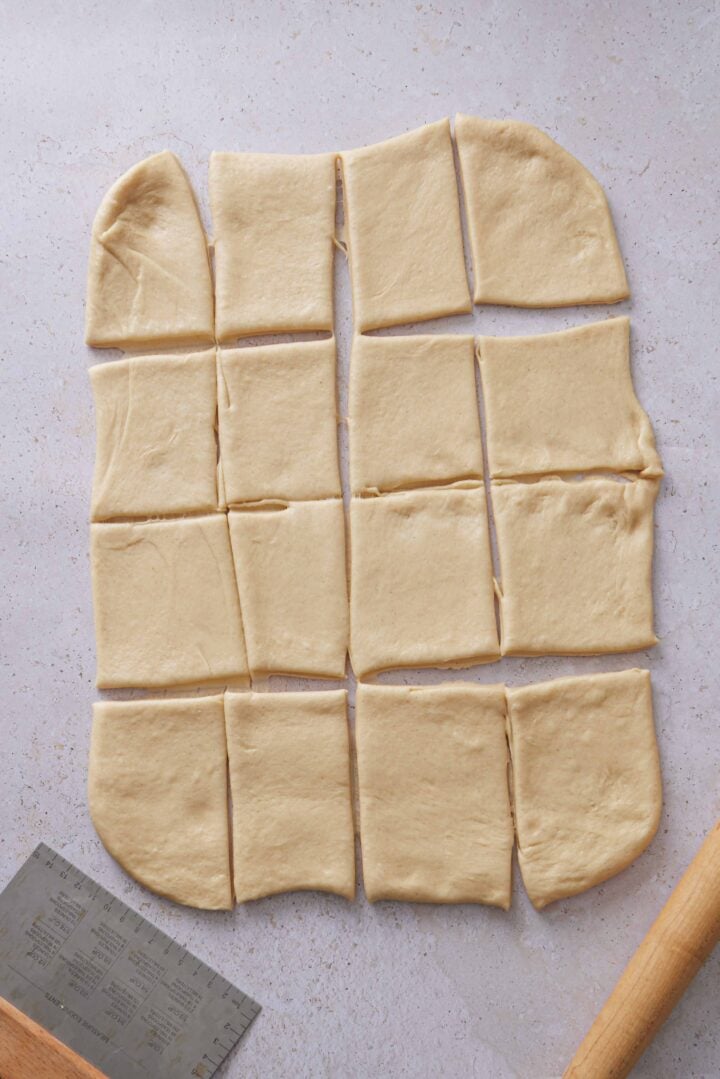
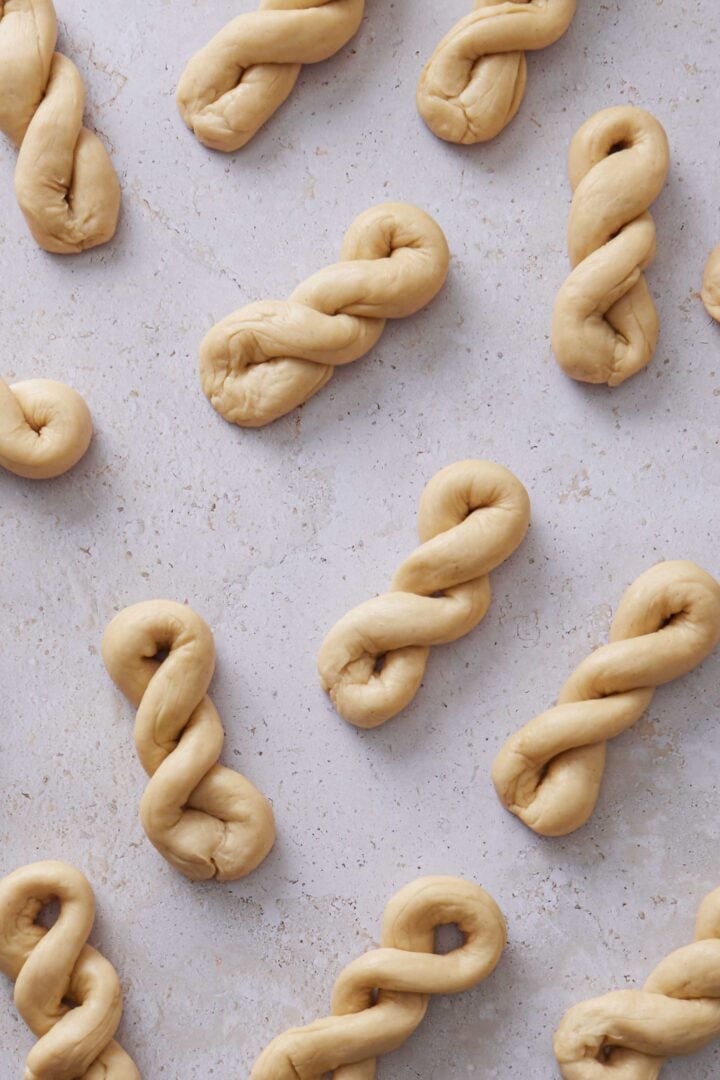
- Cut into equal portions (about 12–16 pieces). Don’t worry about making them perfect — they’ll all bake up beautifully.
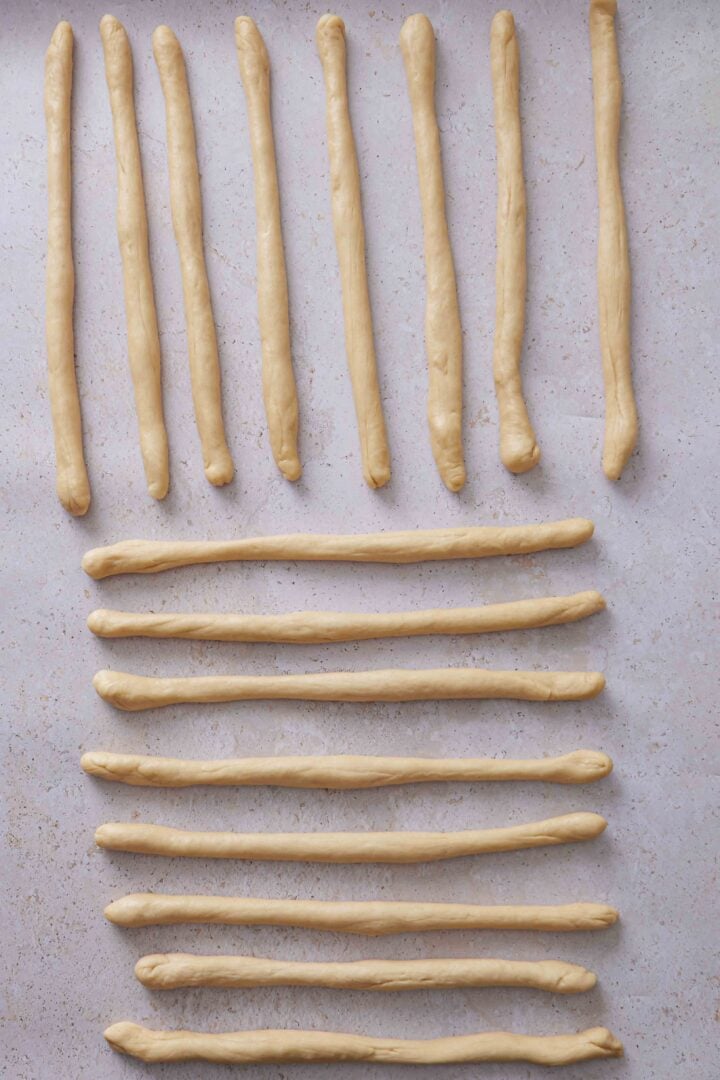
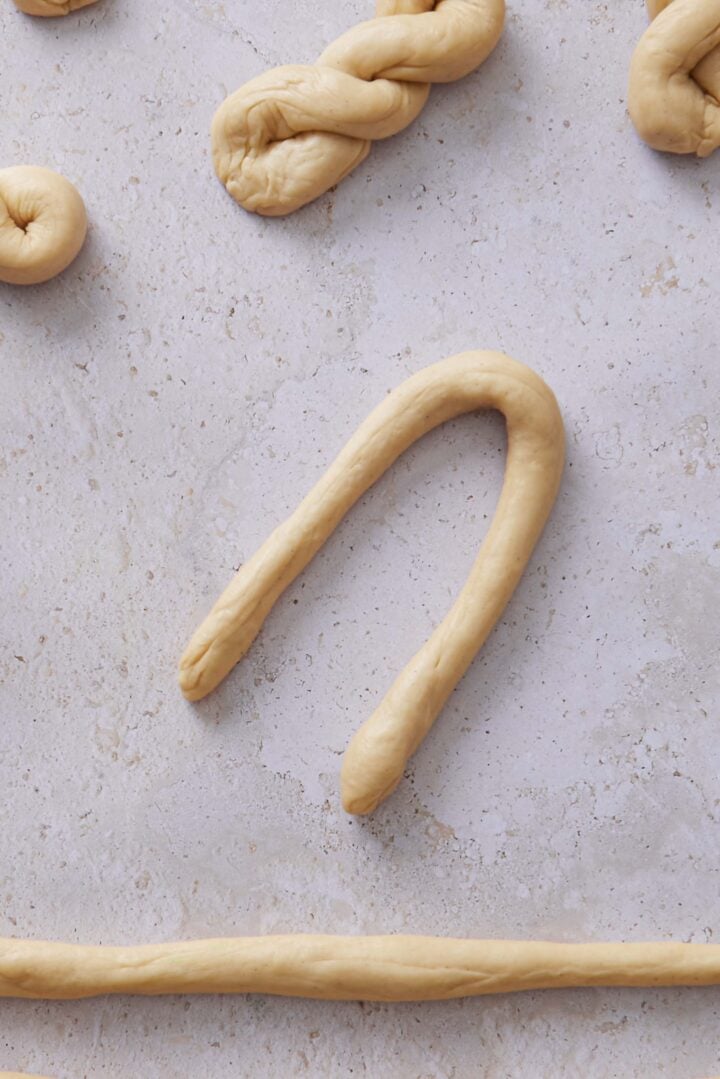
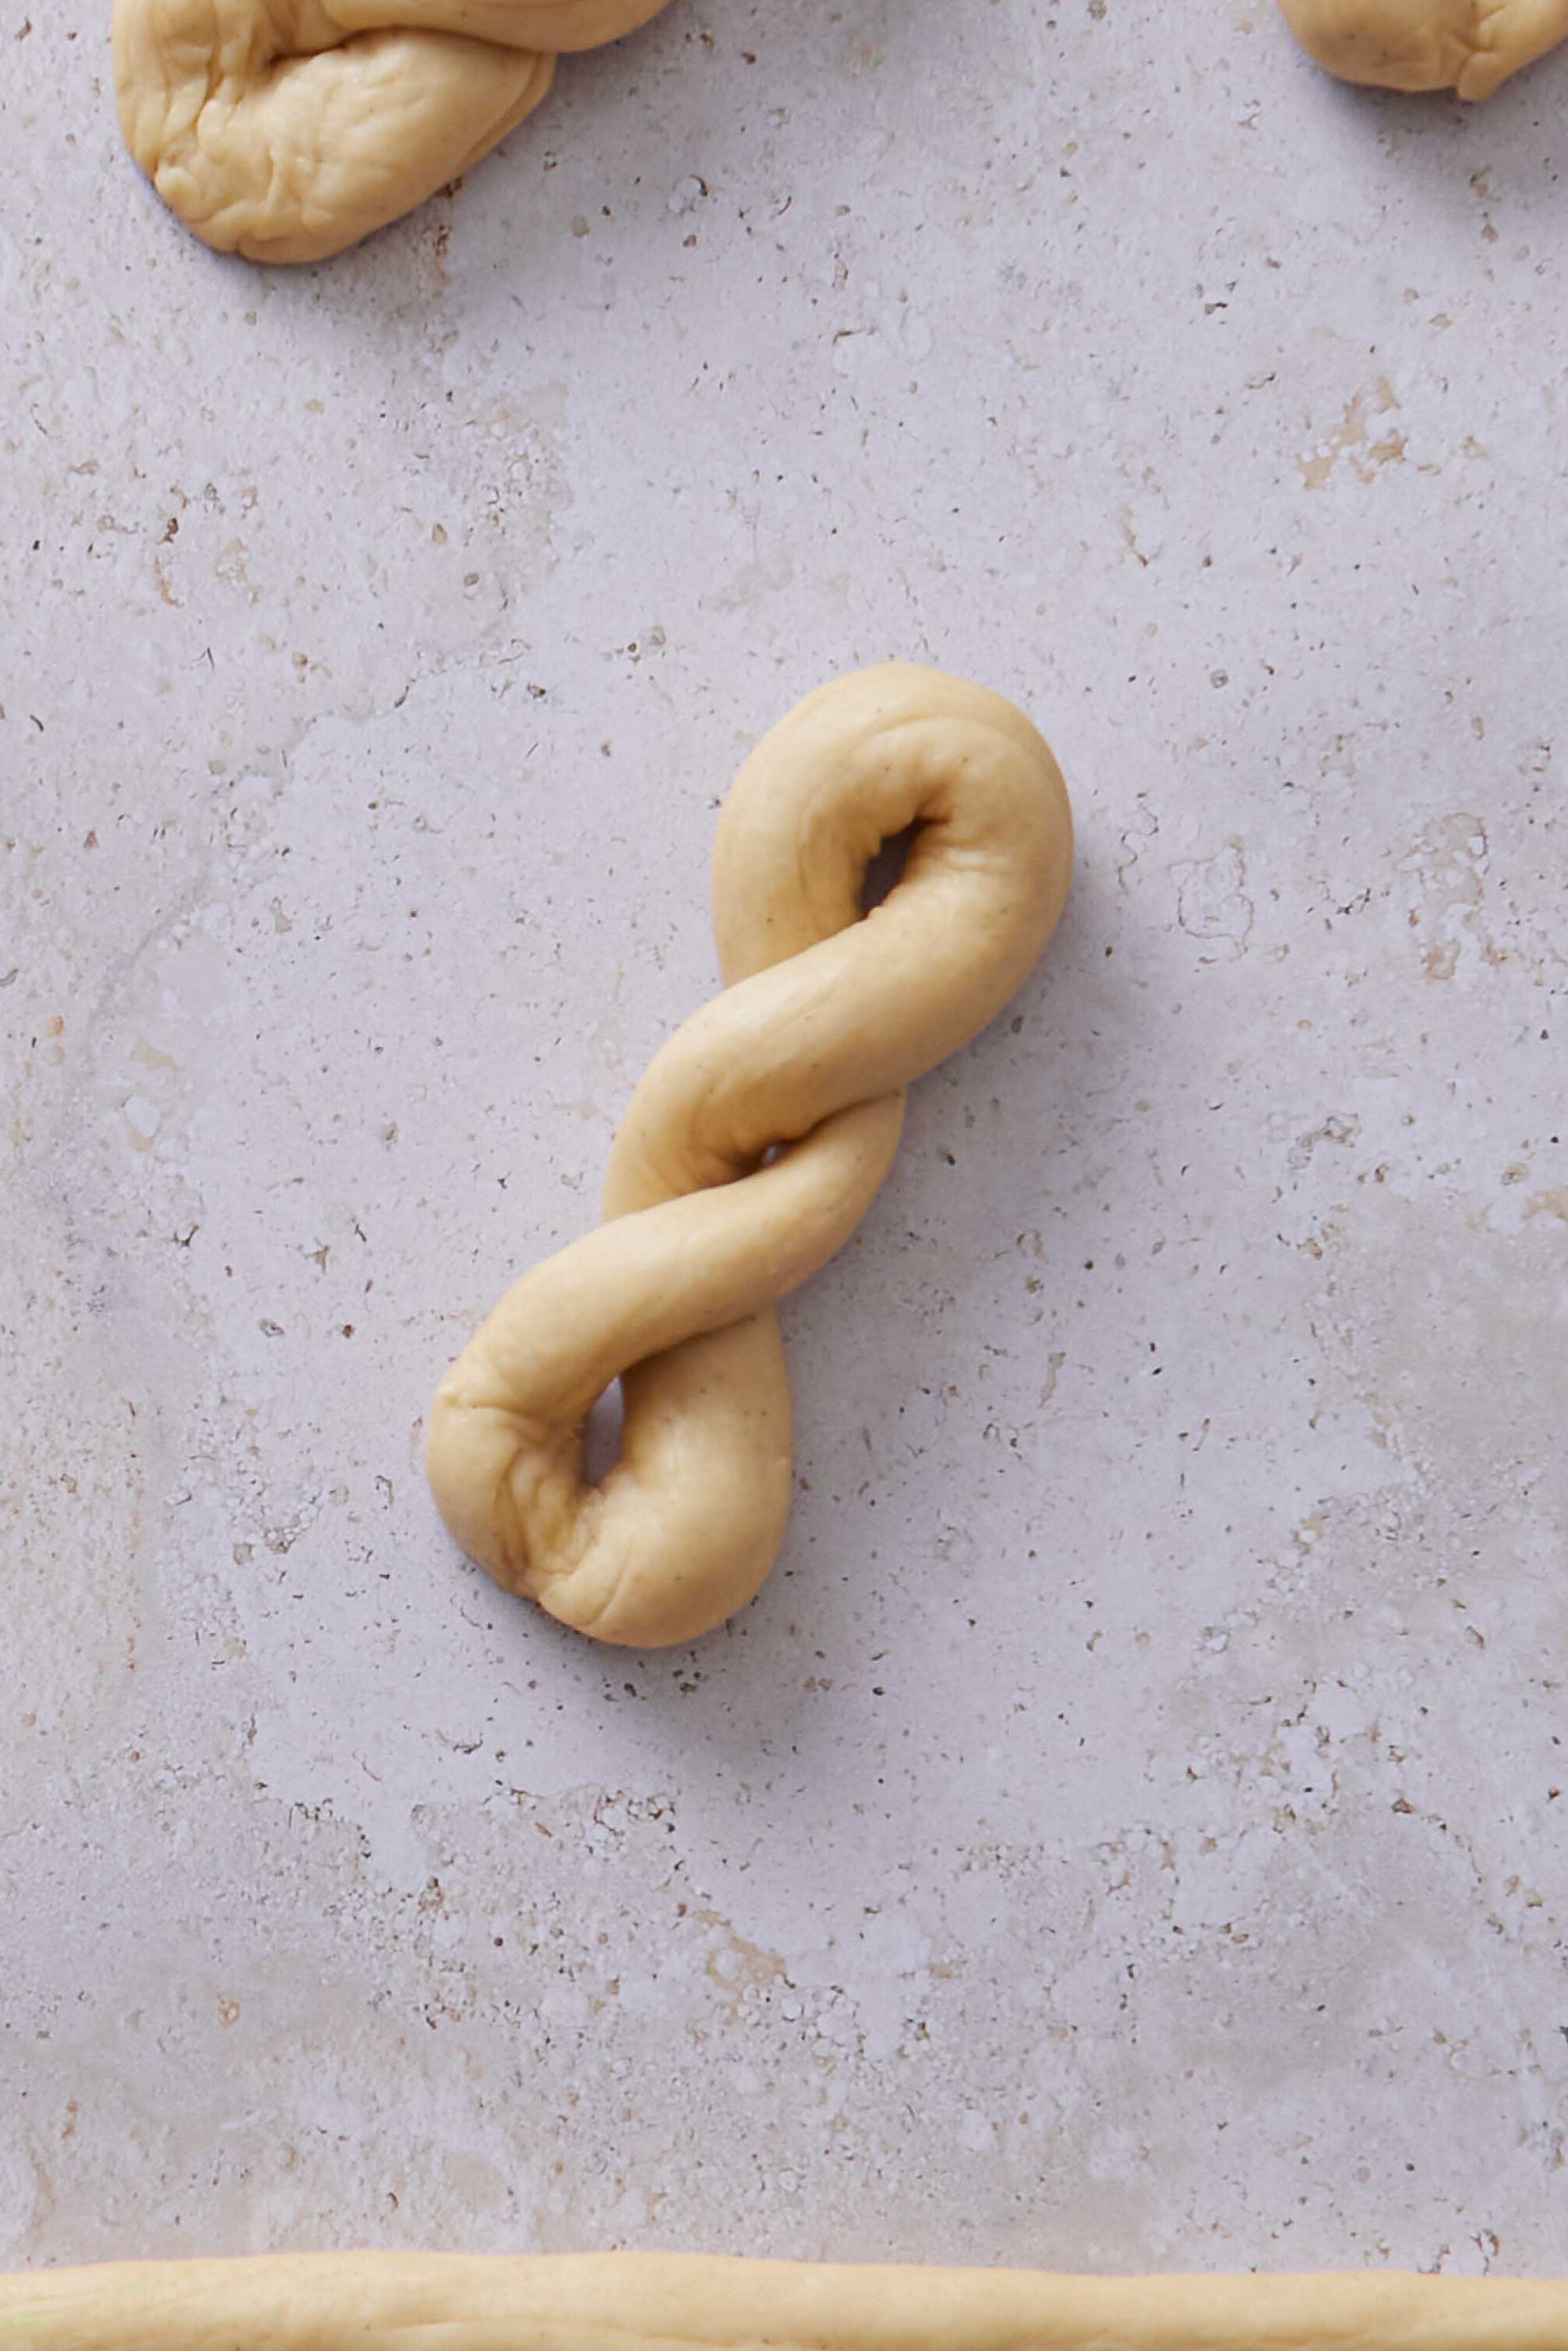
- Roll each piece into a rope, about 8–10 inches long.
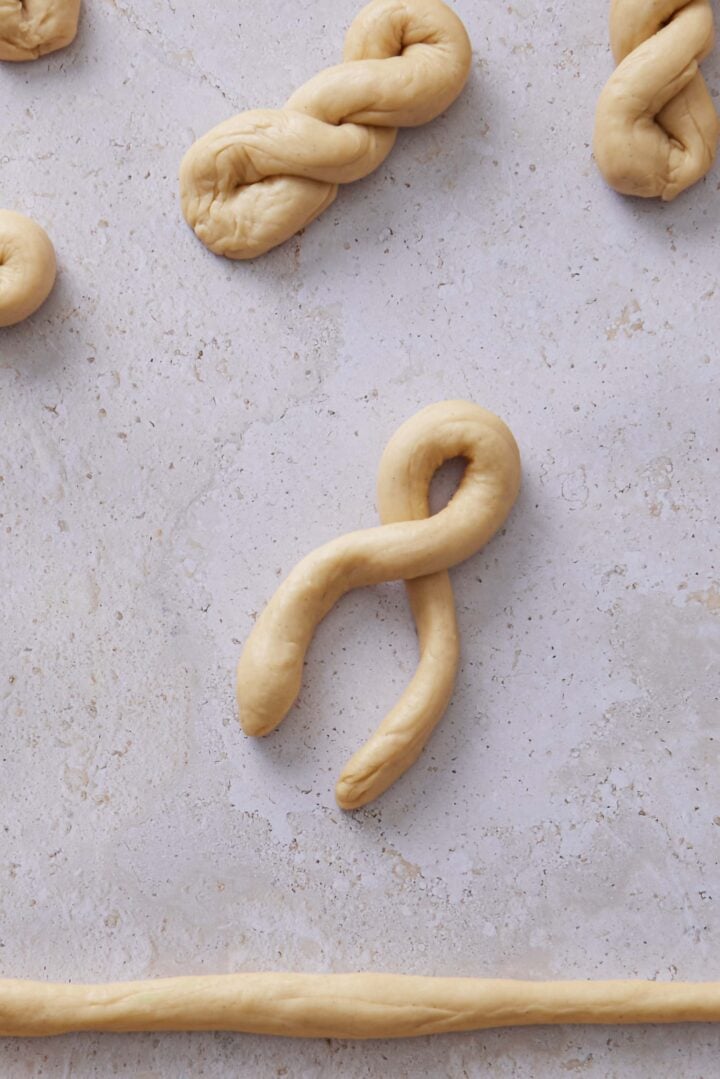
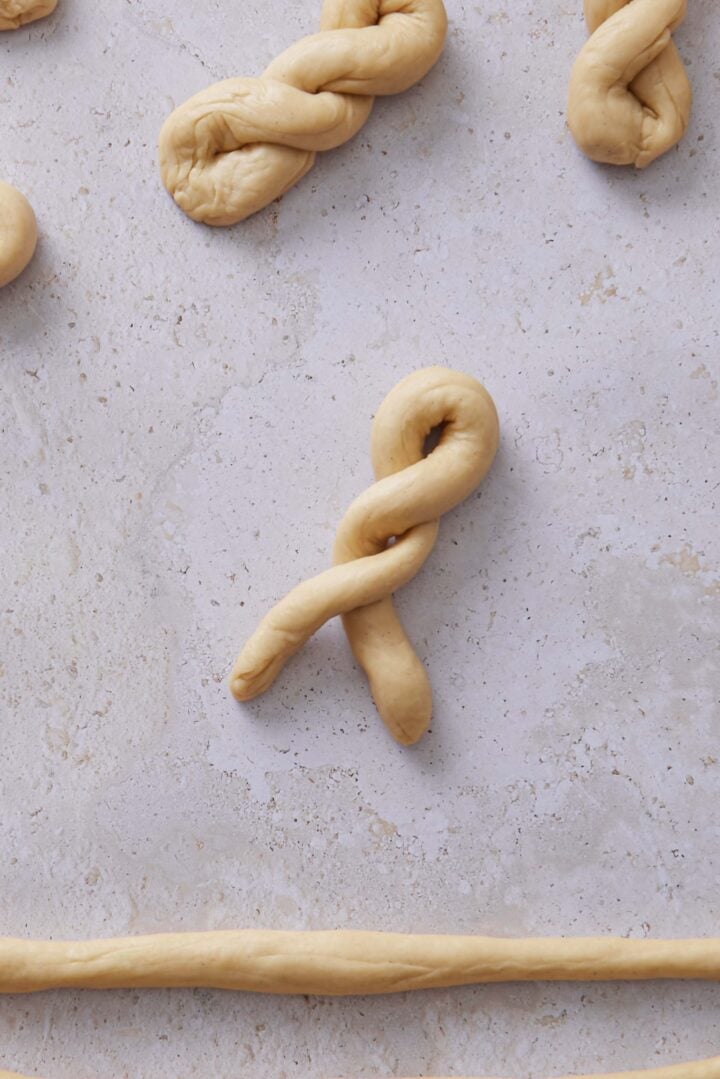
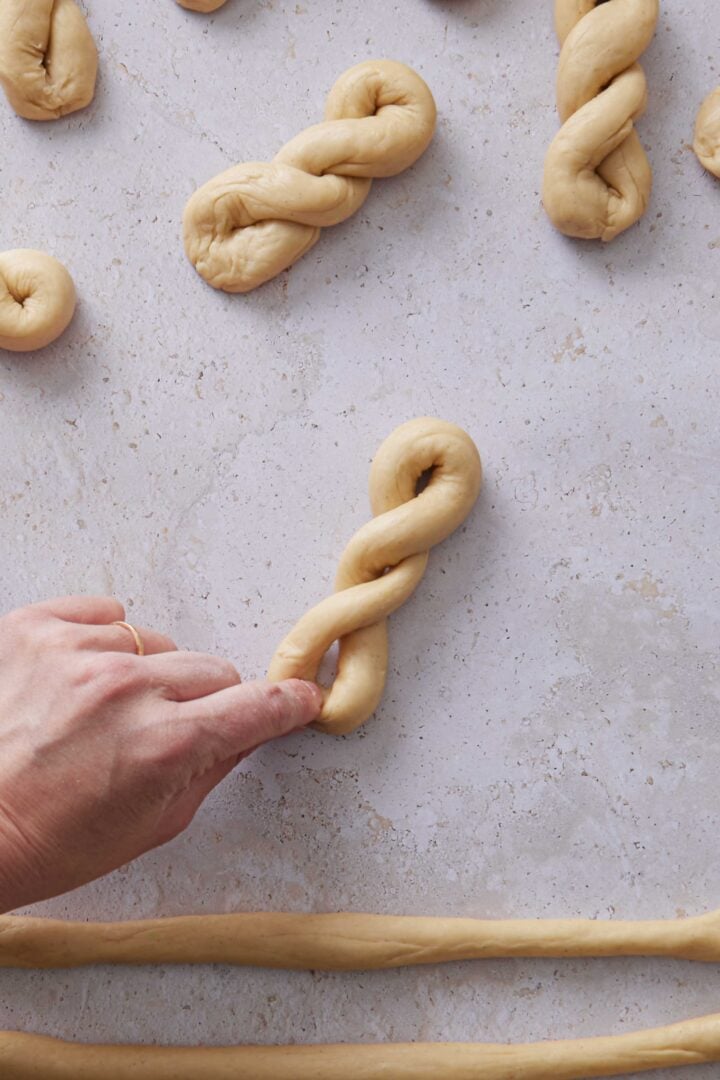
- To shape, fold the rope in half to form a “U,” then twist the two sides together. Tuck the ends slightly underneath or press them gently to seal.
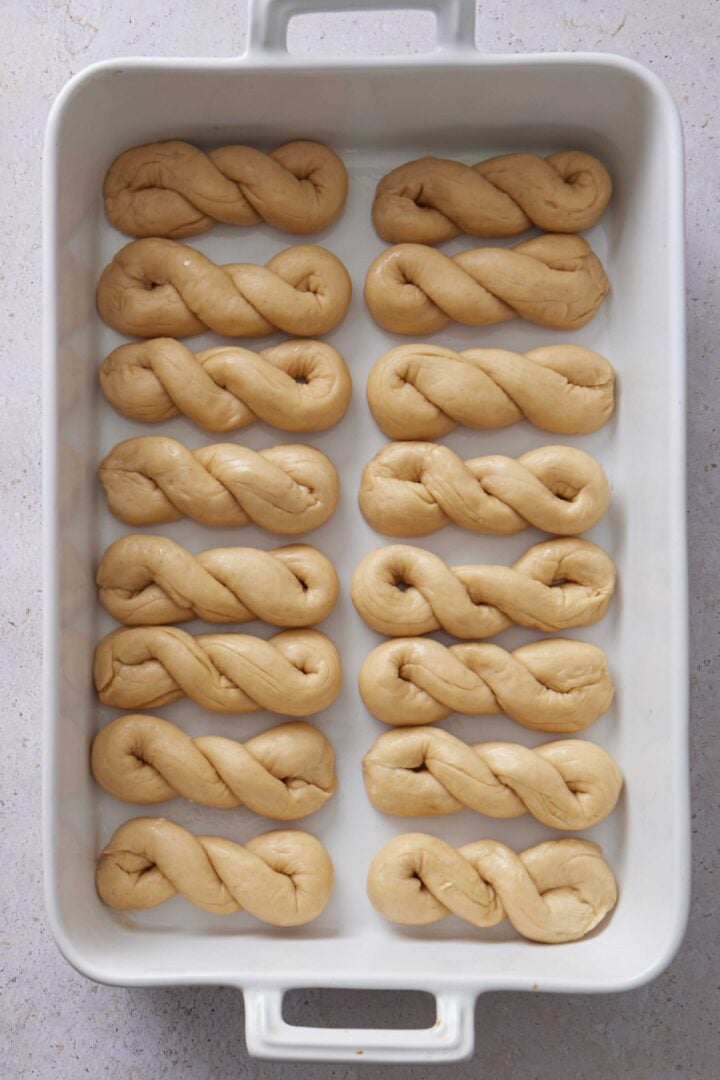
- Arrange the shaped buns in a greased baking dish, leaving a little space between each one so they can puff up during the second rise.
STEP 7: SECOND RISE
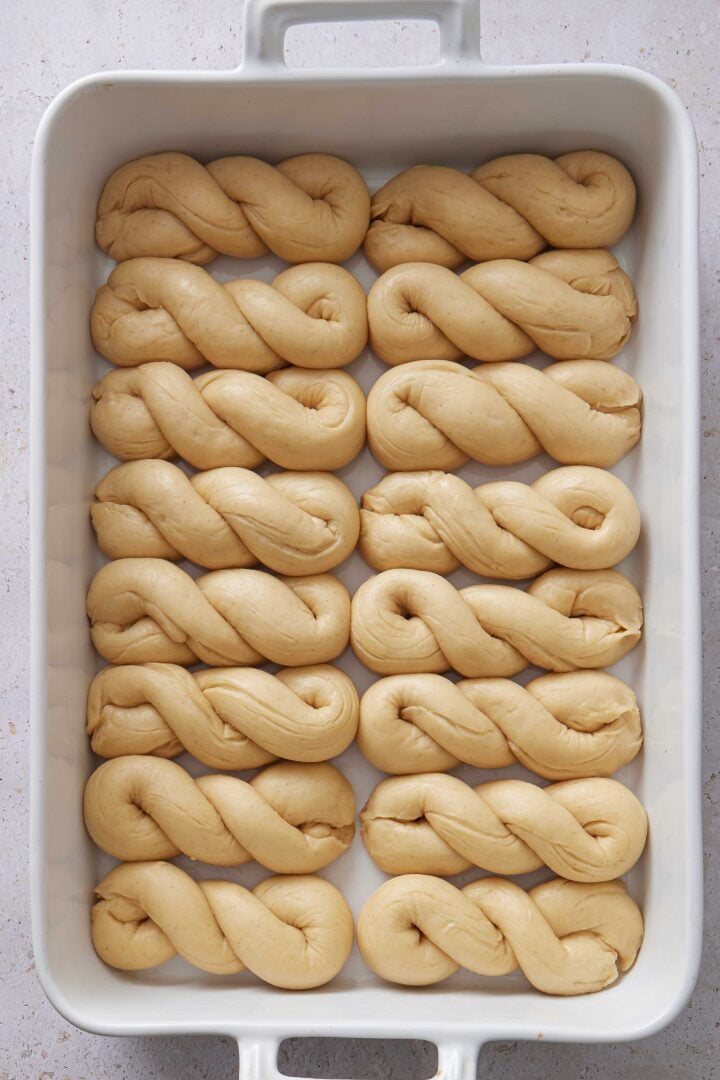
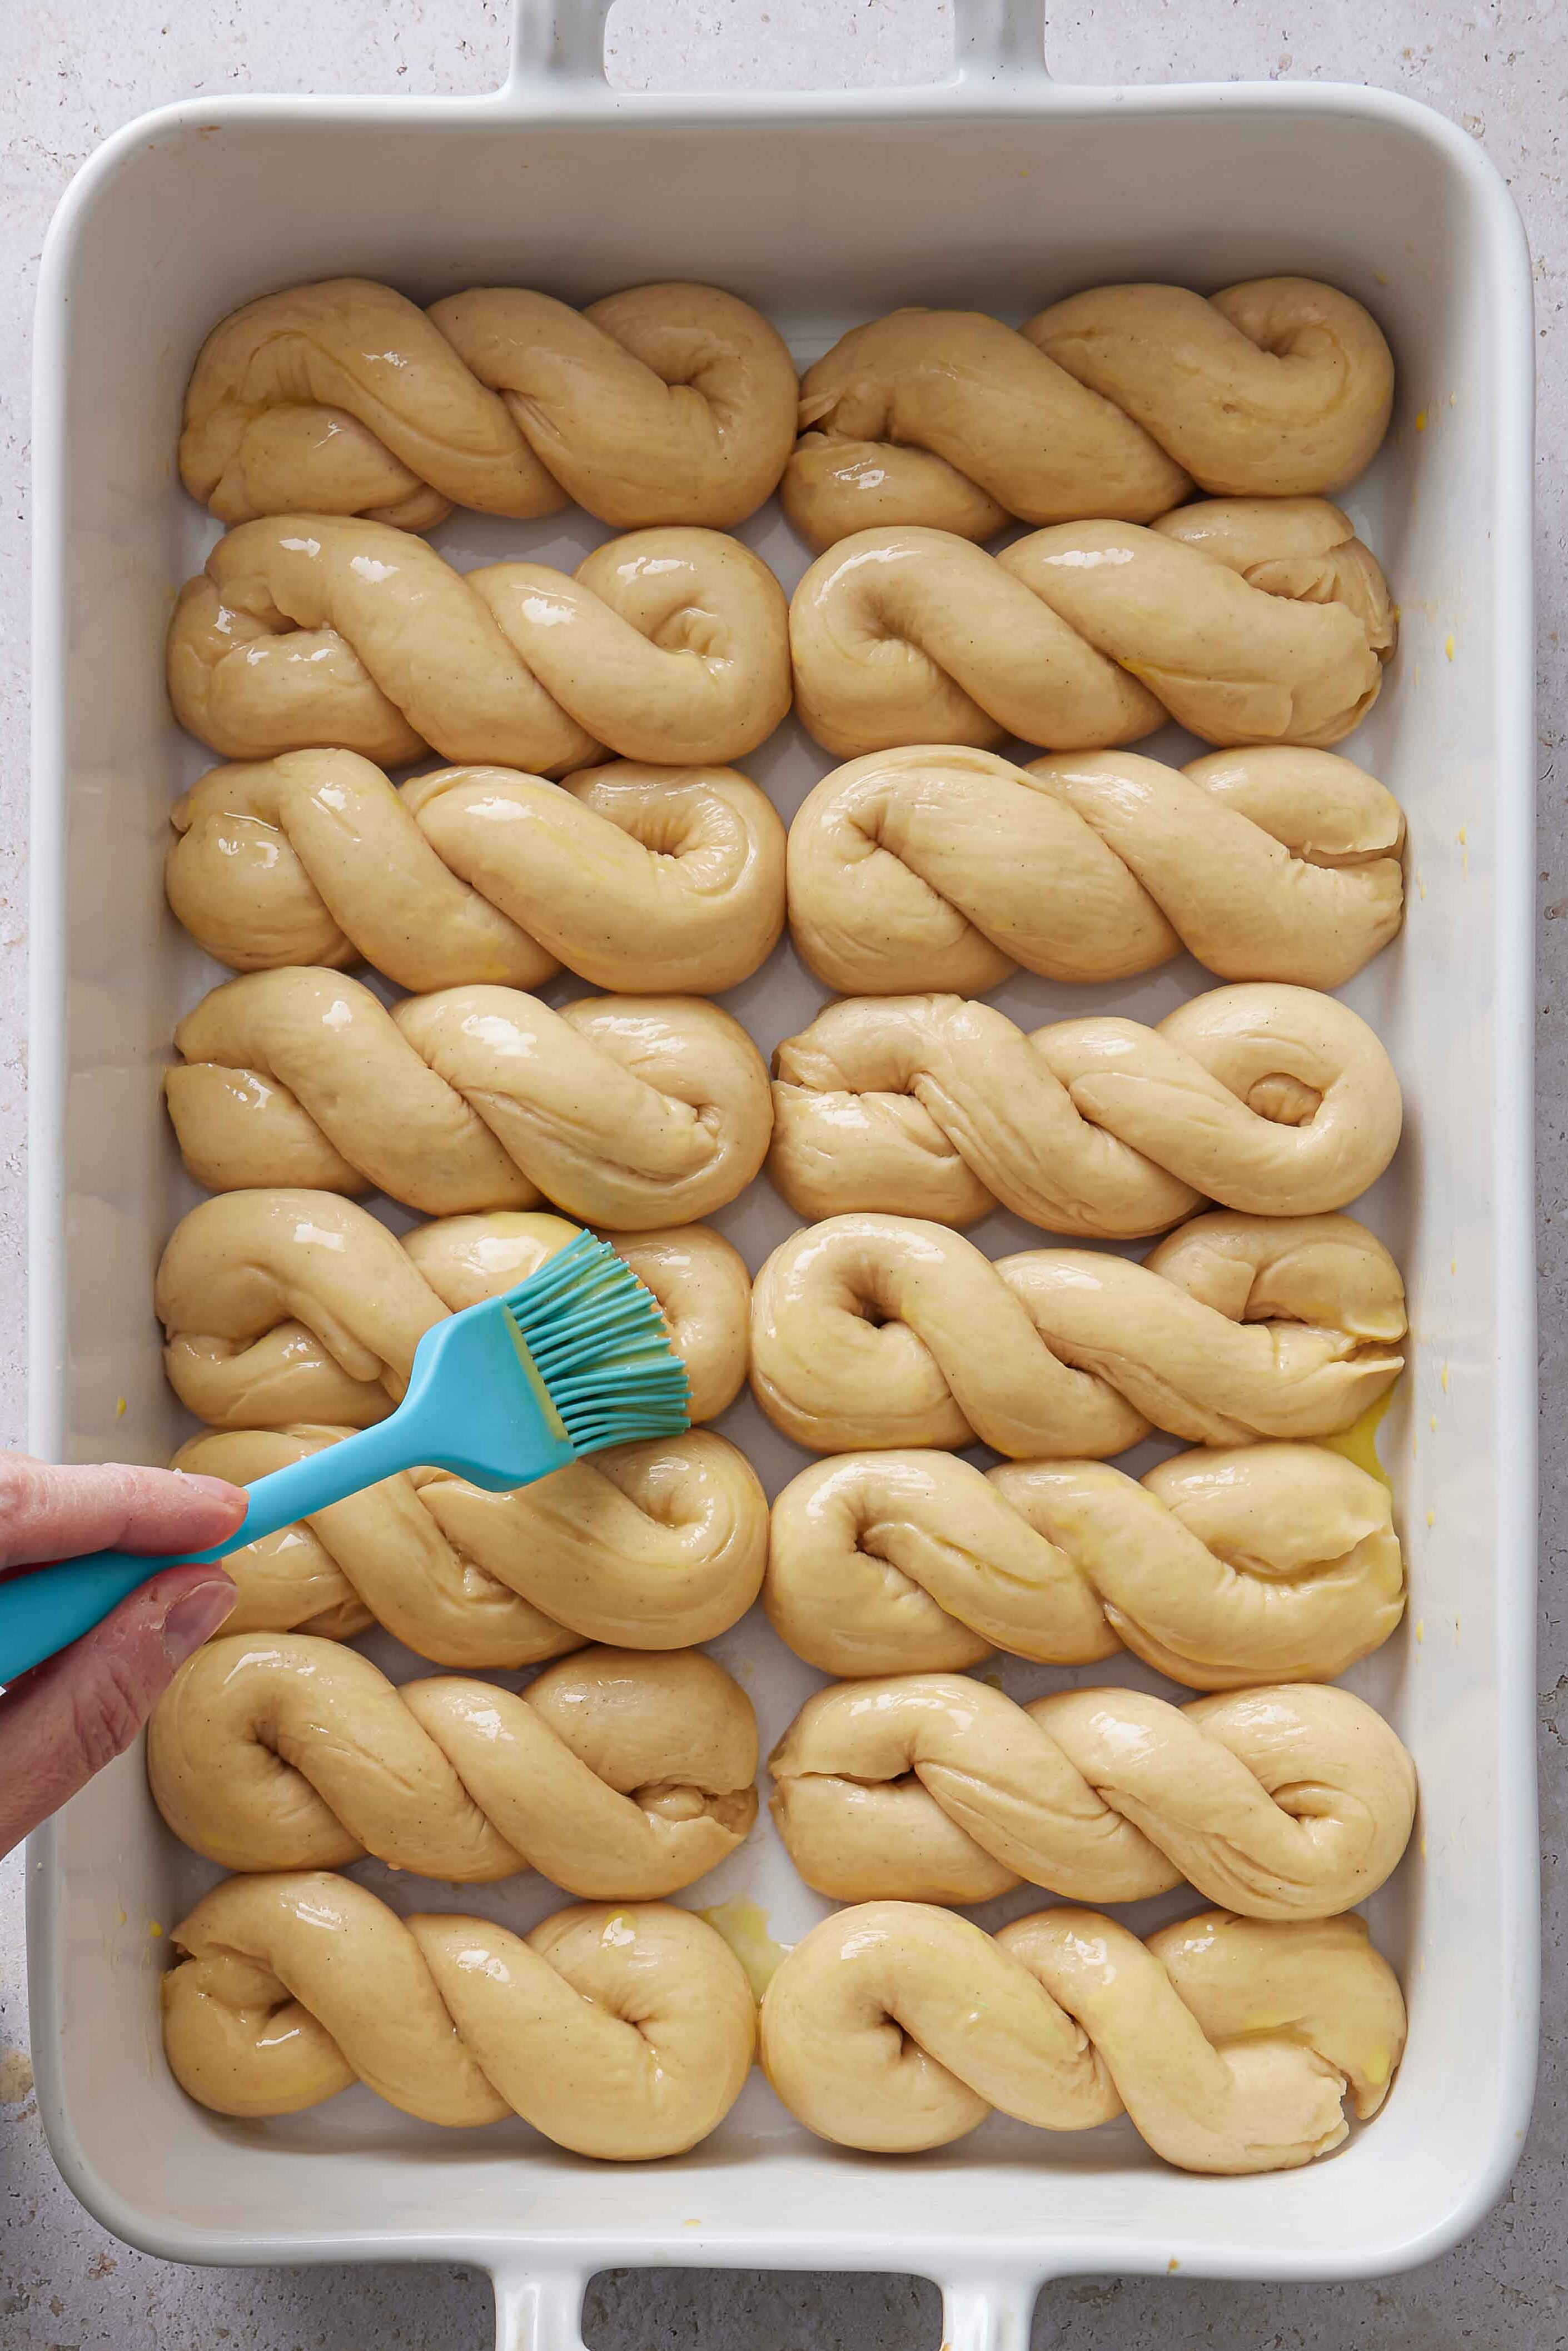
- Cover the shaped buns with plastic wrap or a kitchen towel and let them rise in a warm spot until puffy and almost doubled in size, about 30–45 minutes. They should look noticeably lighter and slightly touching each other.
- Brush the buns with an egg wash (egg + milk).
STEP 8: BAKE
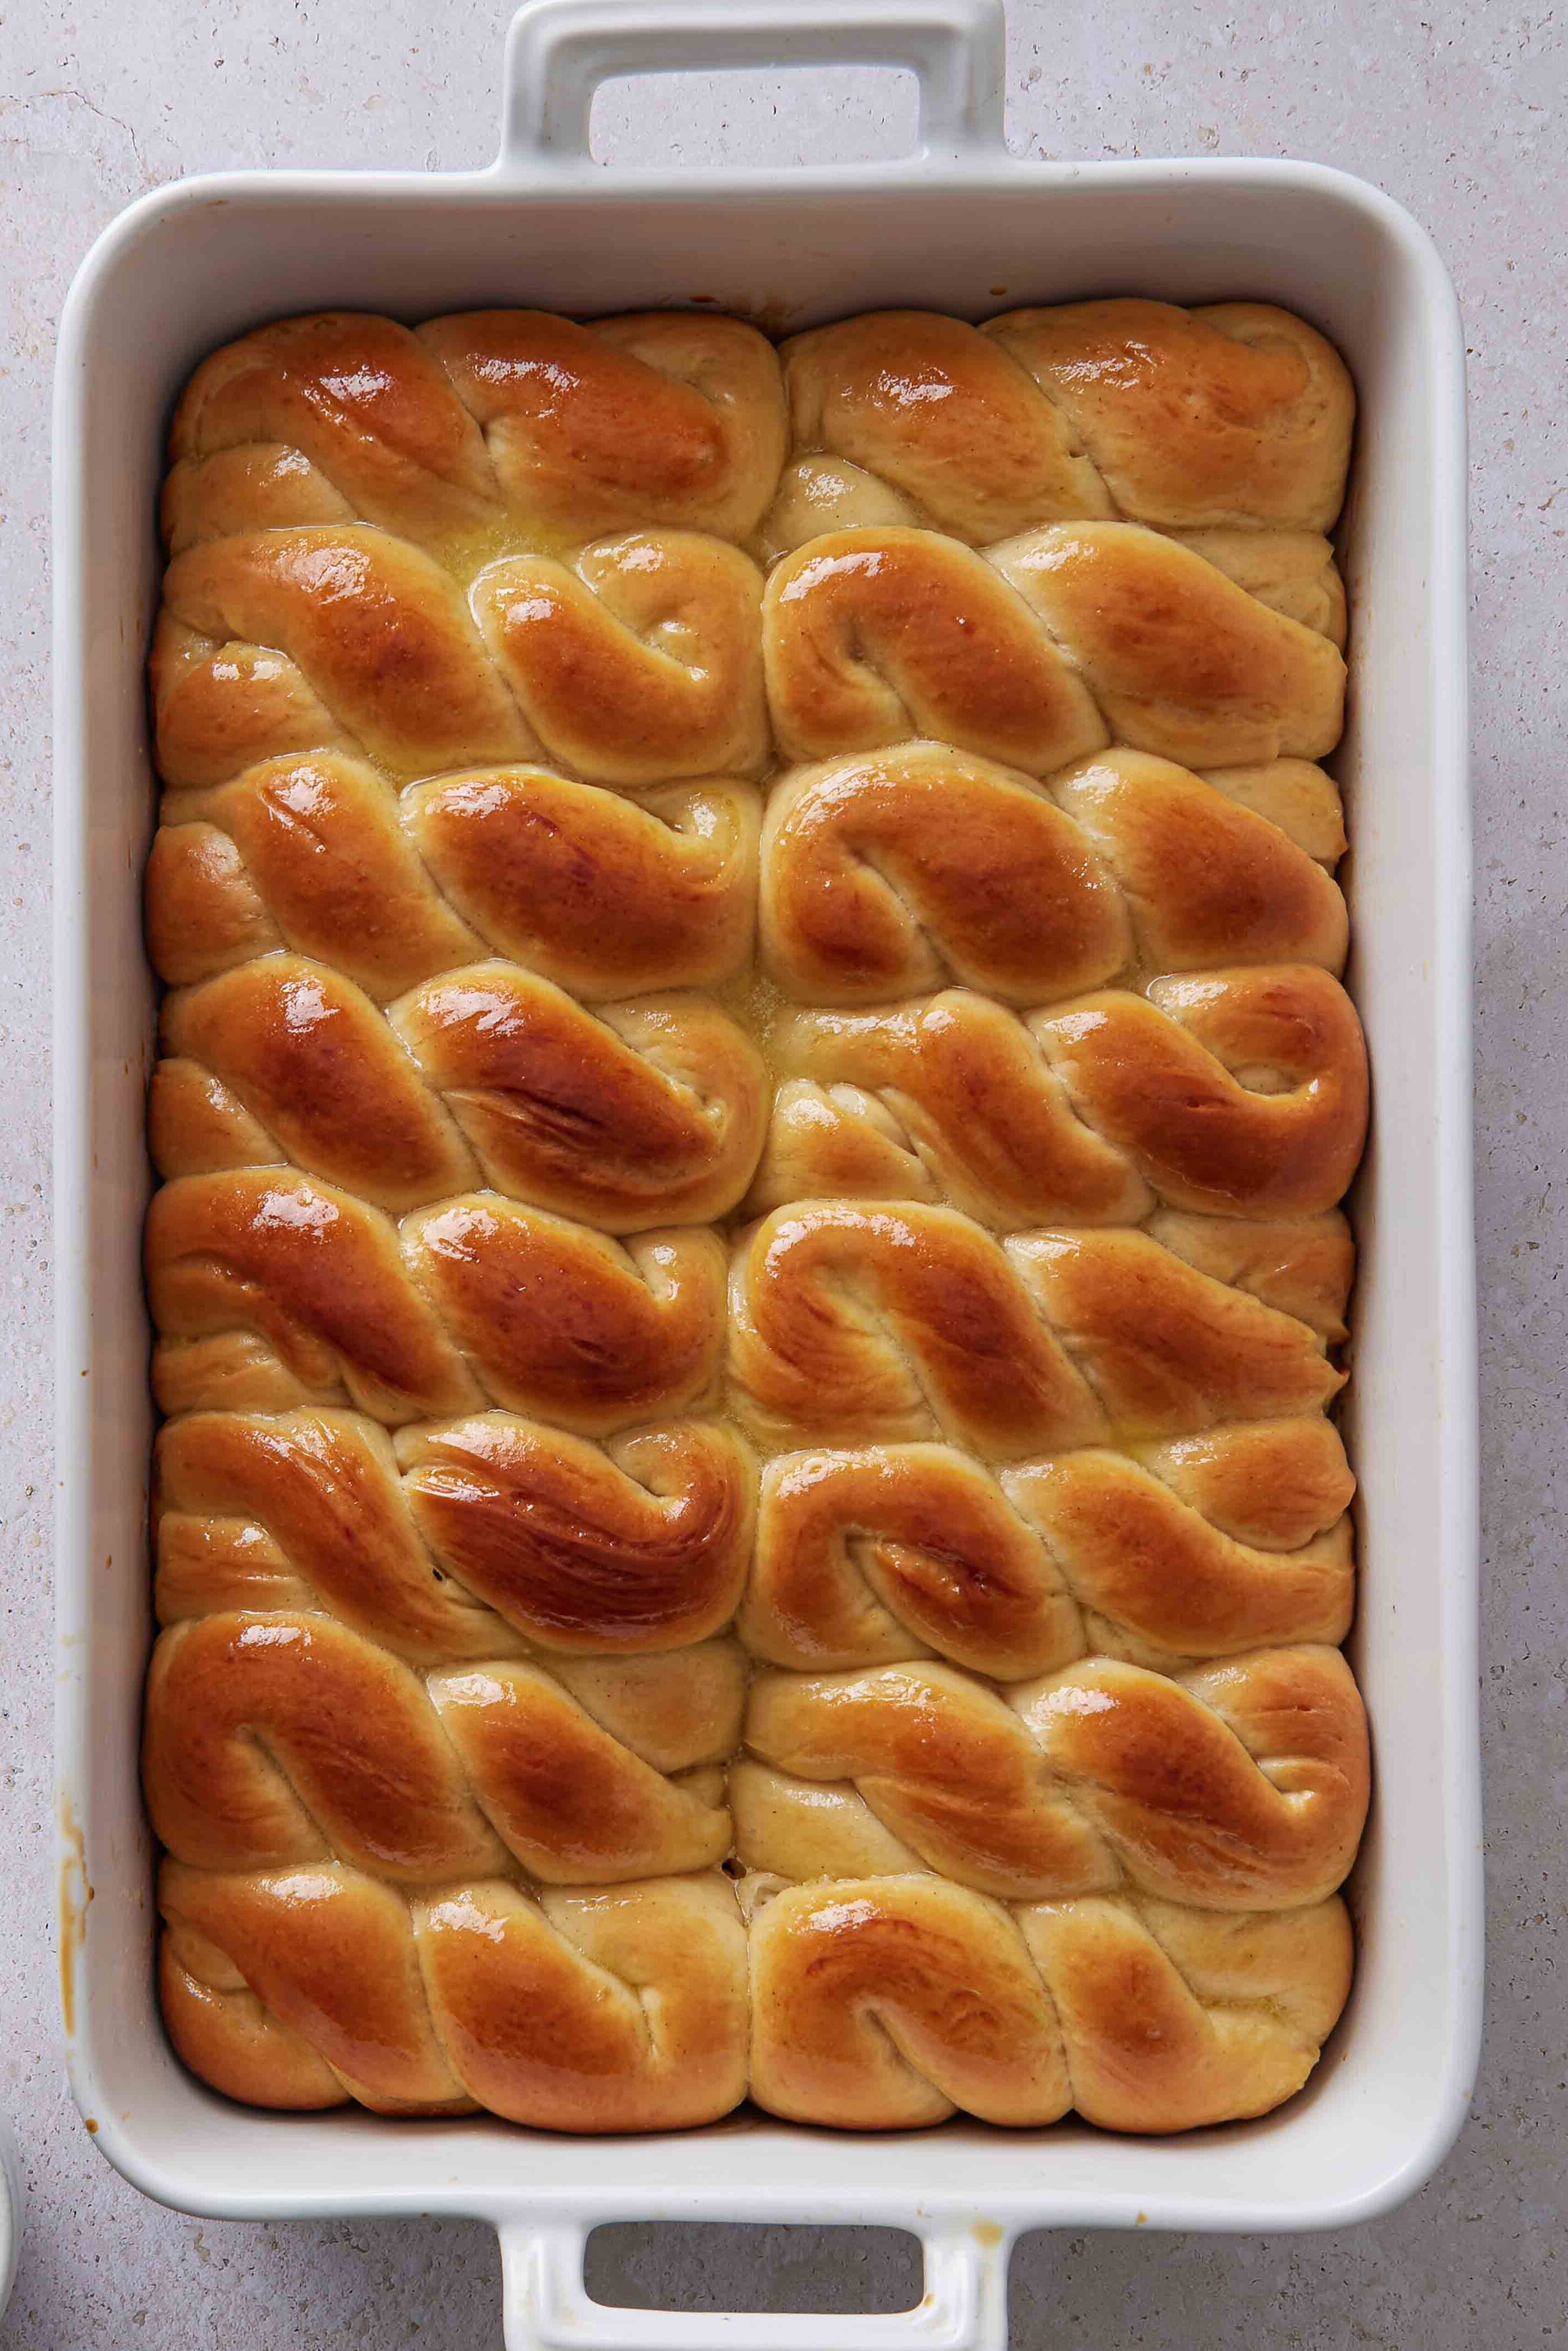
- Bake in a preheated oven (350ºF) until the buns are lightly golden on top.
- Keep an eye on them toward the end. You want them baked through but still soft. Overbaking can make them dry. If you have a kitchen thermometer, the buns are done when the internal temperature reaches about 190º–200ºF (88º–93ºC).
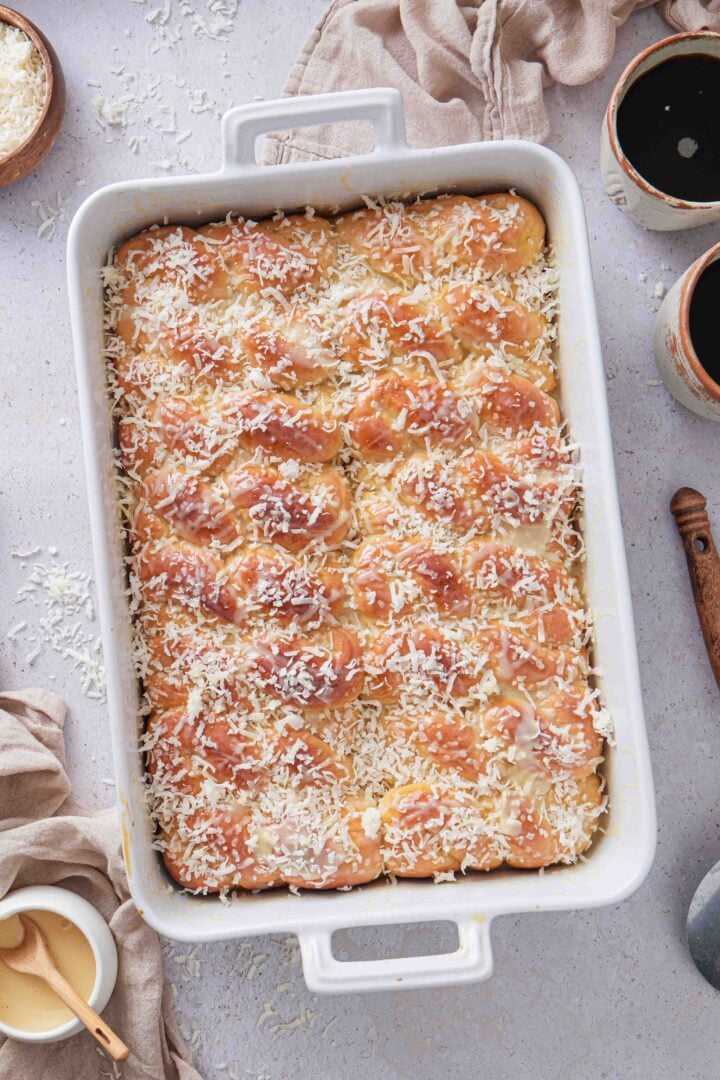
STEP 9: FINISH WITH CONDENSED MILK AND COCONUT
- While the buns are still warm, brush them with melted butter.
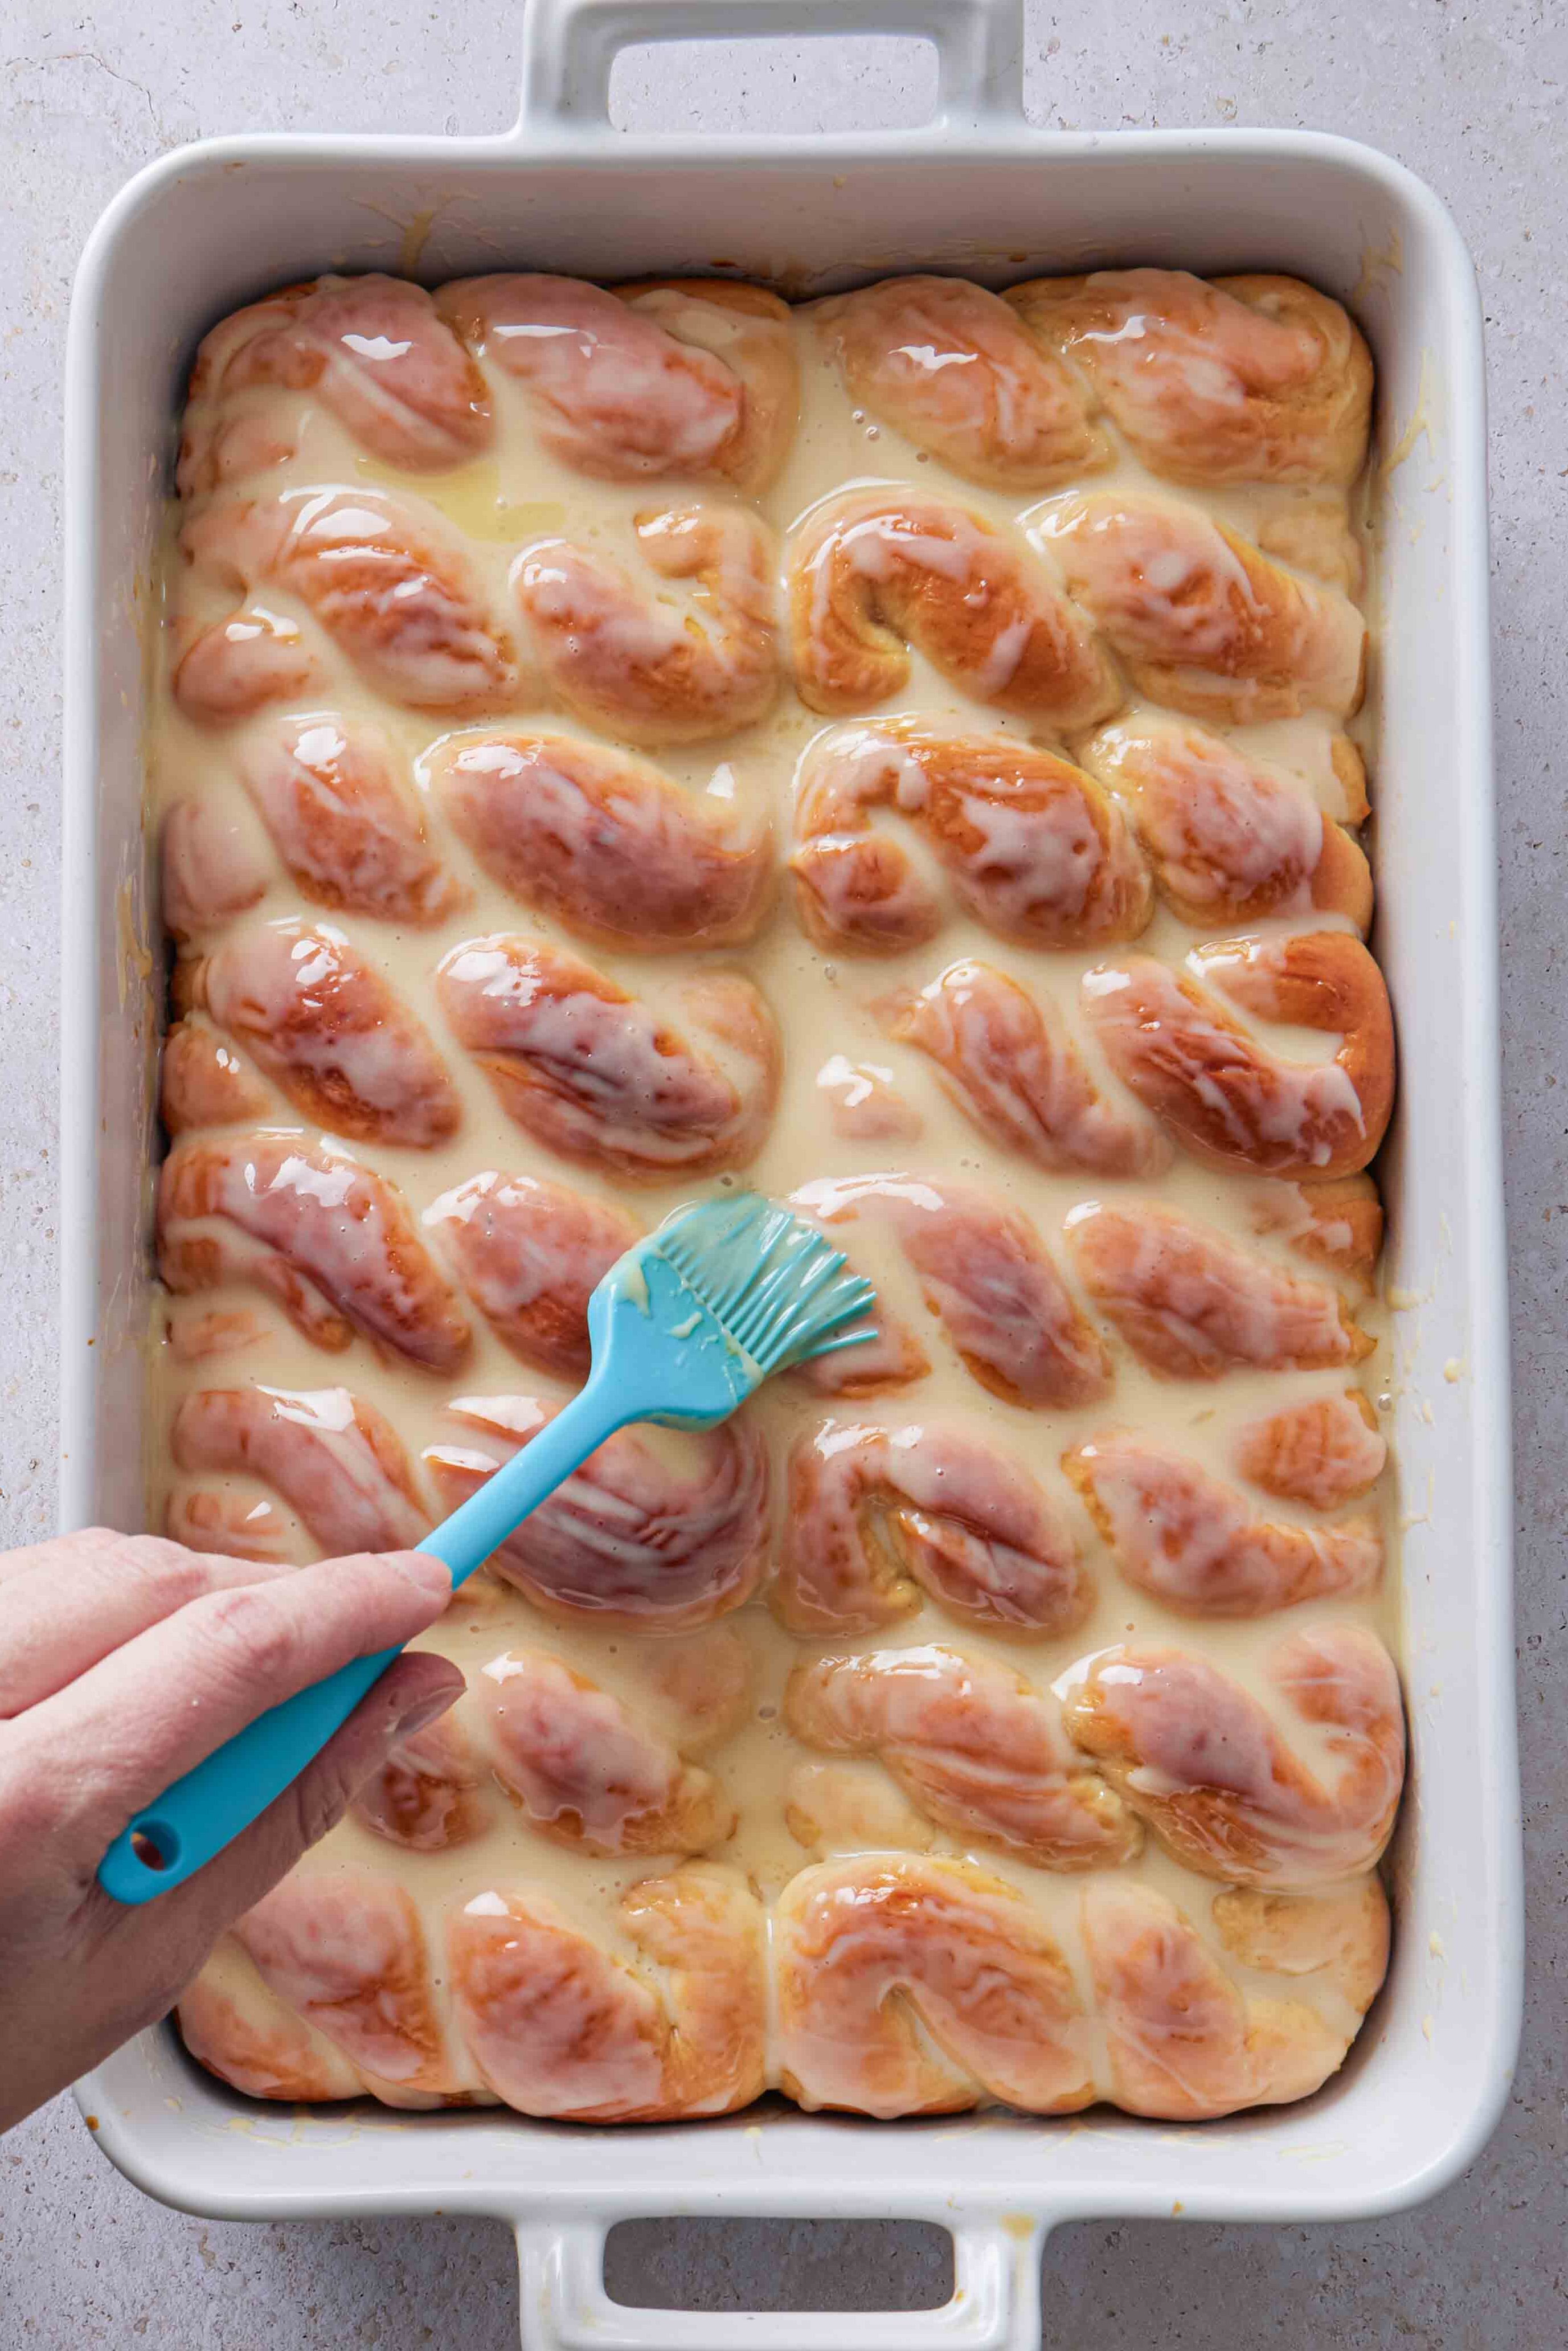
- Wait 5-10 minutes and brush or drizzle them generously with sweetened condensed milk. You want to wait until they are slightly cooled cause if they are too hot, the condensed milk with slide right off. But don’t wait too long, cause if they are too cool, it won’t spread as nicely!
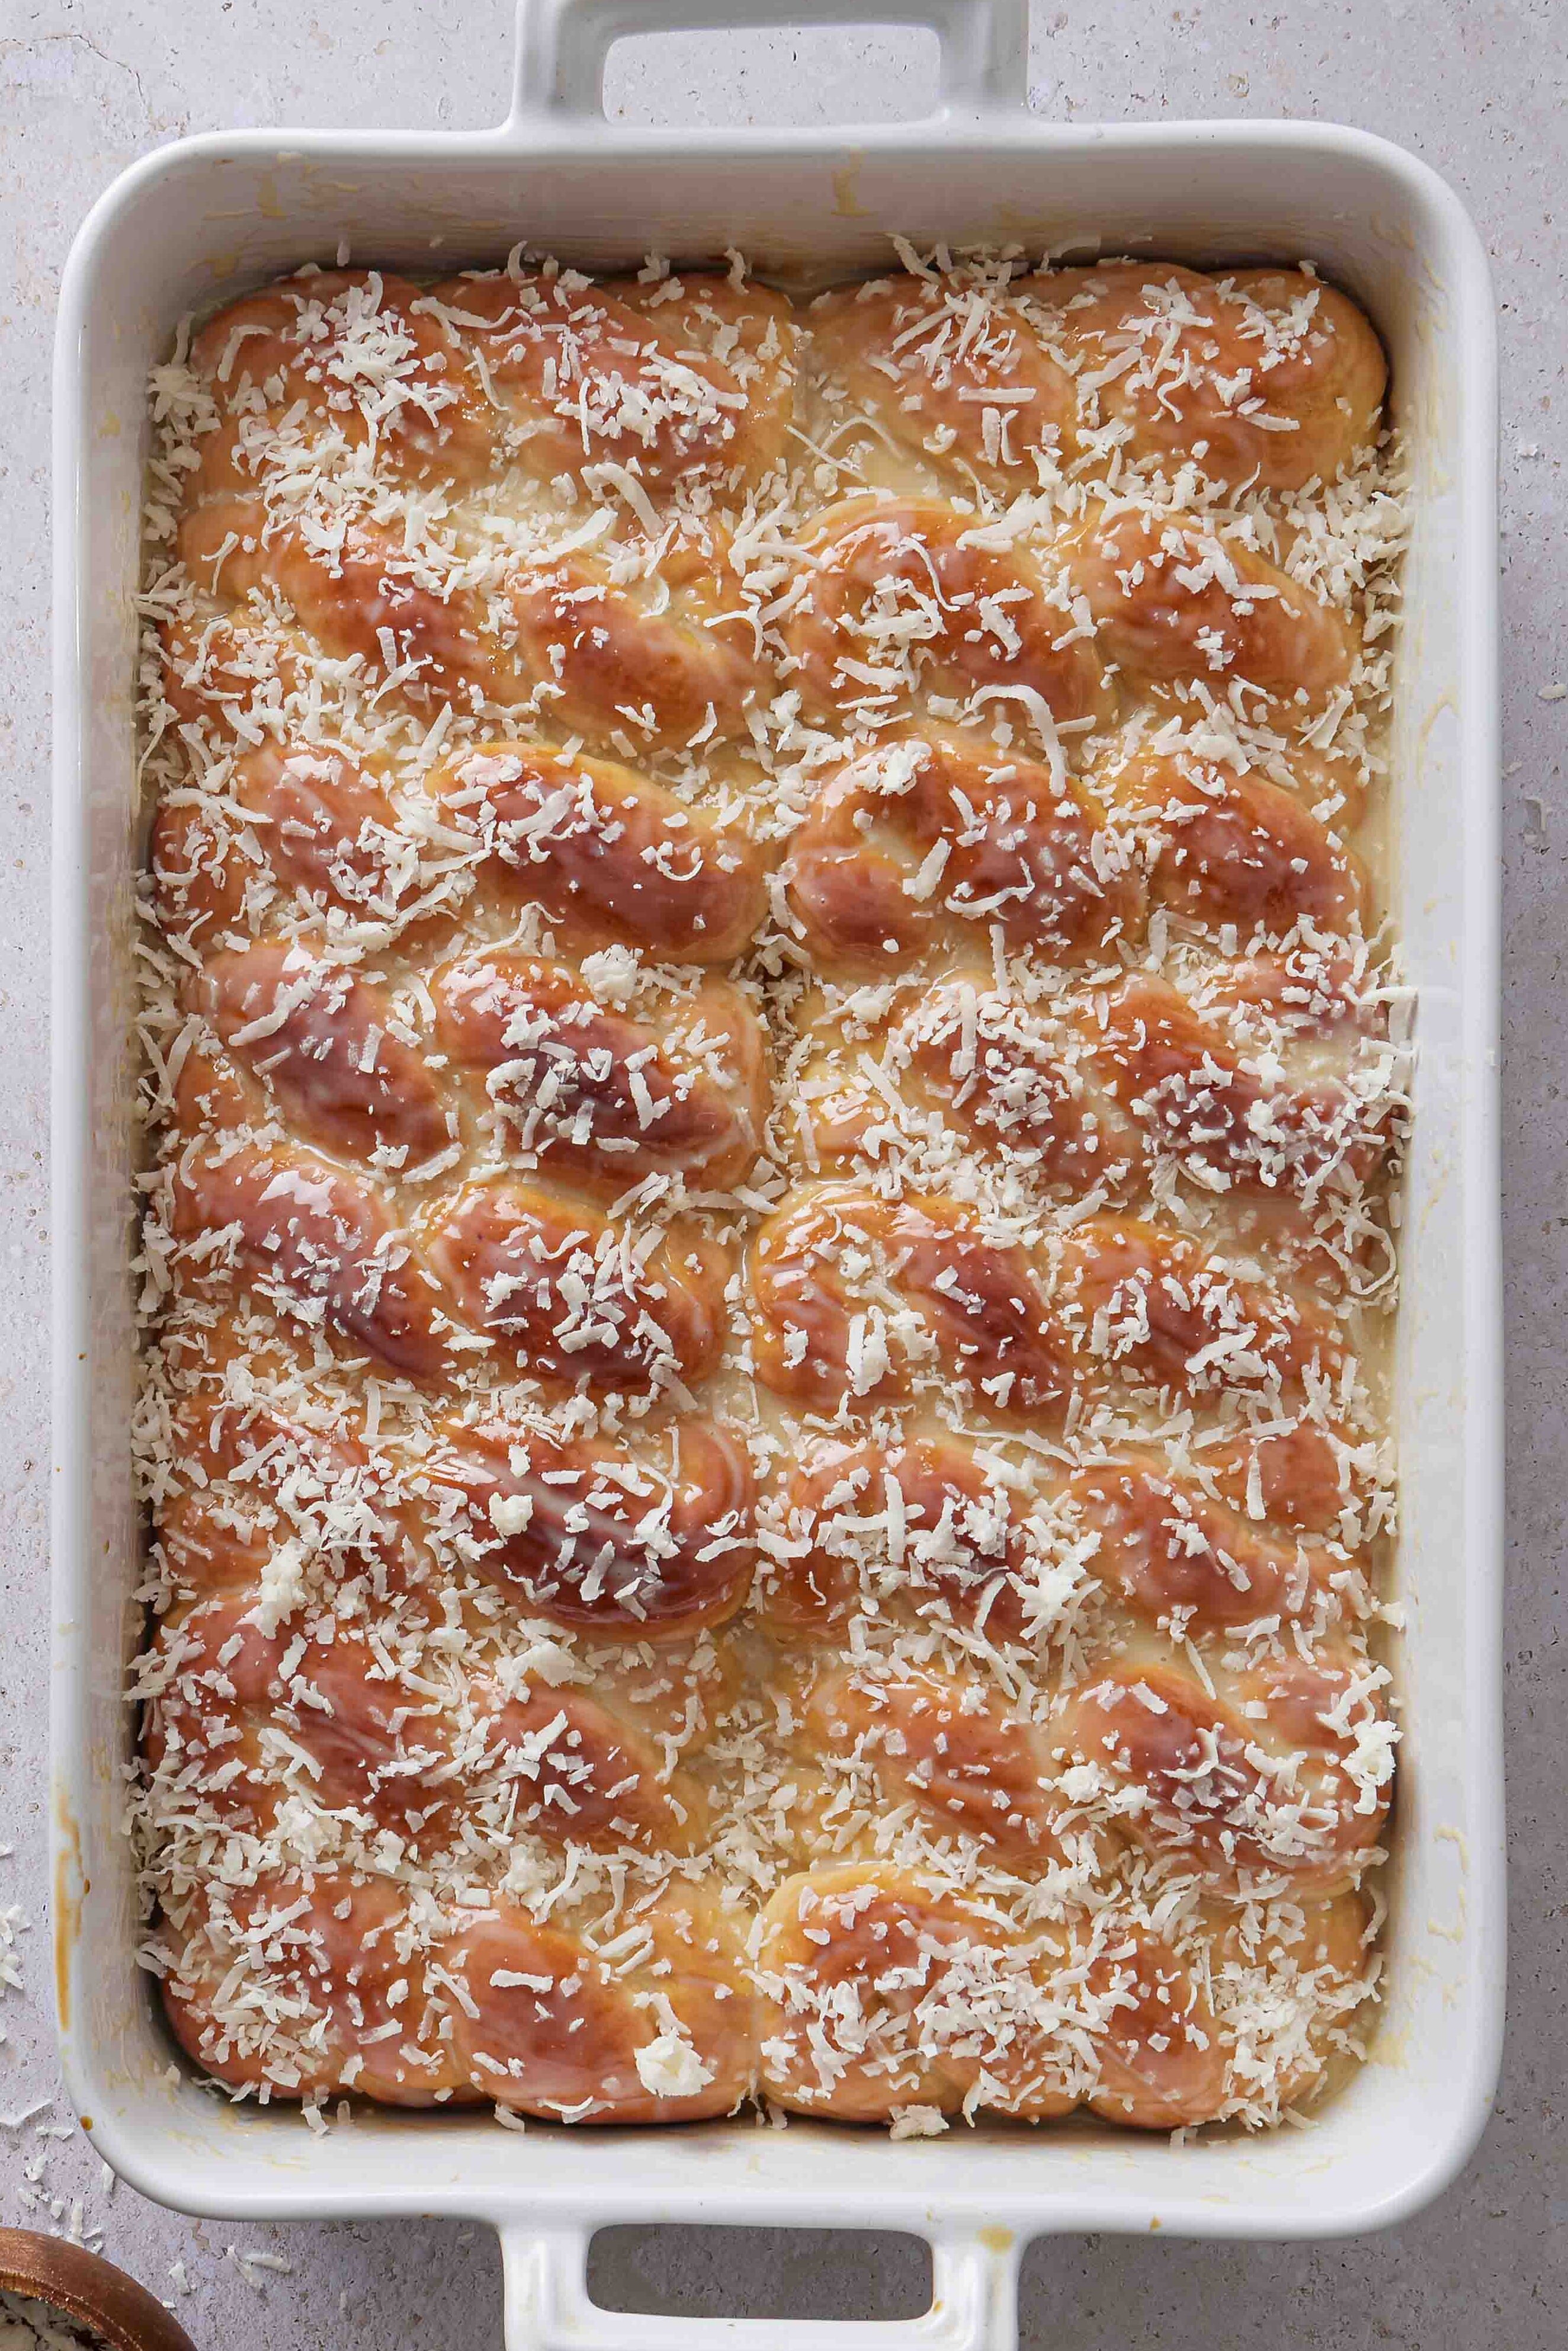
- Sprinkle with shredded coconut and serve warm or at room temperature.
Olivia’s Tips
- Keep the dough soft – This dough should feel soft and slightly tacky. If you add too much flour, the buns can turn dense instead of pillowy. If it feels too sticky and therefore hard to handle, let it rest for a few minutes and knead again before considering adding more flour.
- Use warm (not hot) liquids – When activating the yeast, make sure the water is warm but not hot, around 100º–110ºF (38º–43ºC). Too hot can kill the yeast, while too cold won’t activate it properly.
- Finish while still warm – For that bakery-style finish, brush the buns with butter right out of the oven, then add the sweetened condensed milk and coconut while they’re still warm. It makes all the difference.
- These buns are at their absolute best fresh and slightly warm, but if you have leftovers, a quick warm-up (microwave for 15 seconds or oven at 300ºF for about 8–10 minutes) brings them right back to life.
What Is the Tangzhong Method (and Why Use It Here?)
Tangzhong is a simple Japanese technique where a small portion of the flour and liquid is cooked together into a thick paste before being added to the dough. It might sound fancy, but it takes just a couple of minutes and makes a noticeable difference in the final texture of the buns.
By pre-cooking part of the flour, the starches are able to absorb more liquid. That extra hydration is what gives these buns their signature fluffy and almost pillowy crumb, while also helping them stay fresh longer.
This method isn’t traditional in Brazilian baking, but it works beautifully in enriched doughs like this one. It gives you that bakery-style softness without making the dough complicated or difficult to handle. I love it so much that I also use it for my homemade burger buns!
That said, if you’d rather skip the tangzhong, you can. Just add the flour and milk used for the tangzhong directly into the dough with the rest of the ingredients. The buns will still turn out great, just a little less soft and not quite as long-lasting.
Variations
- Skip the Coconut – If you’re not a fan of coconut, simply leave it off. The buns are still delicious with just the sweetened condensed milk on top.
- Extra Coconut-y – If you love coconut, add ¼ to ½ teaspoon coconut extract to the dough along with the vanilla. It enhances the coconut flavor without overpowering the buns.
- Smaller or Larger Buns – Make them smaller for bite-sized treats or larger for a more dramatic, bakery-style bun. Just adjust the baking time as needed.
- Round Buns – If you prefer a simpler shape, you can roll the dough into smooth balls instead of twisting. Just divide the dough, shape each piece into a tight ball, and arrange in the baking dish. They’ll bake up just as soft and fluffy, with a more classic, pull-apart bun look.
- Filled Buns – If you’re going the round route, you might as well fill each bun with dulce de leche, Nutella, or a piece of guava paste before shaping for a fun surprise inside. Because there’s no such thing as too much indulgence! 😜
How to Store These Buns
Store the buns in an airtight container at room temperature for up to 2–3 days. They’re best the day they’re made, but a quick warm-up will bring them right back to life.
Avoid storing them in the fridge, as that can dry them out and make them lose their soft texture more quickly.
If you need to keep them longer, you can freeze them (see below), but for everyday storage, room temperature is your best bet.
How to Freeze These Buns
Let the buns cool completely, then store them in a freezer-safe bag or container for up to 2 months.
If possible, freeze them without the condensed milk and coconut, and add that after reheating for the best texture.
When you’re ready to enjoy, thaw at room temperature and warm in a 300ºF (150ºC) oven for about 8–10 minutes, until soft and fluffy again. A quick microwave works too if you’re in a hurry.

Frequently Asked Questions
Yes! You can use instant yeast and skip the proofing step — just mix it directly with the dry ingredients. The dough may rise a little faster, but the final result will be the same.
You can. Just add the flour and milk used for the tangzhong directly into the dough and skip the cooking step. The buns will still be delicious, but slightly less soft and won’t stay fresh as long.
This is usually from adding too much flour or not letting the dough rise long enough. The dough should be soft and slightly tacky, and the buns should look puffy before baking.
Yes. You can prepare the dough, shape the buns, and refrigerate them before the second rise. Let them come to room temperature and rise until puffy before baking.
Yes! This is a soft, enriched dough, so it will feel slightly tacky. If it’s too sticky to handle, let it rest for a few minutes and knead again before adding more flour.
More Brazilian Recipes
- Beijinho (Brazilian Coconut Balls)
- Passion Fruit Mousse
- Brazilian Sweet Corn Cake
- Paçoca (Brazilian Peanut Candy)
- Bolinhos de Chuva (Brazilian Raindrop Beignets)
Did you make this recipe? I love hearing from you! Please comment and leave a 5-star rating below. You can also take a photo and tag me on Instagram with #oliviascuisine.

Brazilian Sweet Condensed Milk Buns
Ingredients
For the Tangzhong:
- 25 g (about 3 tablespoons) all-purpose flour
- 135 ml (about ½ cup + 1 tablespoon) whole milk
For the Dough:
- 120 ml (½ cup) lukewarm water (100º–110ºF / 38º–43ºC)
- 50 g (¼ cup) sugar, divided
- 7 g (2 ¼ teaspoons/1 packet) active dry yeast
- 1 large egg
- 107 g (about ⅓ cup) sweetened condensed milk
- 57 g (¼ cup) unsalted butter, melted
- 5 g (1 teaspoon) vanilla extract
- 15 g (2 tablespoons) milk powder, optional (for extra softness and flavor)
- 4 g (1 teaspoon) kosher salt
- 475 g (about 3 ¾ cups, spooned and leveled) all-purpose flour
Egg wash:
- 1 egg
- 1 tablespoon milk
For the Topping:
- 28 g (2 tablespoons) unsalted butter (for brushing), melted
- 296 g (about 1 cup) sweetened condensed milk (for brushing/drizzling), more or less to taste
- ⅓ to ¾ cup shredded coconut, to taste
Instructions
Make the Tangzhong:
- Combine the tangzhong ingredients in a small saucepan and cook, over medium heat, whisking constantly until the mixture thickens into a paste, about 2-3 minute). Remove from the heat and let it cool slightly.
Make the Dough:
- Combine the warm water, 1 tablespoon of sugar, and the yeast in the bowl of your stand mixer. Cover with a towel and let it sit for 5–10 minutes, or until foamy.
- Add the tangzhong, remaining sugar, egg, sweetened condensed milk, melted butter, and vanilla. Whisk until well combined.
- Add the milk powder, salt, and flour, and mix until a shaggy dough forms.
- Using the dough hook attachment, knead the dough for 10 to 15 minutes, until smooth and elastic. The dough should be very soft and slightly tacky.
- Transfer to a lightly greased bowl, cover with plastic wrap (or a kitchen towel), and place in a warm spot until it doubles in size. This will likely take 1 to 1 1/2 hours.
Shape the buns:
- Transfer the dough to a lightly floured surface and gently roll or press it into a rectangle.
- Cut into equal portions (about 12 to 16 pieces).
- Roll each piece into a rope, about 8–10 inches long.
- To shape, fold the rope in half to form a “U,” then twist the two sides together. Tuck the ends slightly underneath or press them gently to seal.
- Arrange the shaped buns in a greased 9×13-inch baking dish, leaving a little space between each one so they can puff up during the second rise.
- Cover and let rise for 30-60 minutes or until puffy.
Bake the buns:
- Preheat the oven to 350°F (175°C).
- Brush with the egg wash.
- Bake 20–25 minutes, until golden brown, or an internal temperature of about 190º–200ºF (88º–93ºC). You can tent them with foil if browning too quickly.
- Remove from the oven and brush with melted butter.
Glaze/Topping:
- Let them cool slightly (5 to 10 minutes), then brush or drizzle with sweetened condensed milk and sprinkle the shredded coconut.
- Serve while still warm!
Notes
Don’t skip it if possible. The tangzhong is what gives these buns their ultra-soft, pillowy texture and helps them stay softer longer. The recipe will still work without it, but the buns will be less fluffy and may dry out faster. Overnight rise:
For the first rise, you can refrigerate the dough overnight after kneading. Let it sit at room temperature for 30–45 minutes before shaping. For the second rise, you can refrigerate the shaped buns overnight, covered, then let them sit out while the oven preheats before baking. Storing and freezing:
Store the buns in an airtight container at room temperature for up to 2-3 days. Avoid refrigerating, as it can dry them out. For longer storage, freeze in an airtight bag or container for up to 2 months and reheat before serving. Reheating:
These buns are at the best when warm, so if you need to reheat, microwave individual buns for 10–15 seconds until soft and warm. You can also warm them in a 300°F oven for 5–10 minutes, loosely covered with foil so they don’t dry out.


