The Crispiest Fried Chicken

This shop has been compensated by Collective Bias, Inc. and its advertiser. All opinions are mine alone. #CrispyCreations #CollectiveBias #CrispiestChicken
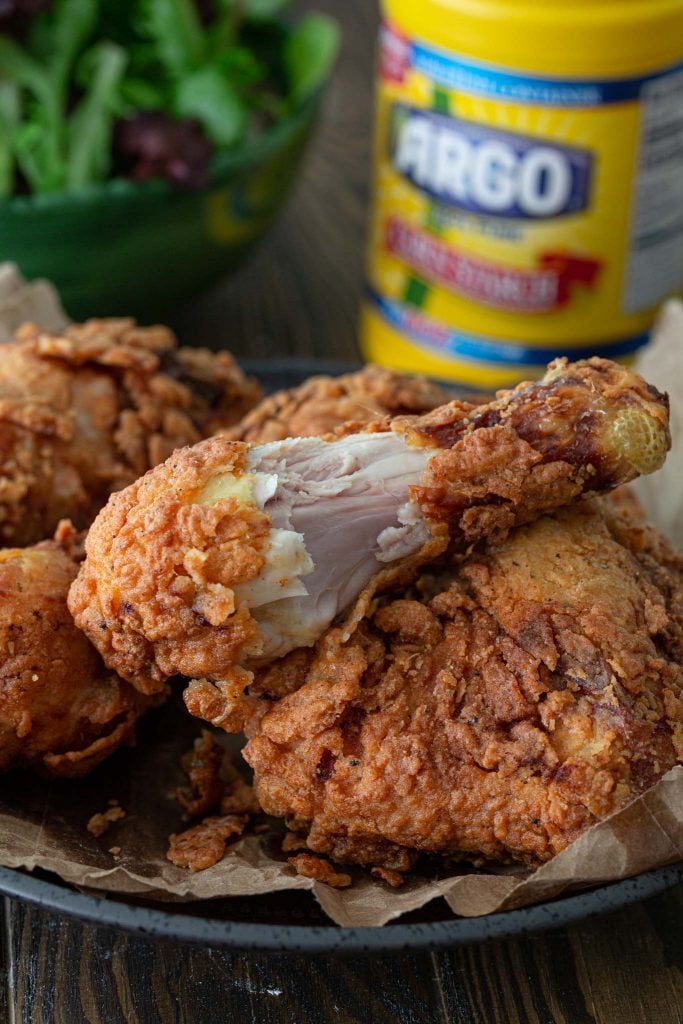
Love Buttermilk Fried Chicken but can never get it right? Always end up with a bland, dry and soggy mess? No more! Follow my tips and you’ll have the crispiest, juiciest chicken ever!
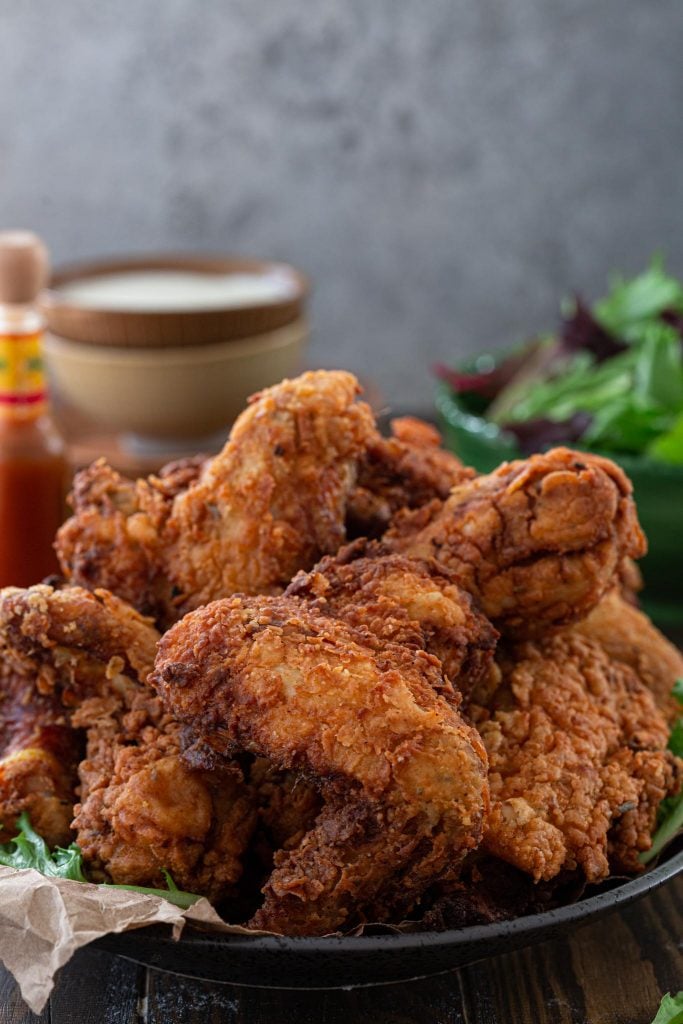
Who doesn’t love perfectly seasoned, crispy-crunchy fried chicken?
We love it so much that one of the first things we asked our new neighbors was where to get the best fried chicken in town! So it was just a matter of time until I decided I had to master making it at home.
I’m sure some of you are thinking: why is this Brazilian girl attempting to mess with an all-American classic?
Well, the truth is every country has a version of fried chicken. We have our beloved Frango a Passarinho in Brazil, Koreans have their sweet and spicy version, Filipinos have Adobo Fried Chicken, and so on!
That goes to say my fried chicken love is not something new. However, my obsession with it did start after I moved to America.
And while I’m still working my way through eating all the regional fried chicken in the country, I’m proud to say this Brazilian girl learned how to make a damn good homemade buttermilk fried chicken!
My American husband loves it and my American toddler is obsessed. And that, my friends, is how you know you’ve mastered a dish!
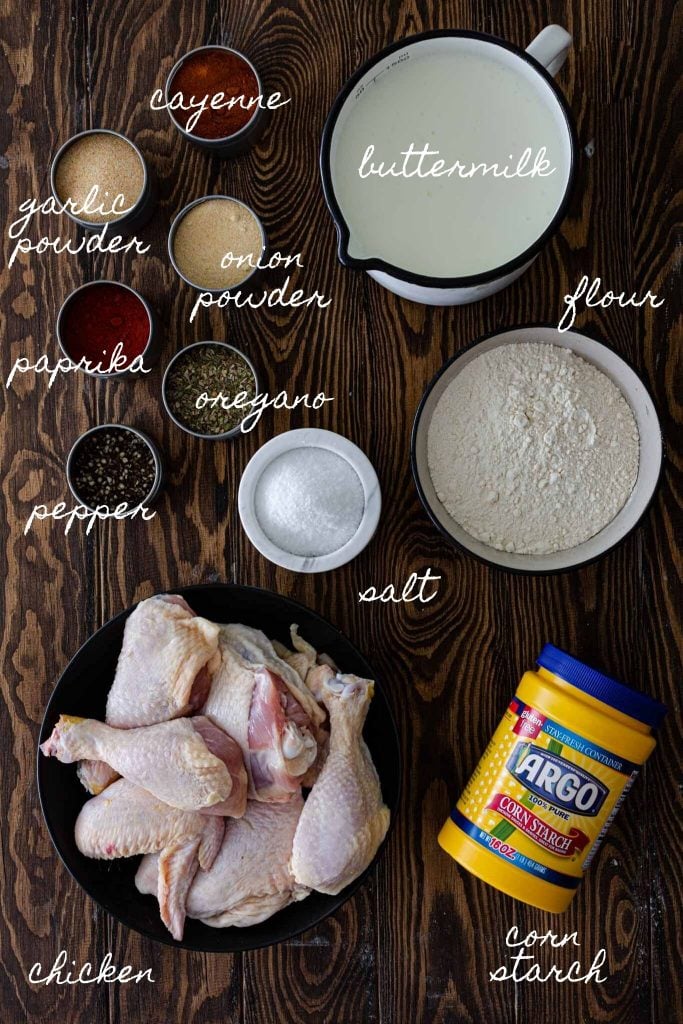
Ingredients for Buttermilk Fried Chicken
Here’s all you’ll need to make this recipe:
- Paprika
- Oregano
- Garlic Powder
- Onion Powder
- Cayenne
- Salt
- Pepper
- Buttermilk
- Chicken – You can use a whole chicken or a mix of your favorite parts (drumsticks, wings, thighs and/or breasts).
- Flour
- Argo® Corn Starch
- Salt
- Pepper
- Oil for frying
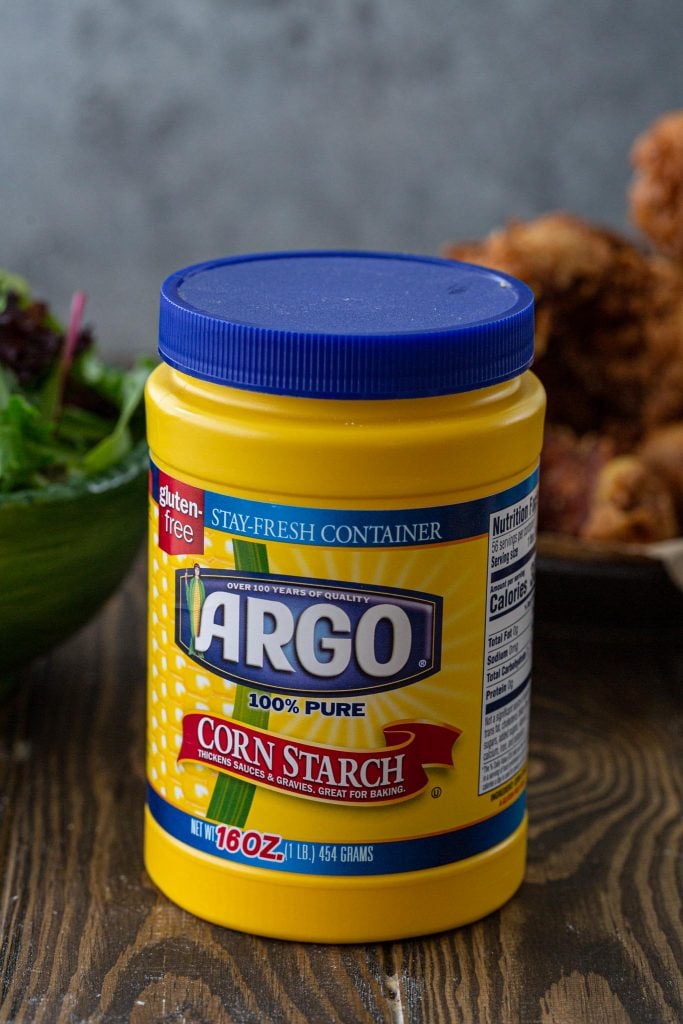
The (not so) secret ingredient for the perfect fried chicken
Corn starch. Seriously, if you’re not using Argo® Corn Starch, you’re leaving a lot of crispiness on the table!
My fried chicken game totally changed once I started using it. I do a 50/50 ratio of Argo® Corn Starch to all-purpose flour, but you could go all corn starch too, especially if you want to make gluten free fried chicken!
My brand of choice? Argo® Corn Starch. They are the leading corn starch brand with over 100 years of quality and trust over multiple generations. You just can’t beat that!
Argo® Corn Starch is not only a must have if you’re after the #CrispiestChicken, but is also great as a thickening agent for sauces, soups and stir-fries!
How to Make the Crispiest Buttermilk Fried Chicken
Making delicious buttermilk fried chicken doesn’t have to be intimidating!
And you don’t need a deep fryer either. I don’t even own one, as I find them big and hard to clean. A good heavy-bottomed Dutch oven or a cast-iron skillet are great at retaining heat and keeping it at the right temperature!
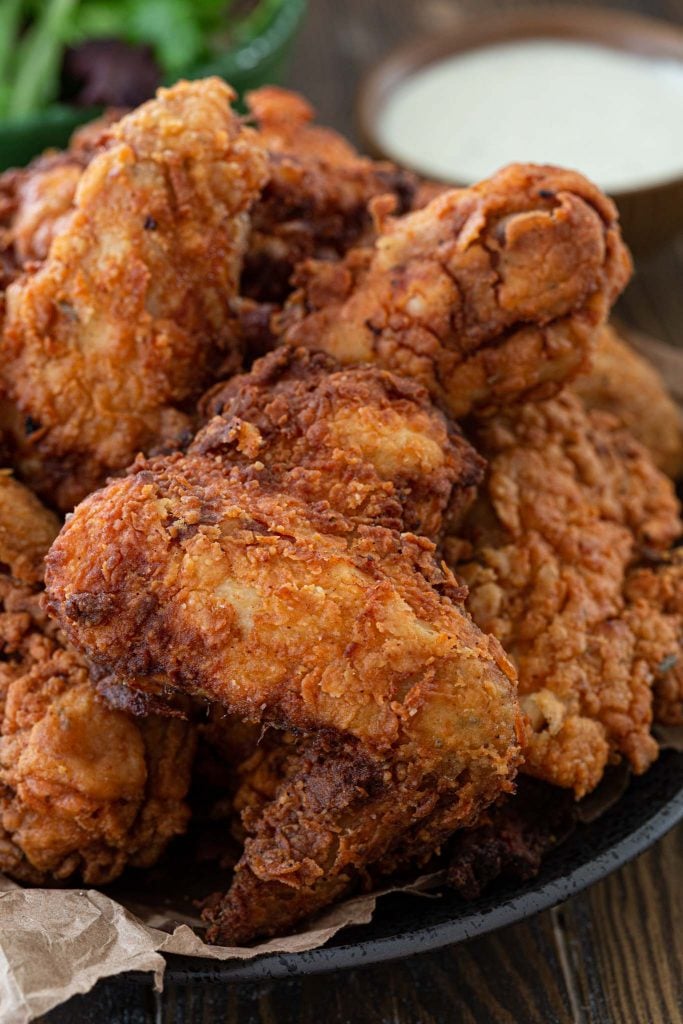
But let’s get to the deets on how to make crunchy, delicious chicken that is fried to golden-brown perfection.
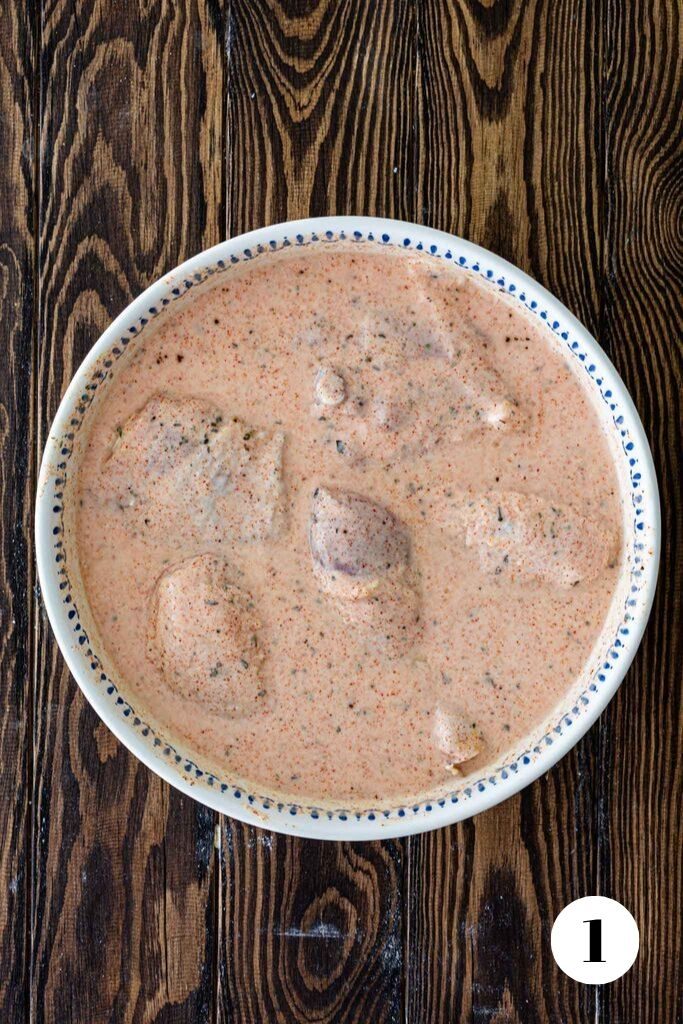
- Start by mixing all the spices together. We will use that for both the brine and the coating! Mix half of it with the buttermilk, whisking to combine. Then, add the chicken pieces, making sure they are all submerged! Season generously with salt and pepper. Refrigerate for at least one hour or overnight.
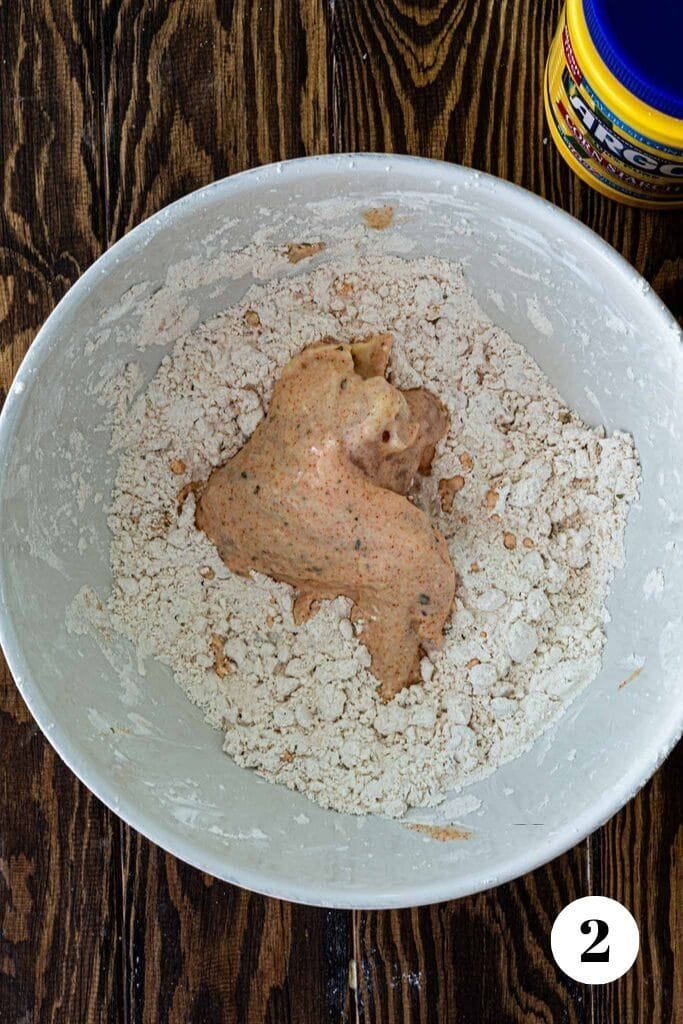
- Mix the flour with the corn starch and the remaining spice mix. Season with salt and pepper. Working with one piece at a time, place the chicken in the coating mix, pressing the coating into all sides to form large clumps coating each piece. Shake gently to remove any excess flour and place in hot oil.
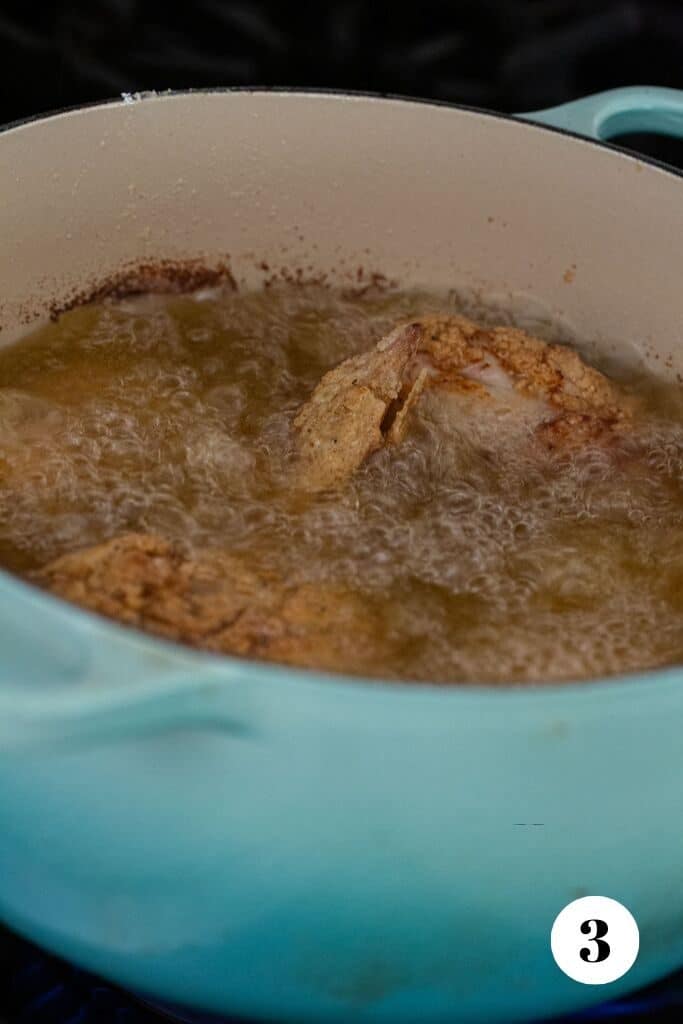
- Heat oil to 350 degrees F. Fry the chicken, 3 pieces at a time, until golden brown and cooked to an internal temperature of 165 degrees F, about 8 minutes per side.
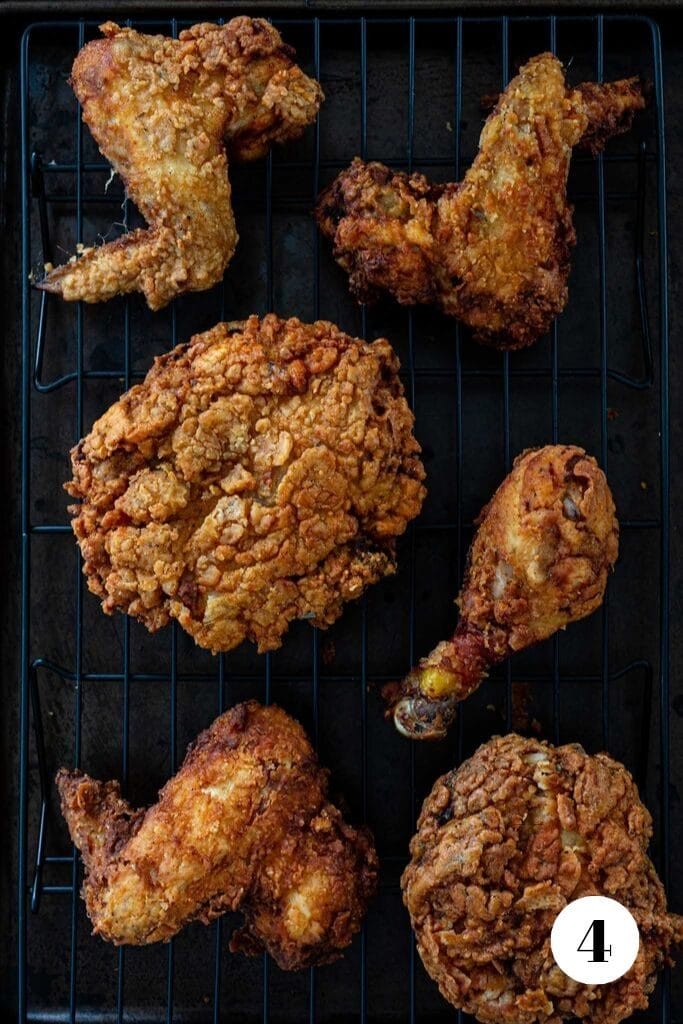
- Remove the fried chicken into a wire rack set over a baking sheet.
A few things to keep in mind if you want perfect fried chicken:
- Don’t start breading chicken straight out of the fridge, or your oil’s temperature will drop too low. I recommend waiting around 30 minutes at room temperature before coating and frying.
- For the best flavor, let it brine for at least one hour. 4 to 24 hours are even better!
- Don’t forget to season both the brine and the coating mix! I can’t stress this enough! Salt and pepper are your best friends here! Nobody likes bland fried chicken.
- When coating the chicken, make sure to really use your hands to pack the flour mix into every part of the chicken, creating craggy bits that will fry up super crispy and delicious (versus a coating that will fall off)!
- When shaking the excess, be gentle, so you don’t lose too much! After all, we are after that perfectly crispy crust.
- What kind of oil to use? Use an oil with a high smoke point. I also recommend using a deep frying thermometer to ensure you keep a steady temperature of 350 degrees F. If the oil gets too hot, you risk the chicken getting too dark outside while still raw inside. Too low and the chicken will take too long to cook, making the breading greasy!
- Don’t overcrowd the pan, or you’ll lower the oil’s temperature.
- Drain the chicken on a wire rack set over a baking sheet, instead of over paper towels. When you place fried food on paper towels to absorb the excess oil, it ends up sitting on the oily, steamy paper towel. And we don’t want steam anywhere near our crunchy chicken, do we? So the best thing is to keep it suspended on a wire rack to let the excess oil drip off while letting the steam escape at the same time. That way, we ensure that no steam is coming in contact with the crust with worked so hard to produce!
How long does it take to fry chicken?
That will depend on the oil’s temperature and the parts of the chicken you are frying.
If you’re keeping a steady temperature of around 350 degrees F, wings will take about 10 minutes to be cooked until golden brown and their thickest parts registers 165 degrees F, while things, legs and breasts will take 12-15 minutes.
Can I freeze buttermilk fried chicken?
Yes. Make sure all the pieces are completely cooled down and then freeze for up to 3 months.
To thaw, allow them to defrost in the refrigerator overnight.
How to reheat fried chicken
No microwaving, please! Unless you are craving soggy fried chicken. Eww!
While you won’t be able to recreate that perfect just fried crust, reheating the chicken in the oven will be your best option.
Let your leftover fried chicken rest at room temperature for 30 minutes, while you preheat the oven to 400 degrees F. Then, place the chicken on a baking sheet and reheat until hot, about 15-20 minutes.

The Crispiest Fried Chicken
Ingredients
For the buttermilk brine:
- 2 tablespoons paprika
- 1 teaspoon oregano
- 2 teaspoons garlic powder
- 2 teaspoons onion powder
- 1/2 teaspoon cayenne
- 3 cups buttermilk
- 1 whole chicken, approximately 3 to 4 pounds, cut into pieces (or use a mix of thighs, drumsticks, wings and breasts)
- Salt and pepper, to taste
For the coating:
- 1 1/2 cups flour
- 1 1/2 cups Argo® Corn Starch
- 1/2 the spice mix, used in the brine
- Salt and pepper, to taste
- 1 quart oil, for frying
Equipment
Instructions
- Start by preparing the spice mix. In a medium bowl, whisk together the paprika, oregano, garlic powder, onion powder and cayenne. Reserve.
- Preparing the brine: In a big bowl, combine the buttermilk and half of the spice mix. Add the chicken pieces, making sure every part is coated and fully submerged. Season generously with salt and pepper, giving it one more good stir. Cover with plastic wrap and refrigerate for at least one hour, or ideally overnight.
- When ready to cook, pour oil into a large, heavy-bottomed Dutch oven (or cast iron skilled). Heat over medium-high heat, until a thermometer reads 350 degrees F.
- Coating the chicken: Combine flour, corn starch, remaining spice mix, salt and pepper in a large bowl. Working with one piece at a time, place the chicken pieces in the flour mix. Use your hands to press the flour mix into all sides, making sure every part is coated. Gently shake off any excess before placing into the hot oil.
- Frying the chicken: Working in batches of 3-4 chicken pieces so as not to crowd the pan, fry the chicken, flipping once, until golden brown and cooked to an internal temperature of 165 degrees F. That should take about 15 minutes per batch.
- Remove the fried chicken to a wire rack set over a baking sheet. Let it dry and rest for about 10 minutes before serving.
- Serve warm or at room temperature.
Video
Notes
- Don’t start breading chicken straight out of the fridge, or your oil’s temperature will drop too low. I recommend waiting around 30 minutes at room temperature before coating and frying.
- Use an oil with a high smoke point. Use a deep frying thermometer to ensure you keep a steady temperature of 350 degrees F. If the oil gets too hot, you risk the chicken getting too dark outside while still raw inside. Too low and the chicken will take too long to cook, making the breading greasy!
- Drain the chicken on a wire rack set over a baking sheet, instead of over paper towels for maximum crispiness!


