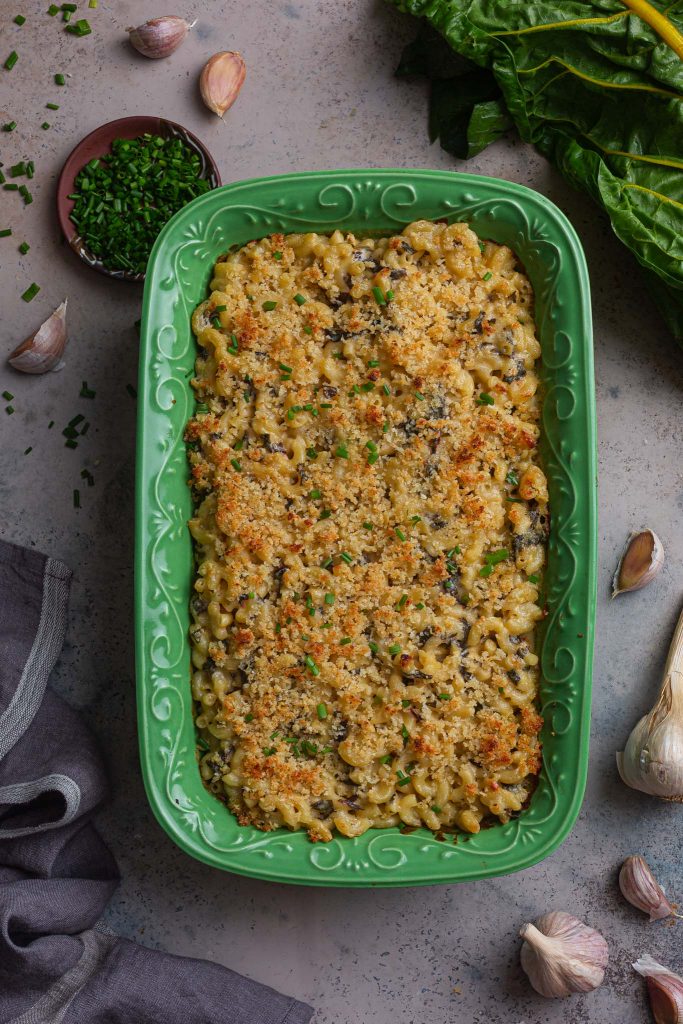
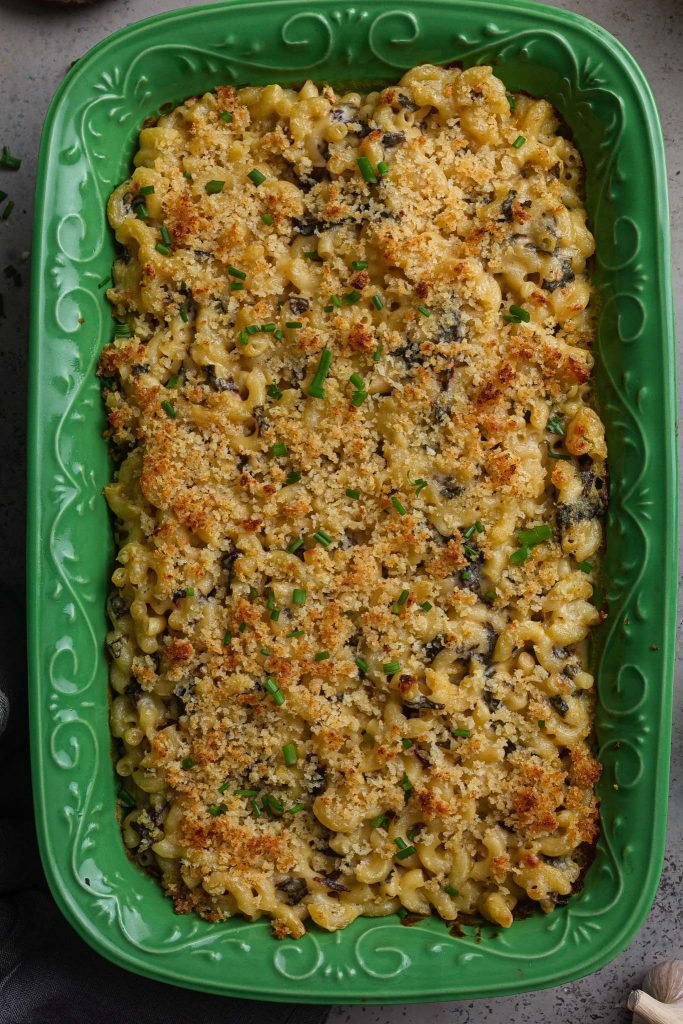
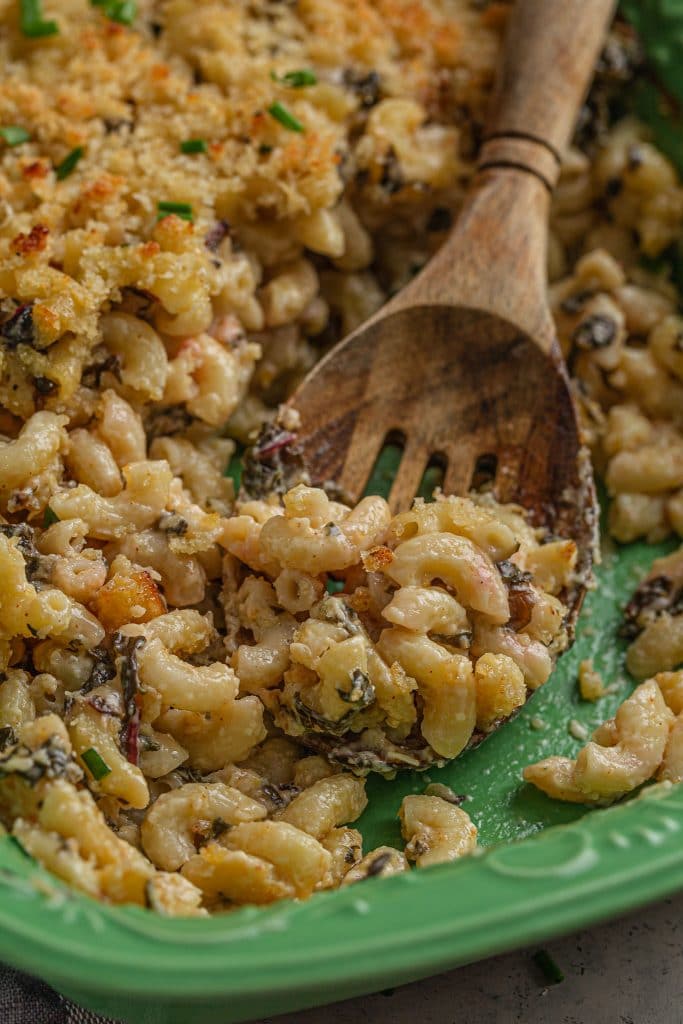
Swiss Chard and Roasted Garlic Mac and Cheese

This Swiss Chard and Roasted Garlic Mac and Cheese will take your macaroni and cheese game to a whole new level of awesome! Cheesy, with plenty of gooeyness and amazing roasted garlic flavor. This will be a hit at your holiday table!
(This post is sponsored by Ronzoni®. All opinions are my own!)
Homemade mac and cheese is one of the ultimate comfort foods. If you’re interested in more recipes, make sure to also check out my Gruyere and White Cheddar Mac and Cheese, Stovetop Pumpkin Mac and Cheese, Fried Mac and Cheese Balls and Make-Your-Own Mac and Cheese Bar.
An irresistible twist on classic mac and cheese!
Since the holiday season is quickly approaching, I thought it was time for a dish that is a must at every holiday table: mac and cheese.
Truth be told, I didn’t create this recipe. My friends at Ronzoni® sent me a few recipes and challenged me to put my own twist on one of them. (You can find Ronzoni® at your local Walmart – click HERE to add their Elbow noodles to your next Online Pickup & Delivery order.)
When I saw roasted garlic in the title of this recipe, I knew it was the one. And, oh my God, it is SO GOOD!
So good that I didn’t end up changing much, other than adding paprika and dry mustard, and a few tweaks here and there.
Trust me, I would never pass on a classic mac and cheese, especially when it’s homemade and not from a box. But roasted garlic and Swiss chard? That knocks it out of the park!
Try this! Add it to your holiday menu and watch your guests gobble it up in seconds. It is fun, creative and absolutely delicious!
Ingredients
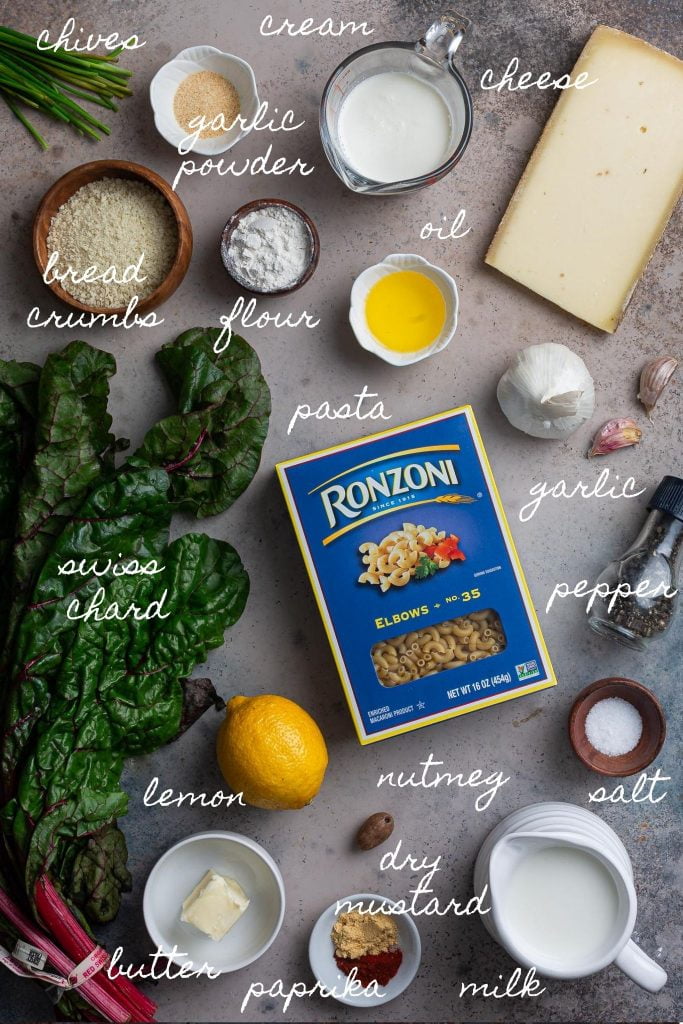
To make Swiss Chard and Roasted Garlic Mac and Cheese, you will need:
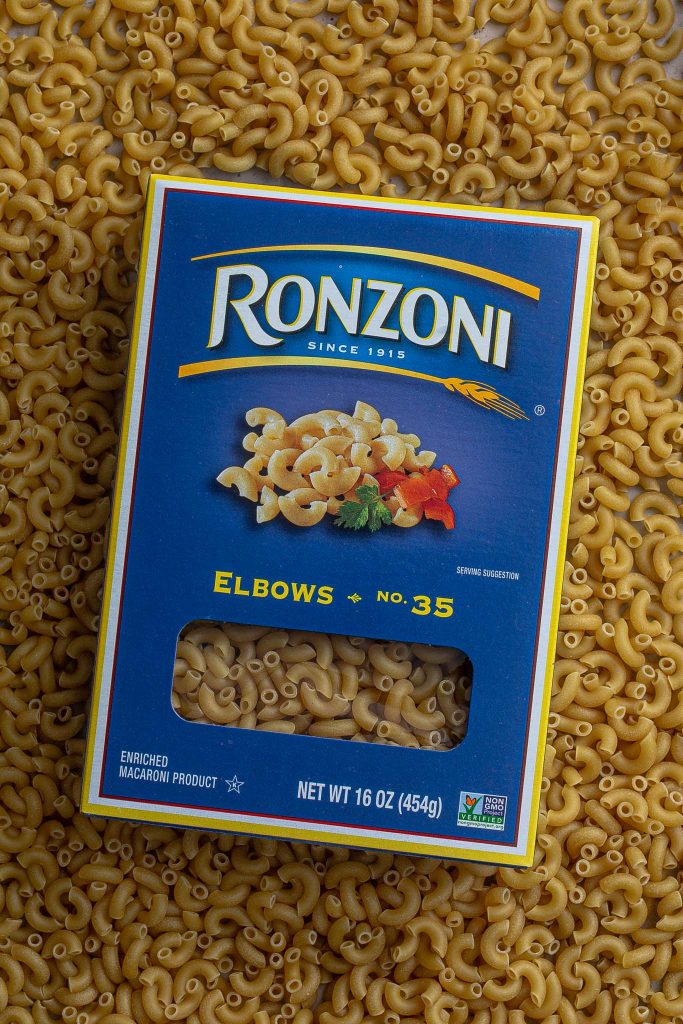
MACARONI – I used a box of Ronzoni® Elbows.
GARLIC – We’ll need a whole head for roasting and 2 extra cloves to use when sautéing the chard and making the roux.
SWISS CHARD – Swiss chard is a leafy green vegetable, similar to beet greens and spinach. You can use the one with white stalks, the red or the rainbow chard. If you don’t care for chard, you can use kale, spinach or 1/2 pound of thinly shaved Brussels sprouts instead!
CHEESE – Here we are using freshly grated Gruyere, which melts beautifully and pairs great with the other flavors in the recipe.
MILK – I prefer to use whole milk since it makes the mac and cheese creamier, but you can use reduced fat if you prefer. I haven’t tried any dairy-free alternatives, but I imagine nut and coconut milks would work too.
HEAVY CREAM – For extra creaminess!
LEMON – A squeeze of lemon juice and some lemon zest enhance the amazing flavors from the chard.
BUTTER – To make the roux and for the breadcrumb topping.
FLOUR – For the roux.
SEASONINGS – A pinch of paprika, dry mustard and freshly grated nutmeg, plus salt and pepper!
OIL – We’ll use olive oil for roasting the garlic and to sauté the Swiss chard.
BREADCRUMBS – For the buttery, crunchy topping. I like to use Panko breadcrumbs cause they are crispier!
GARLIC POWDER – To season the breadcrumb topping.
CHIVES – For garnishing.
What is the best pasta for mac and cheese?
While I believe there isn’t ONE best kind of pasta for mac and cheese, macaroni is definitely the most popular!
But what exactly is macaroni? Macaroni (from the Italian maccheroni) is a dry tube-shaped pasta, commonly cut in short lengths. In North America, macaroni is usually synonym with elbow pasta, as that is the variety that is often used to make mac and cheese!
So, for this recipe, I decided to stick with the classic and used Ronzoni® Elbows, which cook deliciously al dente in only 6 minutes!
Ronzoni®, created by an Italian immigrant named Emanuele Ronzoni, is inspired by Italian traditions but made in the United States for American tables! It has been part of family meals in America for over 100 years.
How to make Swiss Chard and Roasted Garlic Mac and Cheese
Fair warning: this recipe requires some work and will take longer than the 8 minutes that takes to prepared boxed mac and cheese. But it is SO WORTH IT!
Tim said this is the best mac and cheese he has ever eaten! I am pretty confident that you will have a similar experience.
Here are a few things to keep in mind, for best results:
- Don’t overcook the pasta! Remember that the pasta will cook a second time, in the oven. So I recommend cooking until short of al dente!
- To avoid lumps in your sauce, add cold milk to the roux, not warm.
- Grate your cheese as finely as you can. That way it will melt quickly in the sauce and you won’t risk it curdling.
- When combining all the ingredients together, start with only a little bit of the pasta water. It’s a lot easier to add more as you need it than it is to reverse adding too much.
Recommended tools and equipment: foil, large skillet, whisk, colander, baking dish.
Here’s how I make this Swiss Chard and Roasted Garlic Mac and Cheese recipe. As always, you will find the printable (and more complete) version of the recipe at the end of this post.
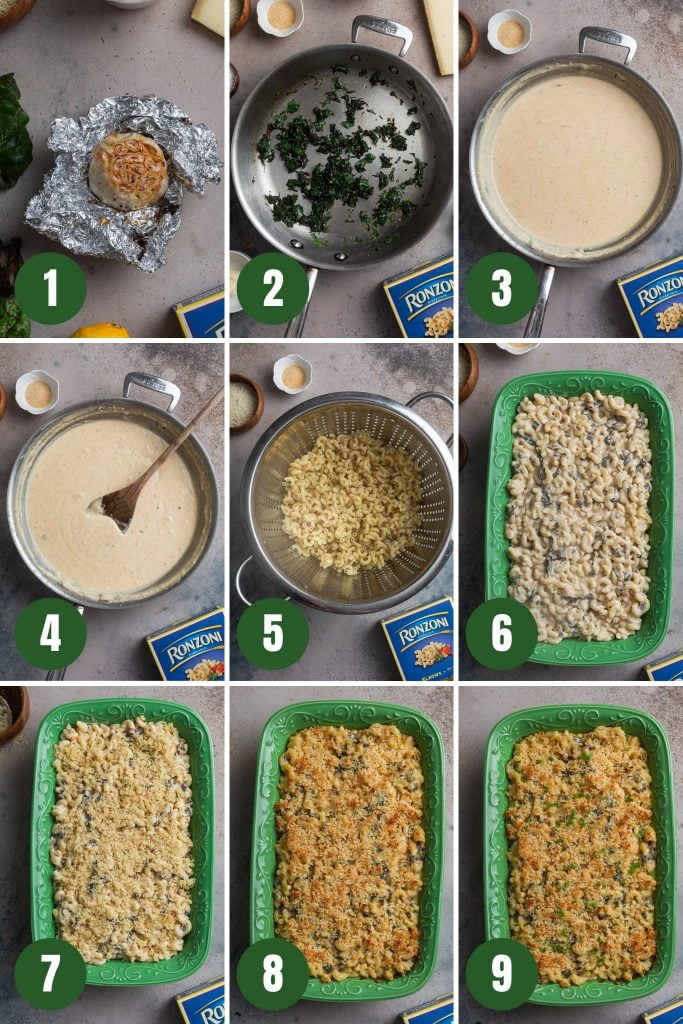
Step 1: Roast the garlic.
- Slice off the top of a head of garlic to expose the cloves. Drizzle with olive oil, wrap in foil and roast at 400ºF until soft and tender. (Photo 1)
- Remove the flesh out of each clove and mash everything into a paste. Reserve.
Step 2: Sauté the Swiss chard.
- Heat the olive oil in a skillet and sauté one of the garlic cloves until fragrant. Add the chopped chard and sauté until softened. Season with salt and pepper.
- Stir in lemon juice and lemon zest. Reserve. (Photo 2)
Step 3: Make the cheese sauce.
- Melt 1/4 cup butter and add the garlic, cooking just until fragrant. Sprinkle the flour and cook until bubbly and starting to gain some color.
- Slowly pour in the milk, whisking constantly. Cook until slightly thickened.
- Add the heavy cream, roasted garlic, dry mustard, paprika, salt and pepper. Continue cooking until thickened. (Photo 3)
- Slowly stir in the grated cheese, stirring constantly, until melted and incorporated. (Photo 4)
Step 4: Cook the macaroni.
- Cook the macaroni in salted boiling water, according to package instructions. Drain (reserving 1/2 cup of the pasta water) and reserve. (Photo 5)
Step 5: Combine everything and bake.
- Combine the macaroni, cheese sauce, Swiss chard and 1/4 cup pasta water. Add more of the pasta water if needed. Transfer to a 9X13 baking dish. (Photo 6)
- In a bowl, combine the breadcrumbs, garlic powder and 2 tablespoons of butter that has been melted. Sprinkle over the top of the mac and cheese. (Photo 7)
- Bake at 400ºF until golden brown and bubbly. (Photo 8)
- Garnish with the chopped chives and serve! (Photo 9)
Olivia’s Tip:
- Make sure your mac and cheese mixture is wet and saucy before transferring to the baking dish, otherwise it might dry out in the oven. Don’t be afraid to add more pasta water as needed to loosen things up!
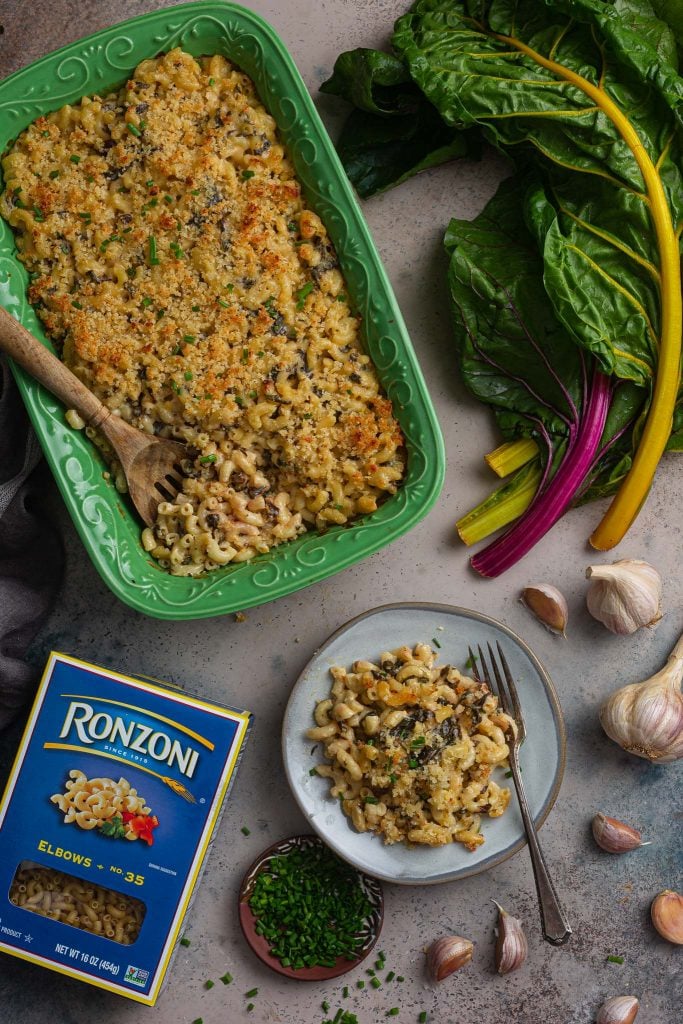
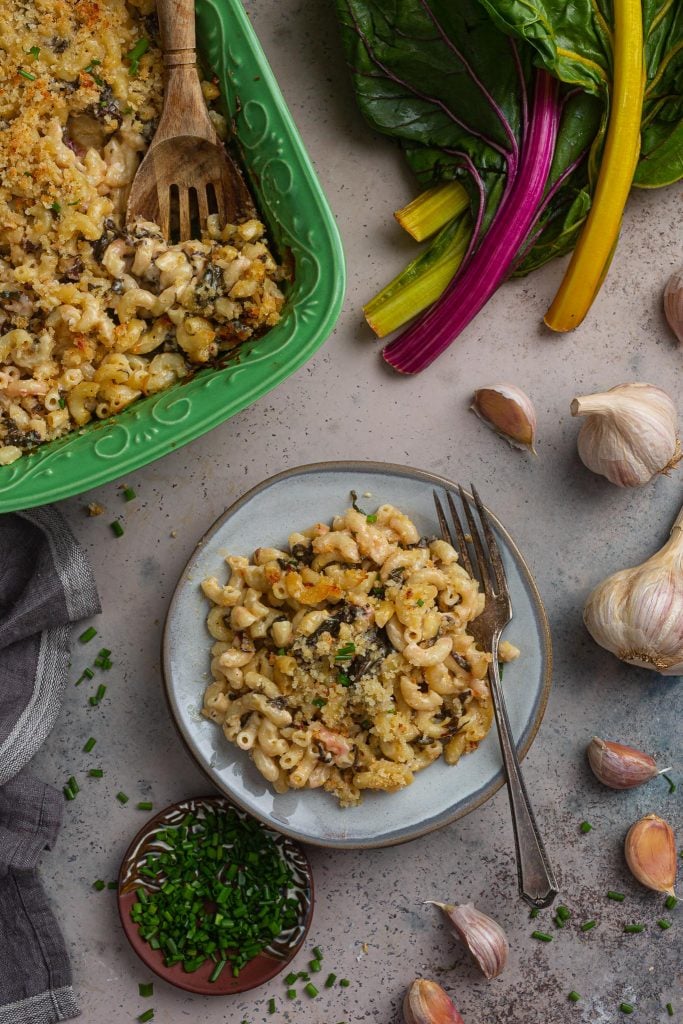
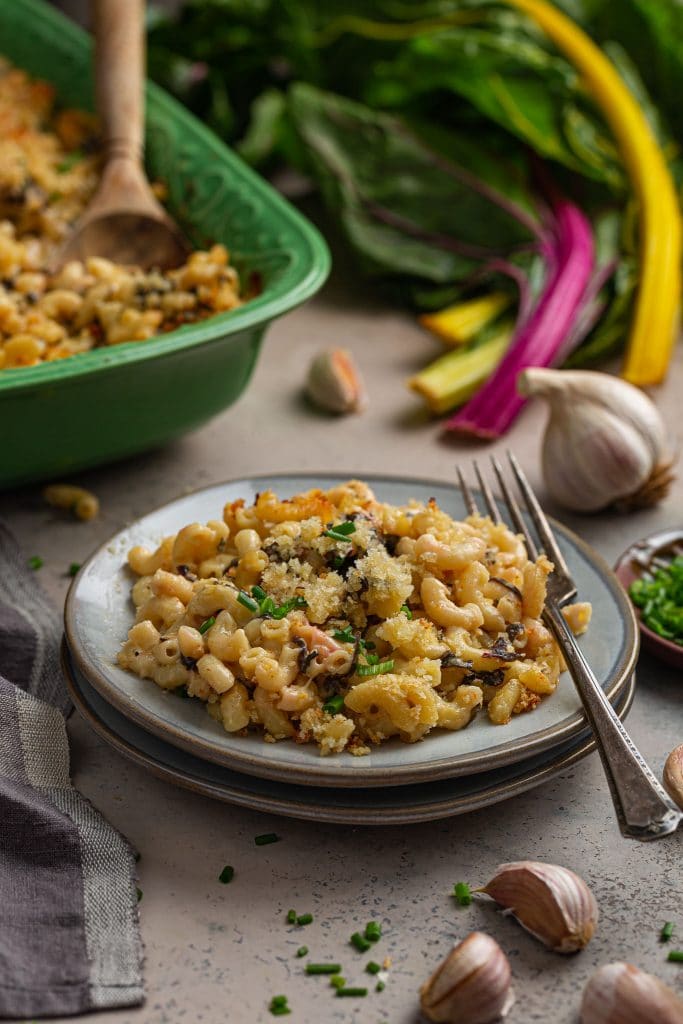
Serving Roasted Garlic Mac and Cheese
This roasted garlic mac and cheese is extremely versatile and works both as a side dish or as a main entree.
As a side, it pairs great with your holiday turkey, pork, roast beef or roasted chicken! In the summer, it is also delicious with BBQ and/or fried chicken.
If serving as a main course, pair with a nice green salad and/or roasted or steamed veggies.
Variations
This recipe is already amazing as it is, but there is always room to have some fun and change things up a bit.
Here are a few suggestions:
- Add protein, like sausage or chicken.
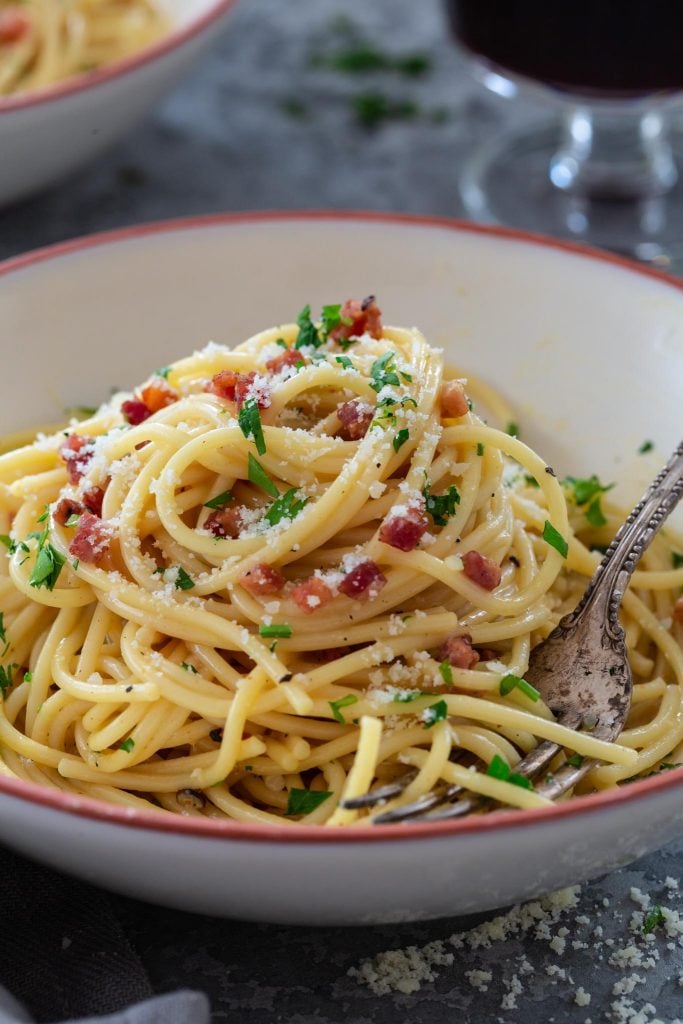
- Bacon would also pair great with the other flavors here!
- Substitute the Swiss chard for kale, broccoli, spinach or shaved Brussels sprouts.
- Use another type of macaroni, like Ronzoni® Shells.
- Substitute part or all of the cheese for another kind, like parmesan or cheddar.
Frequently Asked Questions
Yes! This roasted garlic mac and cheese can be made ahead, cooled completely and kept covered in the fridge for up to 2 days. Do not add the breadcrumb topping until ready to bake!
Properly stored in an airtight container, the leftovers will keep in the fridge for up to 3-4 days.
I find that the best way to reheat mac and cheese is on the stove, over low heat, adding a splash of milk to bring it back to a creamy consistency.
If you prefer to bake, stir the leftovers with a few splashes of milk, top with a new breadcrumb topping and bake until golden and bubbly.
Yes, you can freeze this mac and cheese for up to 3 months! Since the sauce starts with a roux, that will prevent it from splitting when frozen and thawed.
When ready to eat, thaw overnight in the fridge, add more milk and reheat on the stove or in the oven.
Did you make this recipe? I love hearing from you! Please comment and leave a 5-star rating below. You can also take a photo and tag me on Instagram with #oliviascuisine.
Swiss Chard and Roasted Garlic Mac and Cheese
Ingredients
- 1 head garlic, whole
- 2 tablespoons olive oil, divided
- 16 ounces Ronzoni Elbows
- 2 garlic cloves, minced, divided
- 1 bunch Swiss or Rainbow chard, stems removed and chopped
- Salt and freshly ground pepper, to taste
- 2 teaspoons lemon zest
- 2 tablespoons lemon juice
- 1/4 cup + 2 tablespoons unsalted butter, divided
- 3 tablespoons all-purpose flour
- 2 1/2 cups whole milk
- 1 cup heavy cream
- Freshly ground nutmeg, to taste
- 1 teaspoon dry mustard
- 1/2 teaspoon paprika
- 2 1/2 cups Gruyere cheese, grated
- 1/3 cup Panko breadcrumbs
- 1 teaspoon garlic powder
- 2 tablespoons fresh chives, finely chopped
Instructions
- Preheat oven to 400ºF.
- Slice off the top of a head of garlic, just enough to expose the cloves. Drizzle with a teaspoon of the olive oil and wrap in foil. Roast the garlic for 30 to 40 minutes, or until soft and almost caramelized. Let it cool a little so you can handle it, then squeeze out the flesh of each clove out. Mash the cloves with a fork and reserve.
- Cook the pasta in a large pot of salted boiling water according to package instructions. Drain, reserving 1/2 cup of pasta water, and reserve back in the pot.
- Heat the remaining olive oil in a large skillet, over medium heat. Add half of the minced garlic and sauté until softened and fragrant, about 1 minute. Stir in the chopped Swiss Chard and cook until softened, about 2-3 minutes. Season with salt and pepper, and stir in the lemon juice and zest. Reserve.
- Wipe down the skillet with a paper towel and melt the butter over medium heat. Remove and reserve 2 tablespoons for the topping. Add the remaining garlic and cook for a minute, until softened and fragrant. Then, sprinkle the flour and whisk until combined. Cook for a minute or two, until bubbling and starting to turn golden.
- Slowly whisk in cold milk. Continue to whisk until it starts to boil. Lower the heat to medium-low and cook, stirring constantly, until slightly thickened, about 8 to 10 minutes.
- Stir in the heavy cream, roasted garlic, dry mustard, paprika, freshly grated nutmeg and a pinch of salt and pepper. Cook for another 3 to 5 minutes to thicken.
- Remove from heat and gradually stir in the cheese until melted.
- In the pot with the pasta, combine the pasta, sauce, Swiss chard and a splash (about 1/4 cup) of the pasta water. If necessary, add more pasta water to make sure the mixture is saucy. Taste and adjust salt and pepper as needed!
- Transfer the mac and cheese to a greased 9×13-inch baking dish.
- In a small bowl, combine the breadcrumbs, reserved melted butter and garlic powder. Sprinkle over the mac and cheese.
- Bake for 15 to 20 minutes or until golden and bubbly.
- Garnish with the chopped chives and serve!
Notes
Swiss Chard:
If you are not a fan of Swiss Chard, you can use spinach, kale or 1/2 pound of shaved Brussels sprouts instead.Make ahead:
- The garlic head can be roasted 3-4 days ahead and kept in an airtight container in the fridge.
- The mac and cheese can be prepared, placed in the baking dish and refrigerated (after it cools), covered with foil, for up to 2 days. Don’t add the breadcrumb topping until right before baking it.